How to Format SD Card to FAT32: A Brief Guide
Even though the FAT32 format has become significantly less popular, it remains very useful for many various purposes.
Table of Contents
For instance, we are far from achieving universal compatibility: the more devices you use, the higher the chances that at least one of them will refuse to work with your memory card. A memory card conversion to FAT32 may provide you with a convenient way to avoid such troubles. Hence, how should we approach this issue?
FAT32: What kind of format is that?
Before we start tinkering with formats, it would be wise to remember what we are dealing with. The acronym FAT stands for File Allocation Table: not long ago all Microsoft Windows devices used it as the default file system. Invented for Windows XP, it is rarely used in newer systems. Nonetheless, some of its features remain relevant even today.
The main problem with this format is its strict restrictions on the disk volume. This format lived through three major transformations: FAT12, FAT16, and FAT32. The latest format supports a much greater volume size than the previous ones. As for other features, it can deal with files up to 4GB. All versions of Windows, Linux, and Mac OS support it, not to mention gaming consoles and digital cameras.
FAT32: The Art of Formatting
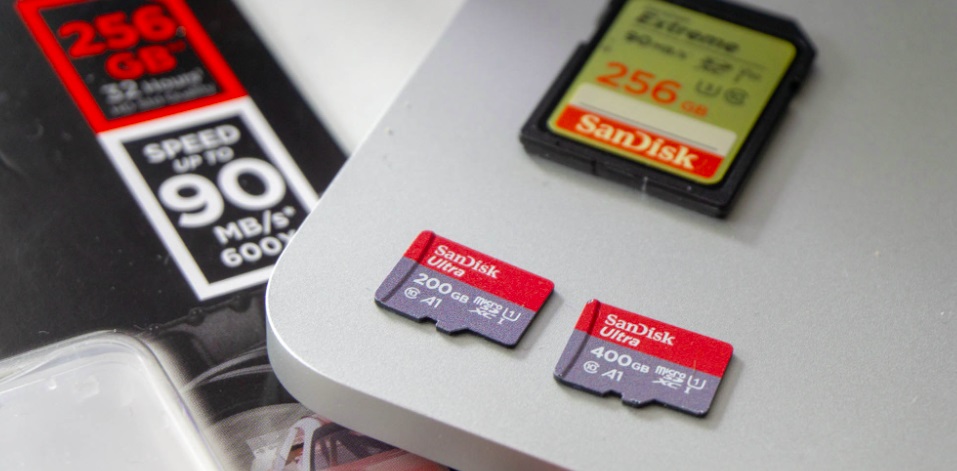
There are plenty of diverse methods, which allow you to format SD card FAT32. Nonetheless, there is an issue: your operating system will not allow you to utilize this format on any type of memory card, which is larger than 32GB. However, it does not mean that your new shiny 128GB is useless in this situation: there are still ways to circumvent this problem.
Method 1: Windows Disk Management (32GB Card)
Probably the easiest method, it relies on a build-in tool in your OS:
- Open the command prompt.
- Type diskmgmt.msc.
- Find your card and click 'Format'.
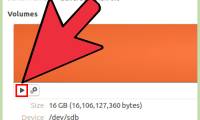
- Customize the volume tag. Next, specify the distribution unit size/file system.
- You may opt for the 'Quick Format' option with folder compression.
- Next, you will receive a message warning you that by formatting SD card to FAT32 you will delete all data on it.
- Copy those files you wish to preserve and proceed.
Congratulations, the procedure will be finished within minutes.
Method 2: Windows Explorer (32GB Card)
Here is yet another simple solution, which is just a couple of clicks away:
- Click on the GUI.
- Opt for the 'Format' option.
- Once again, your Windows 10 will ask you to choose distribution unit size and volume label.
- You can also choose the Quick Format option if you are in a hurry.
- Upon specifying these tags, click 'Start'.
- Finally, you will be asked to double-check: the formatting process will delete all data on your card. Luckily, there are ways to recover deleted photos from an SD card, which may come in handy in these situations.
- Click 'OK'.
Method 3: PowerShell (64/128GB Card)
Finally, here is a convenient method to deal with larger memory cards. The actual algorithm, which allows you to format micro SD card to FAT32, is very simple:
- Press the Windows key and 'X'.
- Find the PowerShell Admin Menu.
- Enter the following command: format /FS: FAT32 X:
- Click Enter.
Although this shortcut allows you to work with larger cards, it also has a smack drawback: this process will take at least an hour. Nevertheless, it is a small price to pay for the personal comfort and safety of your data.
In Conclusion
As we can see, there are plenty of simple methods, which allow you to format an SD card on Windows 10 with no sweat. However, we have to remember another important issue: data recovery. Although OS always warns us about the imminent data loss, which occurs because of the formatting, it often happens that we forget about a handful of crucially important files.
Was this article helpful?
Your feedback helps us improve.
Related Articles
 How to format an external hard drive to FAT32?3 minutes read
 What is the difference between exFAT, FAT32 and NTFS?8 minutes read
 Why does USB drive, memory card ... use FAT32 format instead of NFTS?6 minutes read
 What is FAT32, NTFS, exFAT format?7 minutes read
 How to Format FAT329 minutes read
 How to convert a FAT32 hard drive to NTFS on Windows does not lose data4 minutes read
Reader Comments 0
Sign in with email or Google to join the discussion.