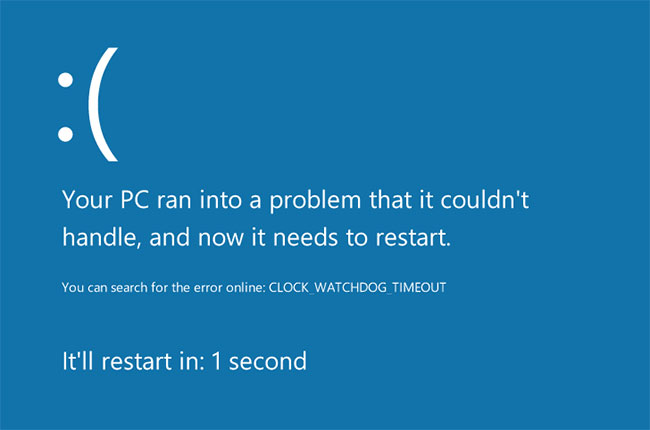
How to fix Clock Watchdog Timeout errors in Windows 10
Clock Watchdog Timeout is a blue screen of death that Microsoft Windows users may encounter. There are several potential causes and solutions for this rare problem.
Table of Contents
Clock Watchdog Timeout is a blue screen of death that Microsoft Windows users may encounter. There are several potential causes and solutions for this rare problem.
Note : The instructions in this article apply to Windows 10, but most of the information is also true for Windows 8 and Windows 7.
Cause of Clock Watchdog Timeout error
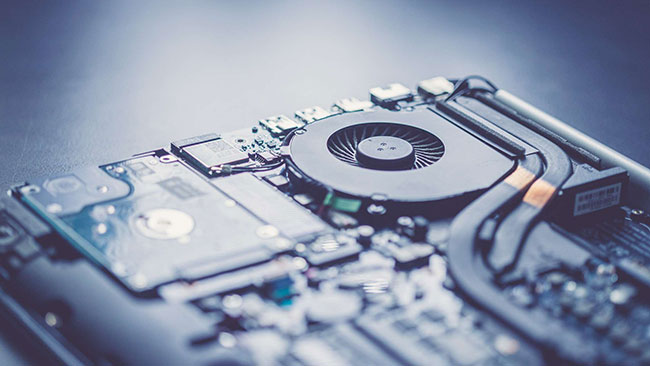
Blue screen of death errors occur when Windows crashes. When you see the Clock Watchdog Timeout error, the problem is usually with the processor. Common causes include:
- Misinformation between threads in a multi-core processor
- Overclock computer hardware
- RAM incompatible
- Outdated firmware
- Hardware is faulty
Clock Watchdog Timeout errors can occur before or after startup. If you can't log in to Windows, try restarting your computer in Safe Mode to fix the problem. If Windows does not start in Safe Mode, you may need to repair Windows from the Advanced Startup Options menu.
Important note : Before troubleshooting the device, you should back up your files to an external hard drive or cloud storage in case something goes wrong.
How to fix Clock Watchdog Timeout error
Try the following steps to resolve the issue:
1. Use the Windows Memory Diagnostic tool . The Windows Memory Diagnostic utility is included with Windows 10. Open the program and choose to restart the computer. Windows will check for any errors and automatically resolve them.
2. Use System Restore . If you previously created a restore point for your PC, use Windows System Restore to return to the state of the computer before you started experiencing the problem.
3. Uninstall overclocking . Overclocking the GPU can lead to impressive graphics performance, but it can also stress the processor. Remove any overclocking settings to see if that fixes the problem.
4. Update Windows . Check and install Windows updates to make sure you have the latest fixes for your operating system.
5. Update or roll back (rollback) the PC driver . If you recently updated any hardware drivers, try returning to the old hardware driver. If you haven't already, try updating the driver with a program like Driver Reviver.
6. Disconnect new hardware . Disconnect any hardware that you just plugged into your computer and restart Windows. If you identify external hardware as the culprit, make sure the latest drivers support Windows 10.
7. Remove recently installed software . If you start seeing errors right after installing a new program, try uninstalling it.
8. Delete the recent updates . Check the system update history and delete any updates that have been installed during the time the error occurred. To prevent problematic updates from reinstalling, you must turn off automatic updates for Windows 10.
9. Remove anti-virus software . Some programs are designed to prevent malicious software from accidentally causing a blue screen of death. If this fixes the problem, remember to install an alternate antivirus tool after it's done.
10. Update the SSD firmware . If you have a drive (SSD), download and install the latest firmware update from the manufacturer's website.
11. Clean or replace old hardware components . Please clean the computer physics. You may also need to replace hardware components such as the motherboard, CPU or GPU.
12. Remove all external hard drives and reinstall Windows 10 . External hardware can cause conflicts during the installation, so if you recently upgraded your operating system, reinstall Windows 10 after removing all devices.
13. Reset and update the system BIOS . Resetting the BIOS will restore everything on the PC to its original state. A corrupted BIOS can cause irreparable damage to a PC, so refer to the motherboard user manual or the manufacturer's website for instructions.
14. Fix problems in Clean Boot mode . If you have not yet identified the source of the problem, perform a clean boot to load Windows with the minimum drivers and programs necessary to operate. You can then disable each process individually until the error disappears.
Note : You must restart the computer after disabling each process for the changes to take effect.
Was this article helpful?
Your feedback helps us improve.
Related Articles
![[99% Fixed] Clock Watchdog Timeout Blue Screen Error](/data8/thumbs_200x120/[99-fixed]-clock-watchdog-timeout-blue-screen-error_thumbs_200x120_euVH7R8CM.jpg) [99% Fixed] Clock Watchdog Timeout Blue Screen Error5 minutes read
[99% Fixed] Clock Watchdog Timeout Blue Screen Error5 minutes read
 How to fix AMD Driver Timeout (TDR) error on Windows9 minutes read
 What is DPC Watchdog Violation? How to fix DPC Watchdog Violation errors in Windows6 minutes read
 How to fix 'The 504 Gateway Timeout' error8 minutes read
 The bootcfg timeout command in Windows2 minutes read
 How to fix 408 Request Timeout error4 minutes read
Reader Comments 0
Sign in with email or Google to join the discussion.