How to enable the front audio port of PC case in Windows 10
Guide you how to enable the front audio port of the computer on Windows 10, learn about the audio port on the computer. Click here for detailed instructions!
Table of Contents
You cannot use the front audio port for your computer . You have adjusted the jacks many times but still cannot hear any sound. The following article will give you a very simple way to turn on the front audio port of your computer on Windows 10, let's follow TipsMake!
1. Learn about the audio port on the computer
- The audio port is used to connect the audio between the computer and speakers or other audio output devices. On the computer, there are usually 2 audio ports to bring convenience to the user as follows:
+ The back port is used to plug speakers and headphones.
+ Front port also called front port.
This front port is defaulted in off state, so users often think that the computer has a problem, won't pick up the headset when plugged in and can't connect. However, users just need to turn on the audio port to be used.
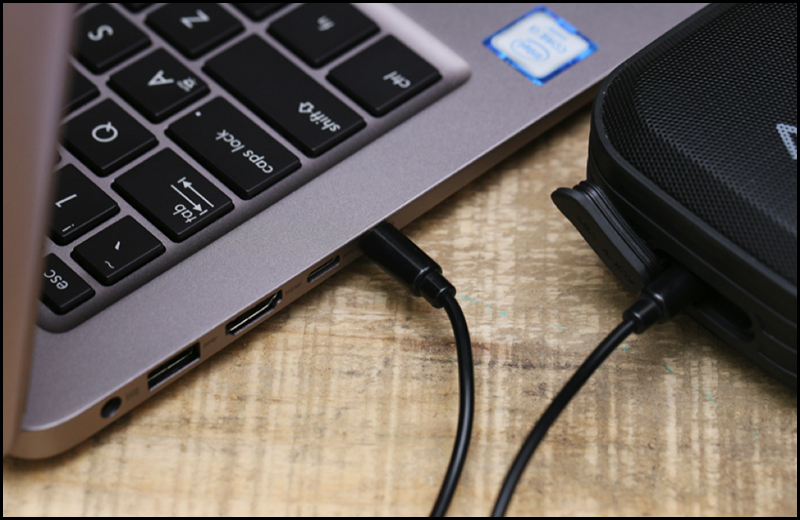
Round surround sound connectors (3.5 mm connection).
This audio port is very common on devices like computers or laptops, and can be used to connect headphones or similar audio channels.
Users will usually find a 6-port 3.5 mm connection system on most computers in different colors such as orange, yellow, blue, black and gray. This 6-port system can be used for a surround sound configuration of up to 8 channels.

2. Notes before opening the front audio port
Before opening the front audio port, you must make sure that:
+ Connected to the necessary jacks, the audio ports are working well and not damaged.
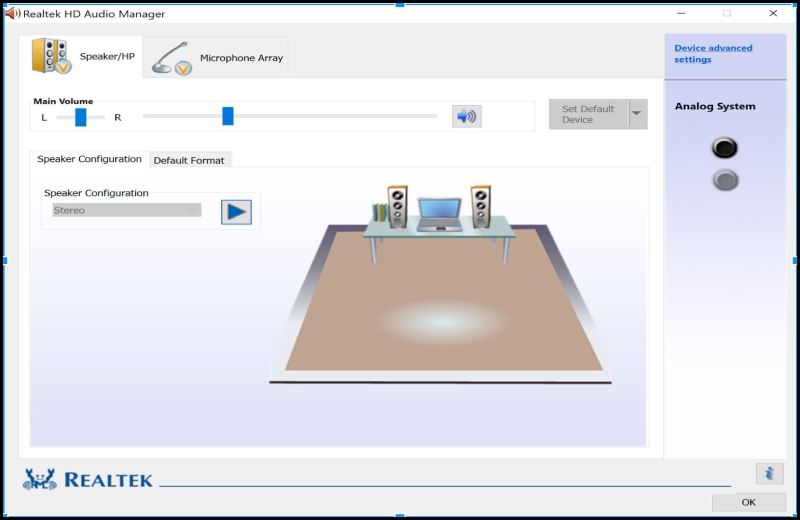
+ Your computer has Realtek HD Audio Manager installed - a tool to set up audio settings on Windows 10 .
+ Each machine will have different configurations, so the delivery of Realtek HD Audio Manager may be slightly different.
3. How to turn on the front audio port
- Step 1: You access Control Panel in Windows 10.
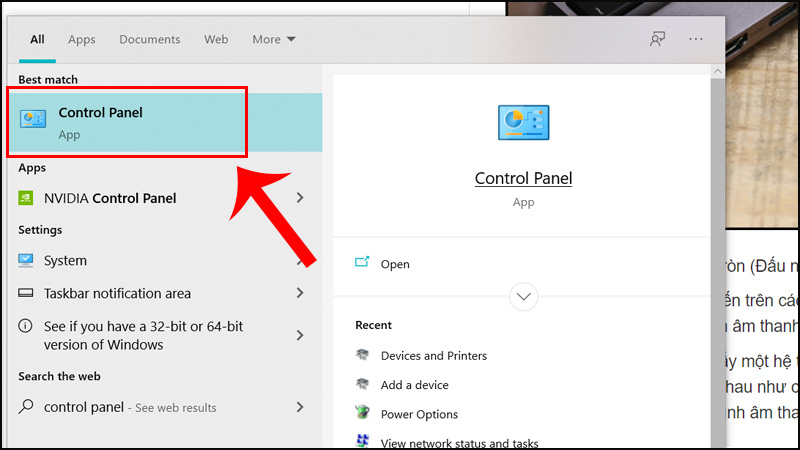 Then, find and select Realtek HD Audio Manager or Realtek HD Sound Effect Manager, the screen will display.
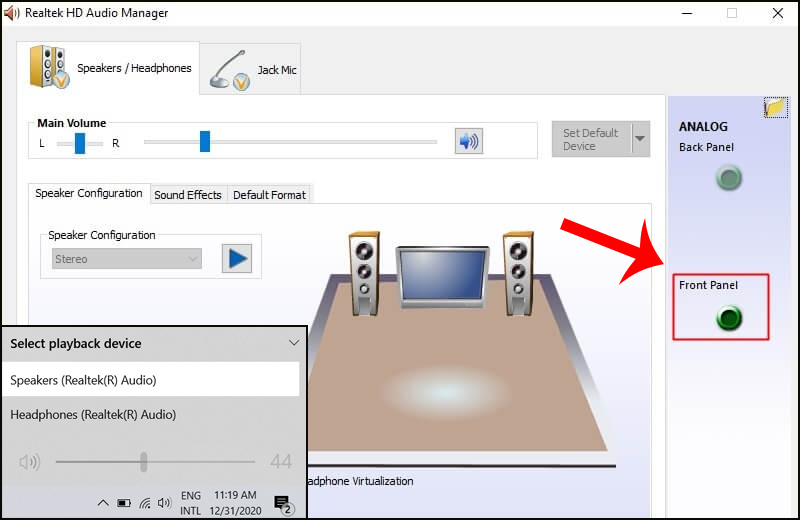
- Step 2: After the Realtek HD Audio Manager window appears, click Connector Settings, there will usually be a Settings folder icon.
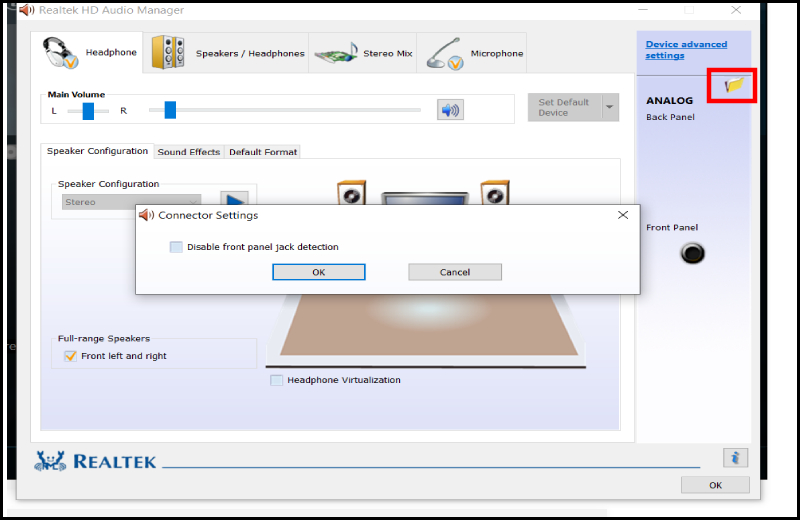
- Step 3: Next, you remove the option Disable front panel jack detection and press OK> You click OK to save.

- Step 4: So the front audio port on the computer is turned on, you can see the jack icon light up, or check the sound icon under the Taskbar to have more options.
Was this article helpful?
Your feedback helps us improve.
Related Articles
 How to turn on the front audio port of the computer on Windows 102 minutes read
 Steps to enable Enhance Audio to improve sound quality on Windows 112 minutes read
 Summary of some simple ways to disable USB ports on Windows computers5 minutes read
 How to use Optical Out (S / PDIF) port on a PC5 minutes read
 How to Connect Audio Devices to Computers9 minutes read
 How to enable / disable Mono Audio on Windows 103 minutes read
Reader Comments 0
Sign in with email or Google to join the discussion.