How to Email Photos from a Cell Phone
Send email on Android
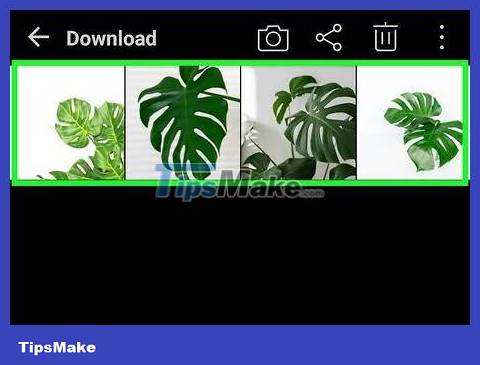
You need to make sure that the photos you want to send via email are saved on your phone. First, open all the controls by pressing the arrow button in the lower left. Select photo library and open the photo.
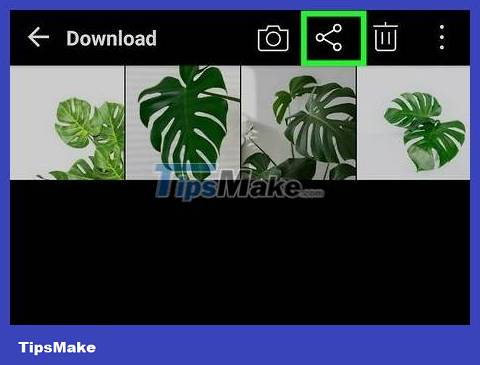
Click the share icon (Share) and select the email application you want to use. The share button has an icon of two small arrows with a circle in the middle. Once you tap this icon, several options will appear depending on the digital accounts linked to the phone.
Digital accounts include email and social media accounts.
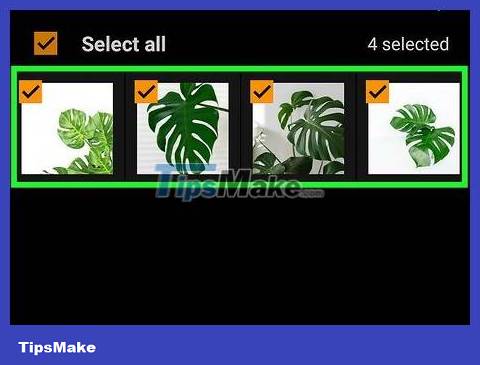
Select the photo you want to email. After you select the email option, the image browsing screen on your phone will appear. Select a photo by tapping on the photo you want to send.
Images that weren't taken with your phone's camera (such as photos you downloaded or received via Bluetooth) may end up in the DCIM folder. In addition, photos taken directly with the phone's camera will be located right in the Photos application.
You can send multiple photos at once by marking multiple photos.

After selecting the photo, click the next button. The selected image will be moved to a new window to attach to the email.
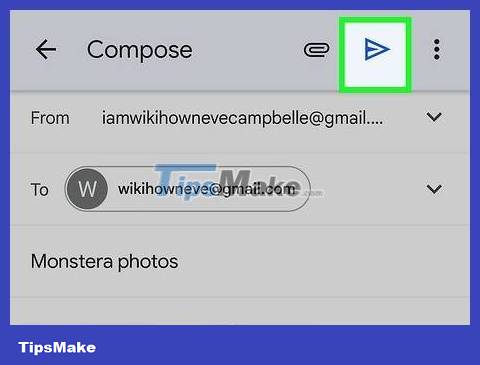
Compose email content and send. Enter the email address and content you want to send by tapping the data fields. You can also add a subject to the email.
When entering an email address, we can save time by pressing the '.com' button.
Sending emails on iPhone's iOS
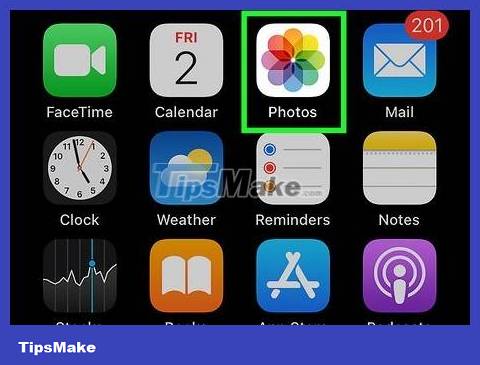
Open the Photos app and find the photo you want to email. The Photos app has an icon that resembles a multicolored flower. To scroll up or down, swipe on the screen.
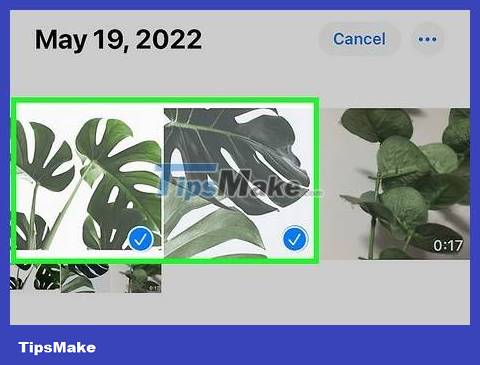
Select photo. Click "Select" in the top right of the screen, then click one or more photos you want to send.
If you don't see the 'Select' option, try tapping the photo. All options will appear.
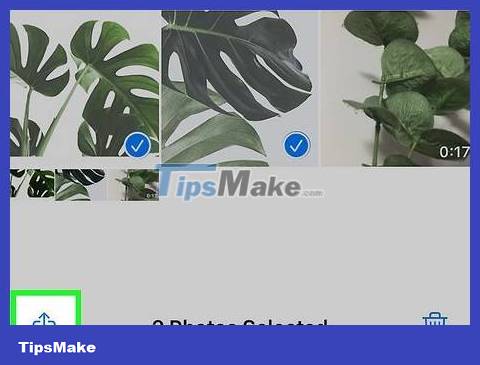
Click the share icon and attach the photo to the email. The share button is a square icon with an up arrow, located in the bottom left of the screen. Once you tap it, select 'Email photos'.
Some iPhones will ask you to tap the "Next" button and select "Mail".
Repeat these steps until all the photos you want to send are attached to the email.
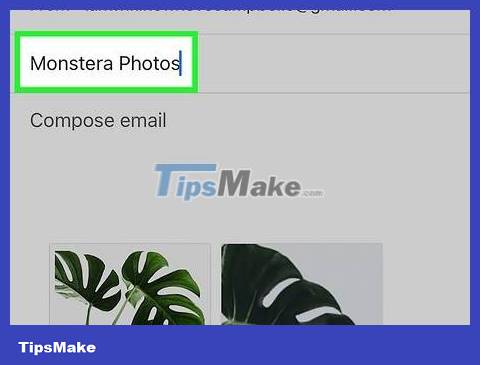
Compose emails. After you click the email icon, a new email will appear. Compose the body and enter the subject for the email.
On iOS 8 and later, you need to move the mouse pointer down to the email body, where we often add memos, information or other text. Press and hold on this area until the magnifying glass icon pops up. When you release your finger from the screen, a black menu appears with options for select ("select") and select all ("select all").
Click the right-facing arrow to the right of the black bar. The "Quote Level" and "Insert Photo or Video" options will appear immediately after. Click "Insert Photo or Video".
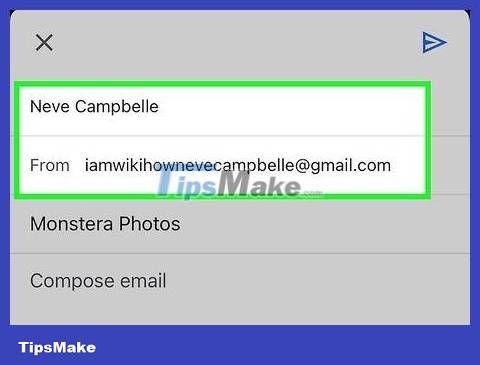
Add contact. Click the 'To:' field if the mouse pointer is not already there. Enter the contact information you want to email.
Click the contact icon to the right of the data field to add directly from your contacts. This icon is circular with a blue plus sign.
Continue adding contacts to the 'CC/BCC' field as necessary.
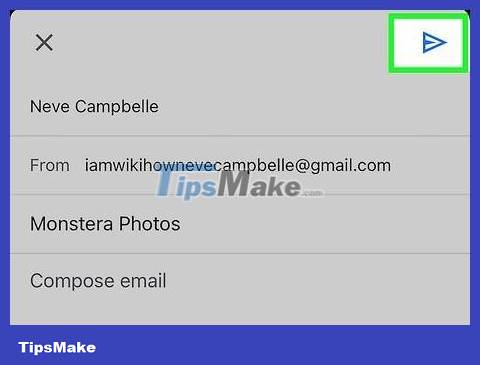
Send email. Once all the photos have been attached, tap the send button in the upper right corner of the screen.
Edit the email before sending to ensure that the image, recipient name, and content are correct.
You should read it
- ★ Instructions for setting up an email account on iPhone (SMTP / IMAP / POP3)
- ★ File sharing between PC / Mobile and Mobile without software
- ★ Invite to admire the unexpected beauty of the phone, the computer when it is broken into pieces
- ★ How to Send a Message to Your Phone via Email
- ★ How to Use Daniusoft DVD to Mobile Phone Suite