Table of Contents
This updated guide explains how to Decorate a Jewelry Box through clear steps, practical examples, and important checks that help prevent common errors.
Method 1 of 4:
Painting Your Jewelry Box
-
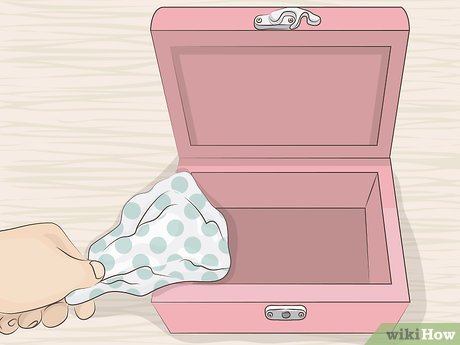 Remove or spot clean the inside liner. If possible, remove the inside liner. If not, spot clean the liner with concentrated laundry detergent. Dab a bit of the laundry detergent on the stain and let sit for several minutes. Then use a wet cloth to scrub the spot away. Spray the liner with a water and vinegar solution if the box smells musty. Leave the jewelry box open and let it air dry before painting.
- If the liner is too soiled, use fabric, tissue paper, or paint to cover the stained liner.[1]XResearch source
-
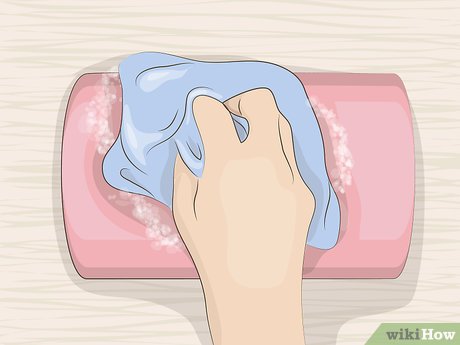 Clean the outside of the jewelry box with dish soap and a wet cloth. If the jewelry box has glass panels, remove the panes and clean with a glass cleanser. Use a residue remover for sticky substances, such as tape or price tags. Make sure the outside is completely dry before starting to paint.
 -
 Remove any hardware and gently sand the outside wooden surface. Use a medium grit sandpaper to remove bumps and scratches.[2]XResearch source Use a finer grit sandpaper to finish smoothing the wood. Wipe the jewelry box off with a damp cloth to remove any remaining dust.
 -
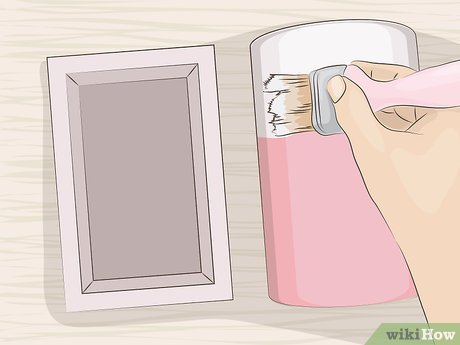 Apply primer to the jewelry box. Cover any part of the jewelry box you do not want to paint with paper and painter's tape. Apply a layer of primer and allow it to completely dry before painting.
 -
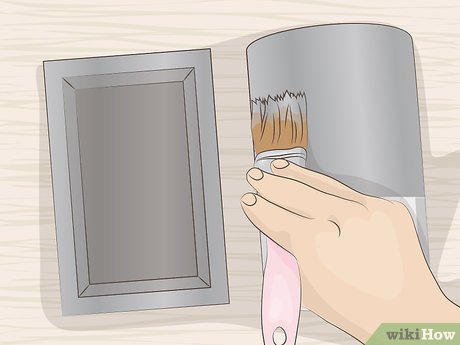 Paint the entire surface of the box. You can use many different types of paint. For a bold look, use a bright colored acrylic or metallic paint. For a more distressed look, use a chalk based paint. Use stencils to add designs or create your own unique freehand patterns.
- Always remember to paint in thin, even coats to prevent running.[3]XResearch source
- Chalk based paints need to be sealed with wax or the paint will rub off.[4]XResearch source
-
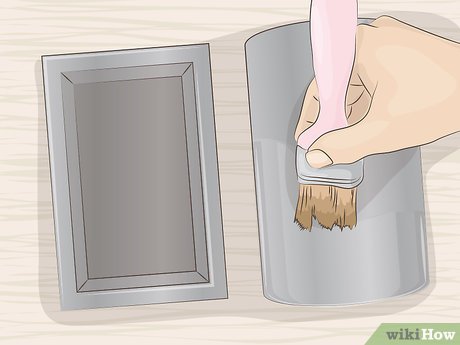 Apply a layer of lacquer for a glossy finish. [5]XResearch source Make sure the paint and lacquer are completely dry before reattaching the hardware.
Method 2 of 4:
Using Decoupage on Wooden Jewelry Boxes
-
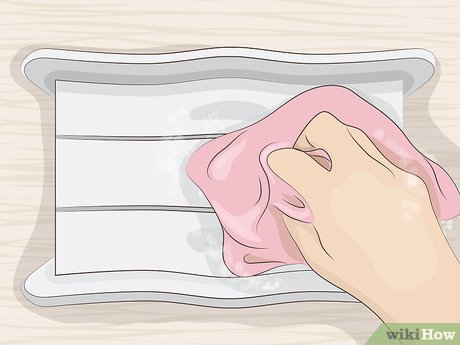 Clean and sand the jewelry box. Clean the inside and outside surfaces with dish soap and water. Keep the box open and let it air dry. Once the box is dry, use a fine grit sandpaper to smooth the outside surface. After sanding, wipe the jewelry box with a damp cloth to remove any extra dust.
 -
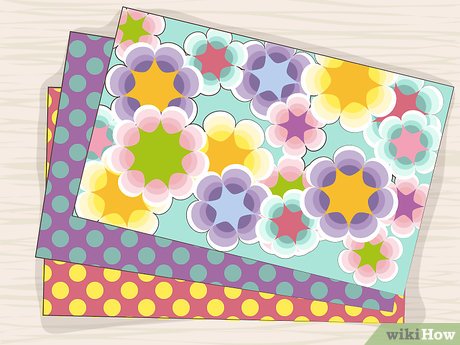 Pick out the images you may need to use for your design. Cut out the pictures for your design. Many different types of paper can be used, including wrapping paper, scrapbooking paper, and magazines.[6]XResearch source
- The thinner the paper is, the better. Thinner pictures lay flatter and use fewer layers of varnish to embed into the wood.
-
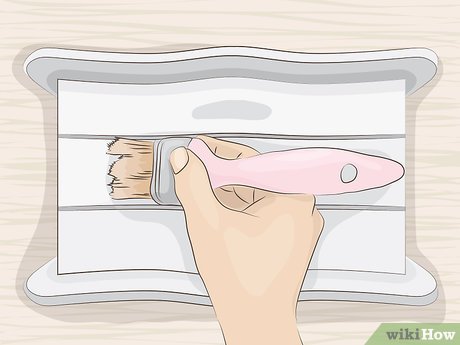 Apply the initial layer of varnish and let it completely dry. Once it is dry, use a piece of steel wool to gently polish the box.
 -
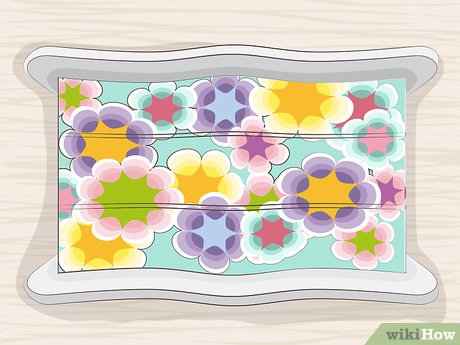 Arrange the pictures into your desired design. Once you have your preferred pattern, apply some varnish to the back of the images. Lay the pictures flat and stick them to the jewelry box. Apply another layer of varnish to the entire box.
 -
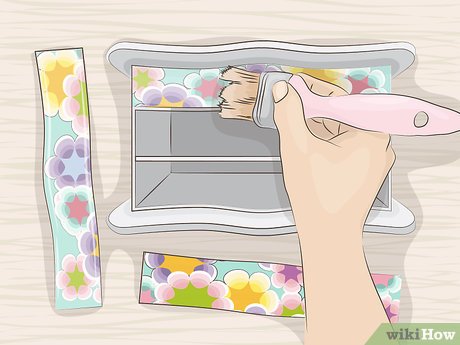 Apply more layers of varnish. Continue to apply layers of varnish until the pictures are completely embedded into the wood surface.
- Let each layer of varnish dry completely before adding another layer.
- Lightly polish each layer of varnish with steel wool for a glossier finish.
Method 3 of 4:
Using Stencils
-
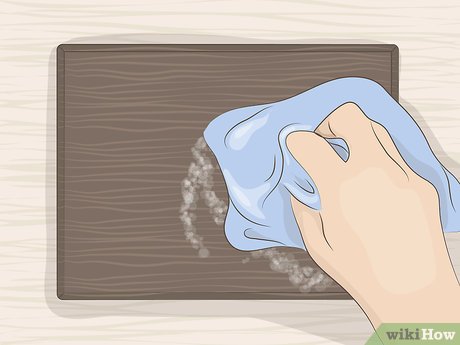 Clean the jewelry box with dish soap and water. Once it is completely dry, gently sand the outside of the box. After sanding, wipe down the jewelry box with a damp cloth to remove any excess dust.
 -
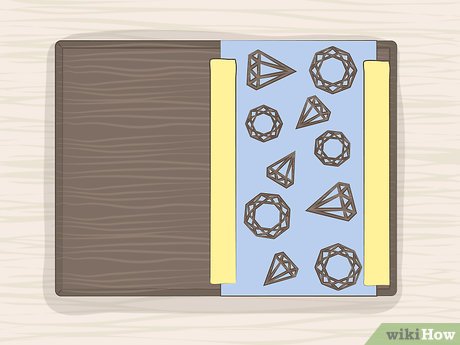 Place your stencil on the part of the box you may need to decorate. Use a repositionable spray adhesive on the back of the stencil. Spray on the adhesive until the stencil is sticky, but not wet.[7]XResearch source If you do not have a spray adhesive, you can also use painter's tape to keep the stencil from moving.[8]XResearch source
 -
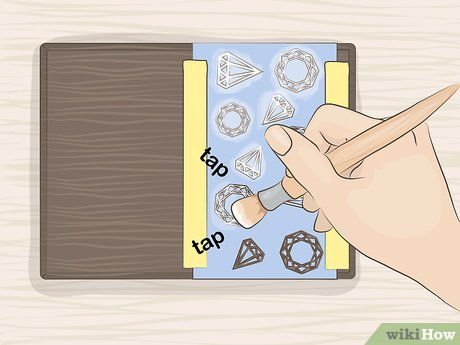 Use a tapping motion to paint your design. Take a flat bristled stencil brush and apply the paint onto your brush and wipe the excess paint off onto a paper towel. Tap the paint evenly onto the stencil. Paint the entire design at the same time.
- Do not swirl or swipe the brush when painting your design. Tapping the brush reduces the possibility of the paint bleeding.[9]XResearch source
-
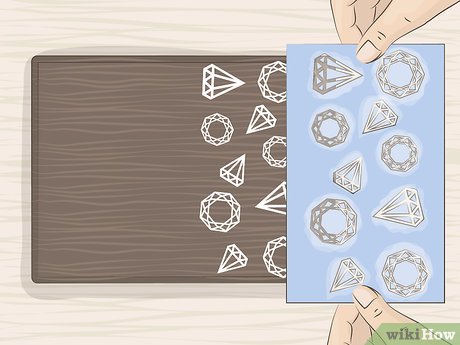 Remove the stencil from the wooden surface. Carefully lift the stencil to make sure to not damage the stencil. Make sure to let the paint completely dry.
 -
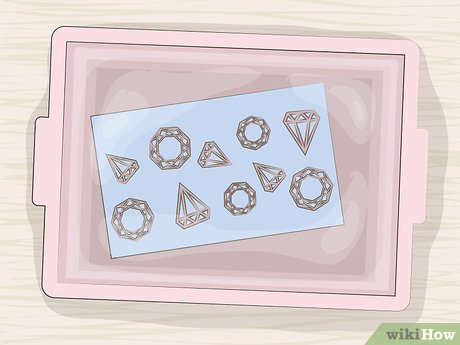 Clean your stencils to prevent paint buildup. Soak your stencils in soapy water right after use. After soaking for several minutes, gently rub paint off with a dish brush. Use a towel to pat dry the stencil.[10]XResearch source
 -
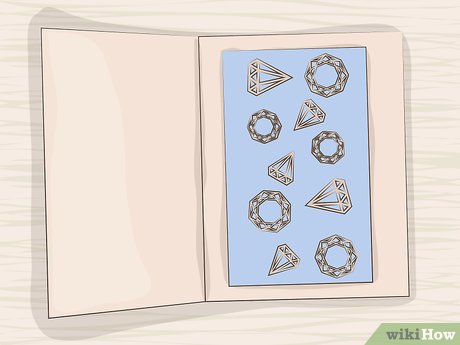 Store your stencils flat. Rolling your stencils can damage them.
Method 4 of 4:
Making a Mosaic Design
-
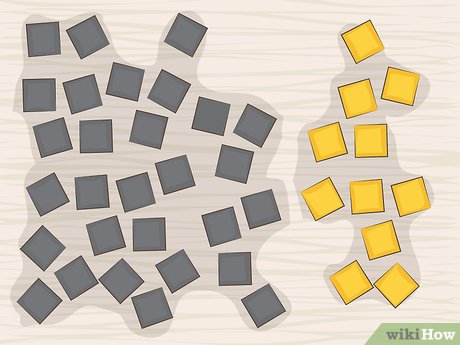 Pick a material to use for your design. For a more reflective look, use glass or mirror pieces. Beads and seashells give a textured look. Ceramic and porcelain are also common tesserae (mosaic materials).
 -
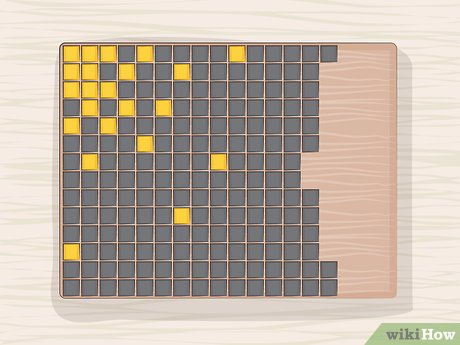 Create your design. You can do this by arranging the tesserae on the jewelry box or by drawing the design on a piece of paper. For a simple design, try a flower or multicolored circles or swirls. For a more advanced pattern, try creating a scene, such as a forest or city skyline.
 -
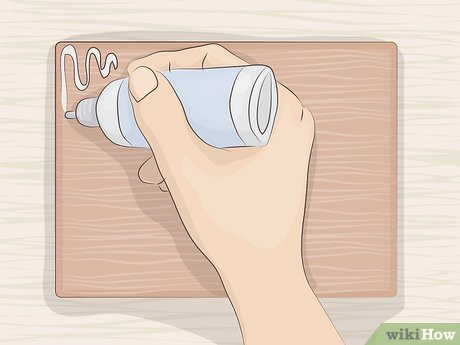 Lay down the adhesive in sections. Try to avoid using too much adhesive. It can dry out before you get to a section or push up between the tesserae, leaving no room for the grout.
- Most silicone-based adhesives work on non-porous materials. White glue also works well on jewelry boxes.[11]XResearch source
-
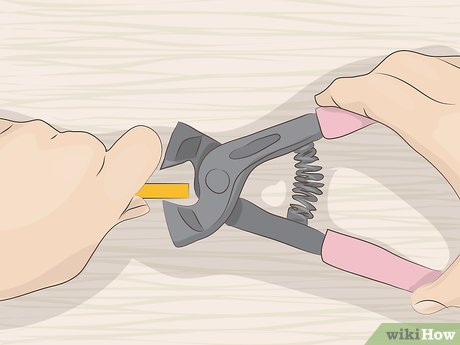 Cut the tesserae into desired shapes and sizes. You can use either a tile nipper or a wheeled glass nipper to cut tesserae. In order to cut the pieces, place the material into the mouth of the tool and squeeze down. Using these tools allows you to make specific sizes and shapes for your design.
- You can also buy premade tesserae from craft stores.
-
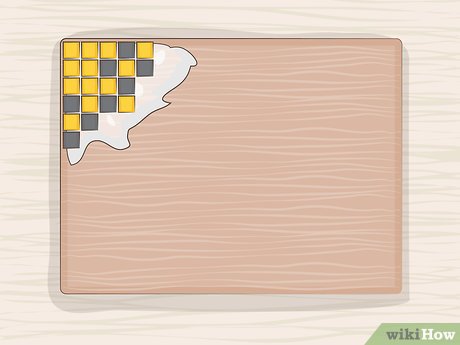 Place the tesserae onto the adhesive. Remember to leave space between the pieces in order to leave room for the grout. A good rule of thumb is to leave 1/8' to 1/2' between pieces[12]XResearch source After you are done completing your design, let the piece sit for 24-48 hours before applying the grout.
 -
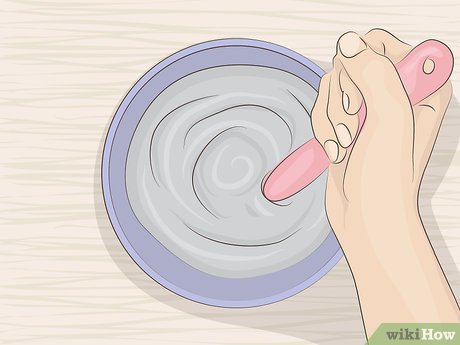 Mix the grout in a disposable container. Follow the instructions on the package to make the grout. Add a tablespoon of water to the grout to give it an oatmeal consistency.
 -
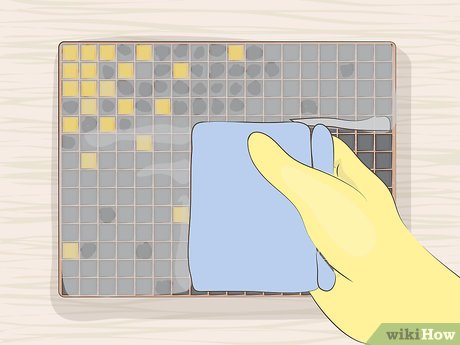 Apply the grout to the entire piece. Wear gloves when applying the grout to avoid drying out your hands. Generously cover the entire design. Press the grout into the spaces between tesserae. Sculpt the grout around the edges. Wipe any excess grout off with hands. Let the grout sit for 20-30 minutes until it looks hazy.
- Always throw away excess grout. Never rinse it down the sink.
-
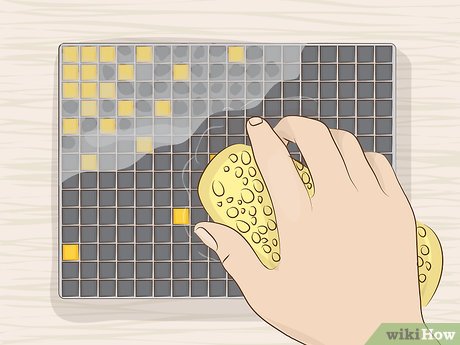 Remove the grout from the tesserae. Take a very slightly dampened sponge or cloth and wipe the grout from the mosaic pieces.
- Do not use a paper towel. They will flake and stick to the grout.
-
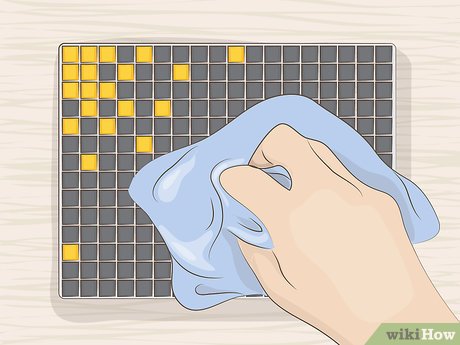 Polish the tesserae to give your piece a sparkling finish. Use a dry cloth to polish the pieces.
FAQ
What is the easiest way to Decorate a Jewelry Box?
Start with the requirements in this guide, then follow each step in order. Check the result after every major change so problems are easier to identify.
Can beginners follow these instructions?
Yes. The process is organized into practical steps, and you can repeat any step before moving forward.
What should I check if the method does not work?
Confirm your software or device version, permissions, settings, file format, and internet connection when the task depends on online services.
Related Articles
 How to Keep Your Jewelry Shiny and New?6 minutes read
 Matching Jewelry with a Natural Stone to Your Zodiac Sign6 minutes read
 Simple Way to Clean and Preserve Jewelry: Cleaning Jewelry5 minutes read
 List of Notorious Billion-dollar Robbery Missions in Modern10 minutes read
 Little Adamo Adorned Jewelry3 minutes read
 12 Great Uses of Toothpaste You May Not Know Yet5 minutes read
Reader Comments 0
Sign in with email or Google to join the discussion.