How to Photograph Artwork for a Website
To take photographs for your website, use a camera with manual settings so you can capture rich detail. Take your pictures on cloudy days outdoors or with lighting from a window if shooting indoors. Adjust your camera settings to take....
Part 1 of 3:
Setting up Your Shot
-
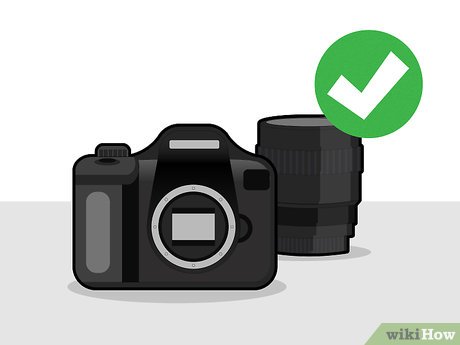 Use a camera with a removable lens and manual settings if possible. While you don't need the most professional camera to shoot quality images, you want to control the lighting and white balance. DSLR cameras with removable lenses are great to use because they capture your images in high quality, and you can adjust the settings as you need to.[1]
- While you can take decent images with point-and-shoot cameras and smartphones, they do not capture your images in high quality and resolution. If this is all you have, make sure you take your photos outside to capture as much detail as possible.
-
 Take your photographs on overcast days if shooting photos outdoors. It is best to take pictures of your artwork outside on cloudy days because it reduces glare on your lens and helps capture your artwork in as much detail as possible. Choose days where most or all of the sun is blocked out by clouds.[2]
- Harsh, direct lighting can create reflections, cast shadows, and change the colors.
- To take the most advantage of daylight, shoot around 2:00pm.[3]
-
 Shoot near a large window if taking your pictures inside. Using the natural light from a window is best for shooting indoors because you can utilize bright and soft lighting. Open up your blinds, and set up your photo shoot next to your window.[4]
- If possible, shoot on partly cloudy days. On days with maximum sunlight, you can still get varying brightness levels even if shooting indoors.
-
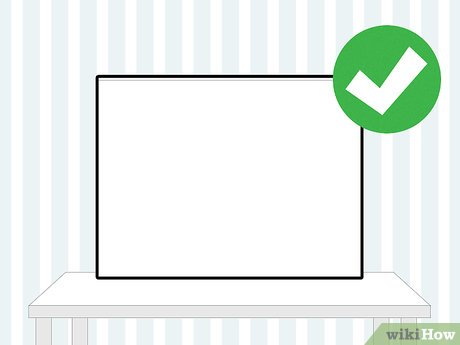 Use a clean, white background. To take the most detailed shots, you want to match your camera's white balance to a white background. A simple color helps keep your camera's focus on the artwork, rather than the background.[5]
- You can use a white piece of fabric, white poster board, or large white piece of paper, for example.
-
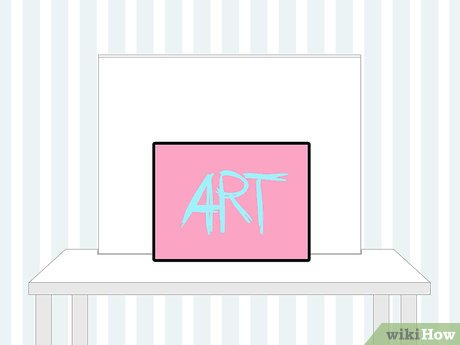 Place your artwork on a flat, level surface to take your photos. You can sit your artwork on the floor, propping it against the wall. Or, you can place hang your artwork from a hook on a clean, white wall. If you have paper artwork, it is helpful to put it a frame so you can either prop it or hang it up.[6]
 -
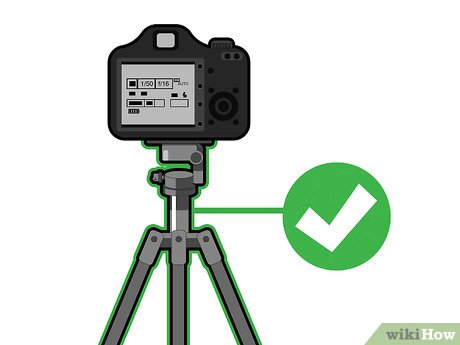 Use a tripod to keep your camera from moving. Tripods keep your camera stationary when shooting, which is necessary to take the most detailed and clear images. To connect your tripod to your camera, look for the screw at the top of your tripod. Insert it into the base of your camera, and tighten it into place.[7]
- Alternatively, you can use a monopod. They are helpful tools to keep your camera from moving, though they aren't quite as secure as tripods.
- If you don't have a tripod or monopod, use any flat, level surface to keep your camera straight.
-
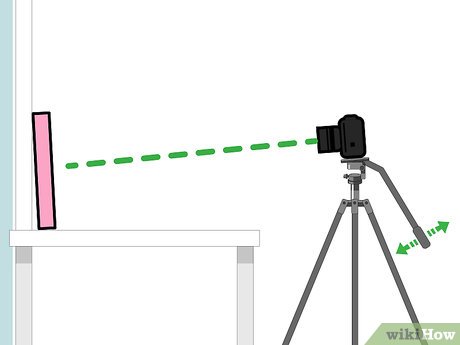 Adjust your camera's angle so your artwork is in the center of the shot. Move your camera up or down to match the angle of your artwork so they are parallel. You can adjust your camera by using the hand lever on your tripod or by gently lifting the base of the tripod up or down. You may need to move your camera closer or further from your art to keep it centered.[8]
- On average, your camera should be about 4–5 ft (1.2–1.5 m) from your art.
- If your artwork is hanging from a hook, you want your camera to be straight with your piece.
- If your artwork needs to be at a slant, tilt your camera slightly.
-
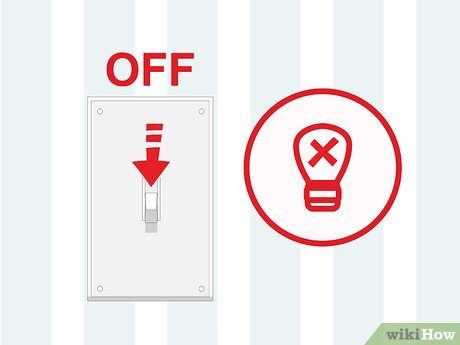 Turn off the lights in your room if shooting indoors. Flip the switch on the lights in your room to minimize additional lighting. The light from your window will be plenty![9]
- Overhead lights have their own color, and they often don't mix well with the light from your window.
Part 2 of 3:
Adjusting Your Camera Settings
-
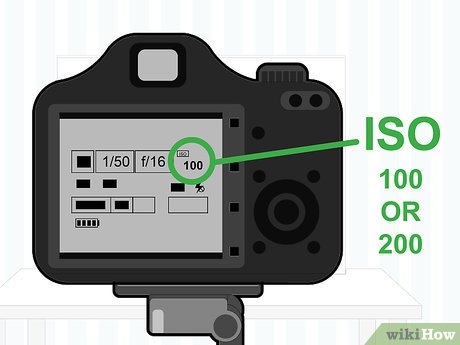 Set your ISO to 100 or 200 to get the best quality images. Your ISO controls your image sensitivity, and the exact ISO to use will depend on your particular camera. Go with 100 if your camera has it, and use 200 as a backup option if not. Find the ISO setting, and select '100.'[10]
- If you need assistance with changing your ISO, check your user's manual.
-
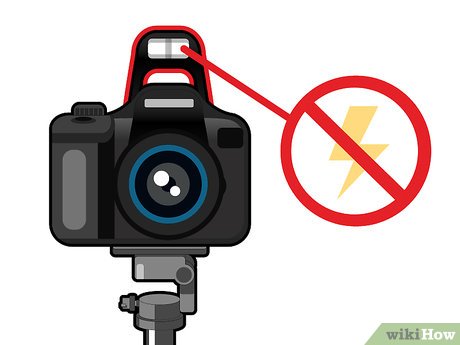 Turn off your flash to avoid glares and bright spots. Go to your camera's flash settings, and select 'Off.' If you are shooting indoors and use a flash, the extra light may overpower your image.[11]
- You do not need to use bright lights when photographing your artwork.
-
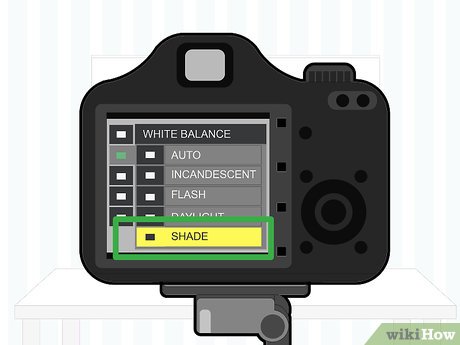 Use the automatic white balance setting and adjust if you need to. Look at the white background of your image. Does it look like it has an orange or blue tint? If so, adjust your white balance. You can use a preset for your lighting environment, such as 'Shade' or 'Daylight.'[12]
 -
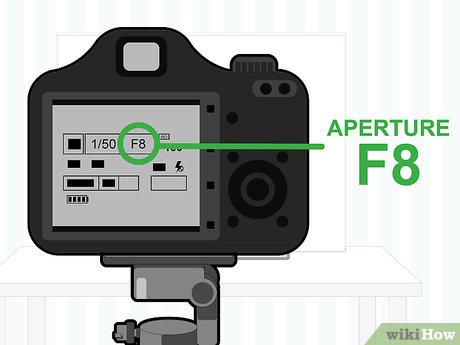 Set your aperture to F8 if using a tripod. Look for the dial on the top of your camera, and locate the 'M' position. Adjust your camera to manual mode by selecting this. Then, press to plus or minus button below your camera's shutter to change the aperture. Stop when you reach F8.[13]
- You can capture great detail and depth by using an F8 aperture.
- Keep your camera in manual mode if you do not have a tripod. F8 works well when your camera is perfectly stationary.
Part 3 of 3:
Taking Quality Photographs
-
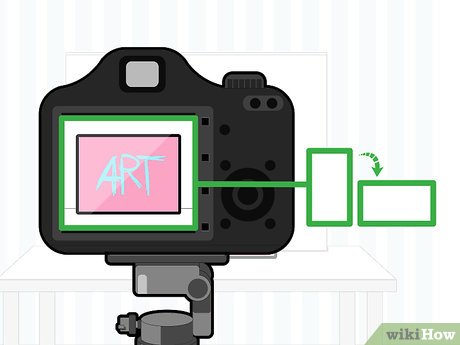 Position your camera horizontally or vertically to match your artwork. If you are shooting horizontal pieces such as landscapes, keep your camera in the horizontal position. If shooting vertical artwork like portraits, adjust your camera on your tripod so the camera is in the vertical position.[14]
- To move your camera, pull up on the adjustment bar where your camera meets the tripod. Then, lift up on your camera to pull it from horizontal to vertical.
-
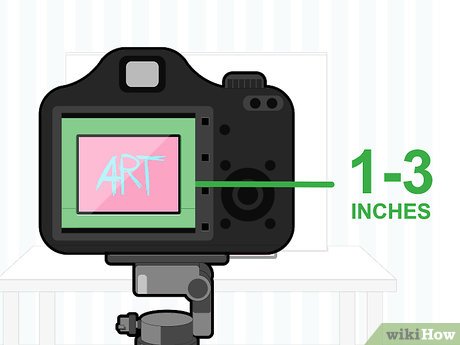 Leave no more than 1–3 in (2.5–7.6 cm) around your artwork to maximize resolution. When your camera is set up and ready to shoot, check the viewfinder and see how much room is around your art. If you have more than a few inches around your artwork, you can zoom in on your image or move your tripod back a bit.[15]
- This is helpful because your camera will focus on your art without any distractions, providing you with the most clear resolution.
- Fill the camera with your artwork as much as you can!
-
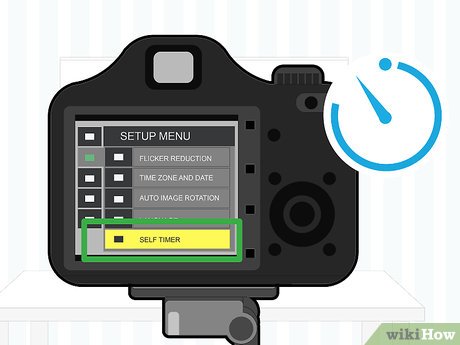 Shoot with a self-timer to keep your camera perfectly still. Go into your camera settings, and locate the timer option. Select 3 or 5 seconds, based on your preference. Then, press down on your shutter release button to take your picture.[16]
- This is helpful because it minimizes any potential movements, so your image will look as clear and detailed as possible.
-
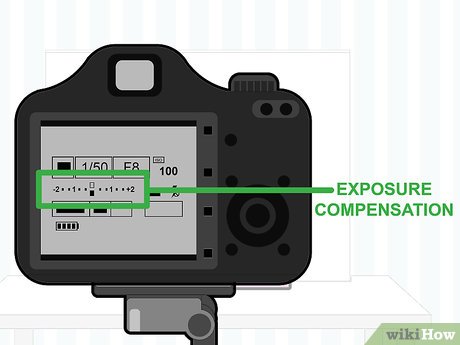 Use exposure compensation if your shots are too bright or too dark. If your image is overexposed or hard to see, you can adjust your settings and take additional pictures. Select your camera settings for aperture or shutter priority. Then, choose the setting that reads 'Exposure compensation.'[17]
- This helps adjust the levels of light in your photo so the dark and light tones are balanced.
-
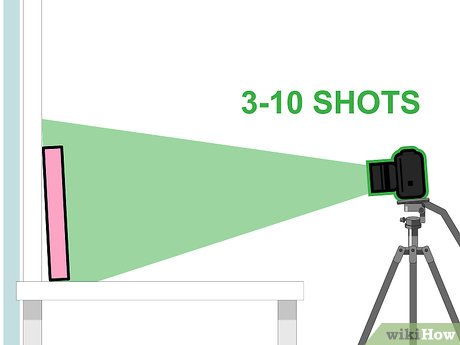 Take 3-10 shots of each piece to ensure you have quality photos. The more shots you take, the more chances you have of capturing the perfect picture. Then, you can review your images on your computer to pick the best 1 for your website. Great photos are rich in detail and in focus.[18]
 -
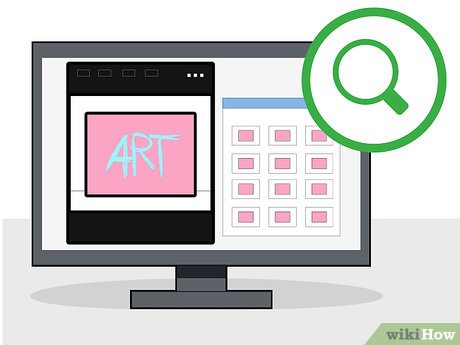 Review your photographs on your computer before you pack up. Upload your images to your computer using a memory card reader, and take a look at your shots. Notice the differences between light, and look for any shadows or inconsistencies in brightness. Then, select your most detailed and crisp shots.[19]
- It is helpful to do this before you pack up your gear in case you don't have a perfect shot to use for your website. That way, you can easily take more pictures.