How to create a new notebook directly in Gemini
The Notebook feature in Gemini helps you organize conversations and projects within the Gemini app, with the support of NotebookLM, making learning and working easier..
When using the Gemini app for complex projects, tracking content can be quite time-consuming. Gemini has updated its app with a new feature called "Notebook," allowing you to create a dedicated space for those projects.
The Notebook feature in Gemini helps you organize conversations and projects within the Gemini app, with the support of NotebookLM, making learning and working easier. Importantly, these projects are synchronized with NotebookLM, so you can access your notes notebook whenever you need it from Gemini or NotebookLM. Below is a detailed guide.
Instructions for accessing NotebookLM on Gemini
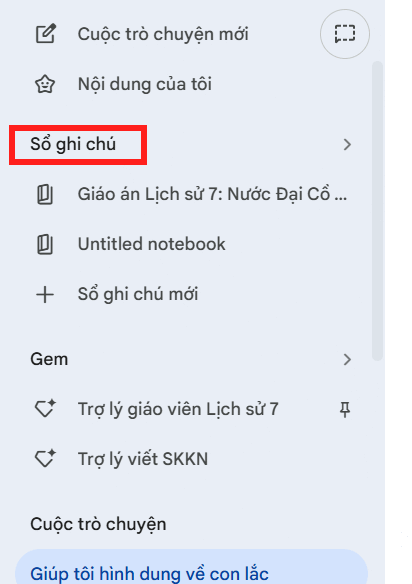
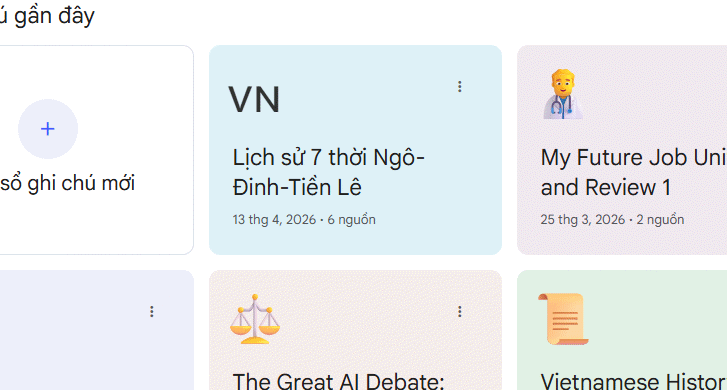
On the Gemini interface, on the left side, you'll immediately see the new "Notebook" section that you can access.
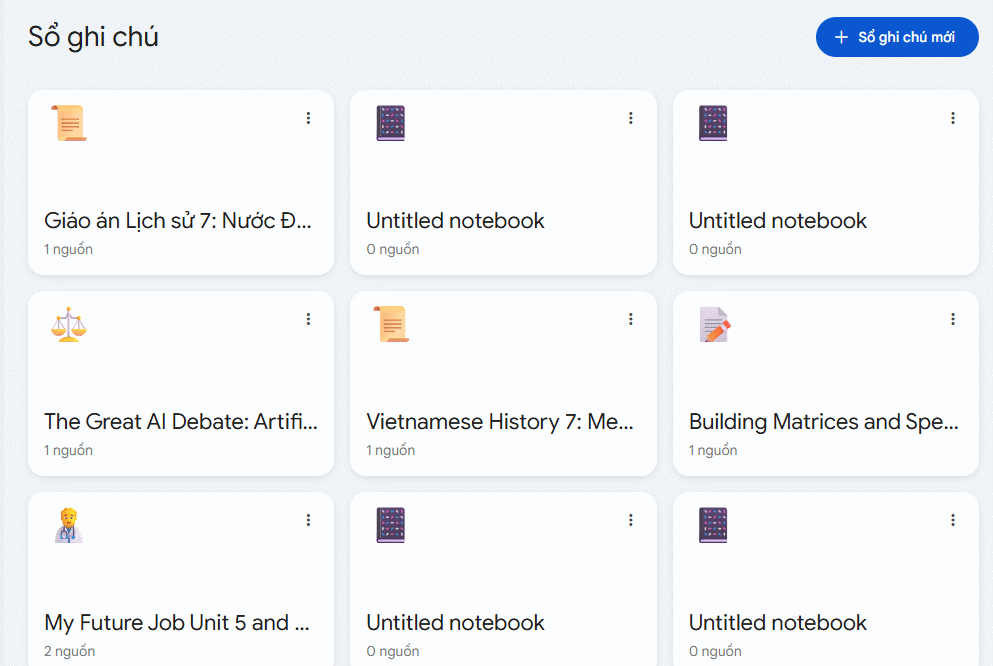
You will then see all the notebooks that have been created in your NotebookLM account.
If you access your existing notebook, you will see the source material used in NotebookLM, which you can then use in Gemini to implement the content as you wish.
How to create a new notebook on Gemini
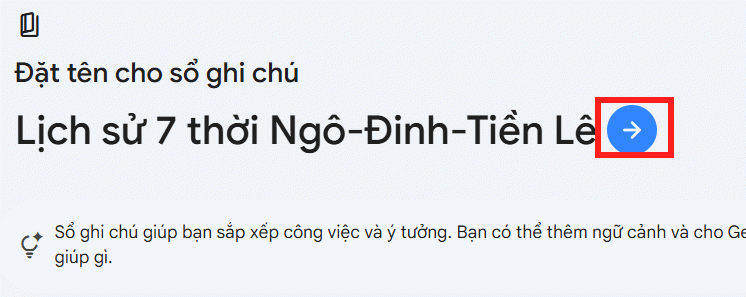
We click on New Notepad , and you will then see the interface for creating new content in Gemini. You name the notepad after the document you want to use it for, then click the blue arrow icon .
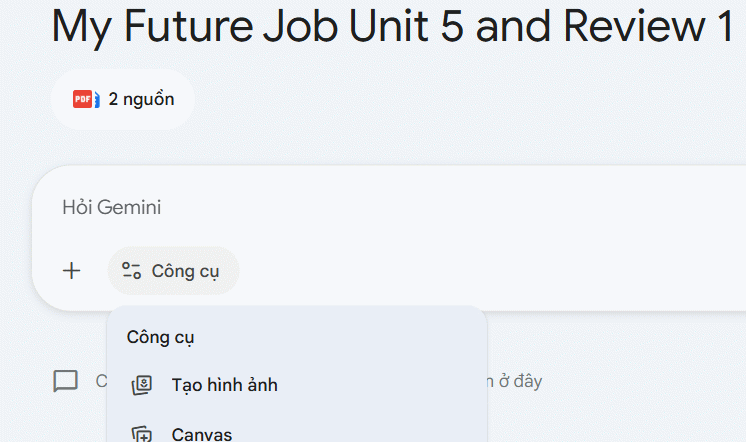
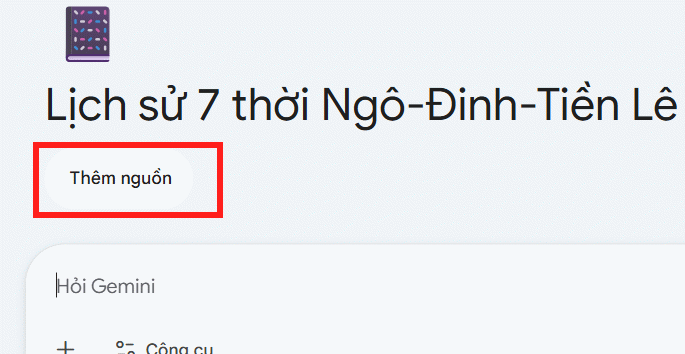
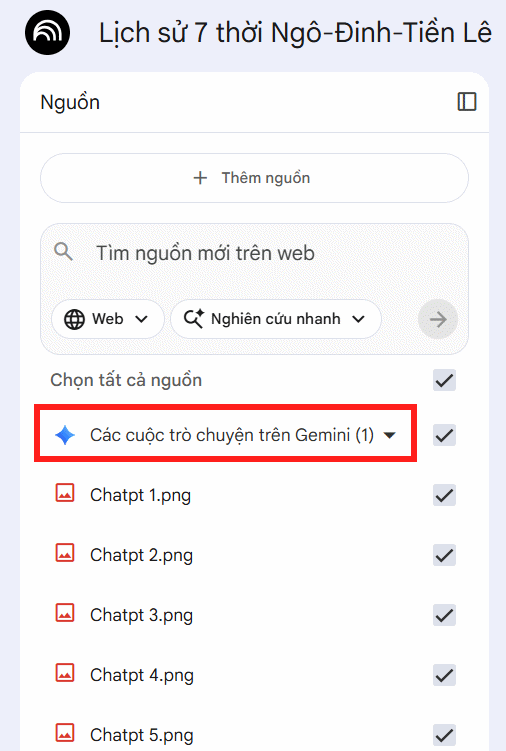
In the new notebook interface, click the Add Source button to use the source material for this notebook.
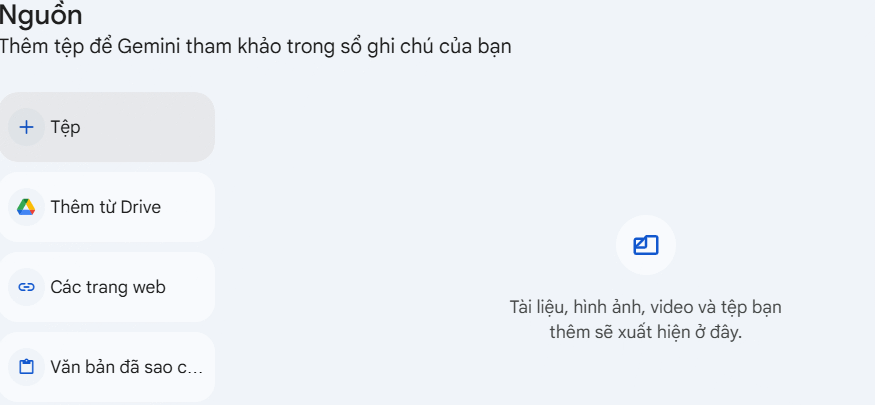
Then you have several options for selecting source materials for your Gemini notebook. You can choose to upload the original source material to your notebook to continue.
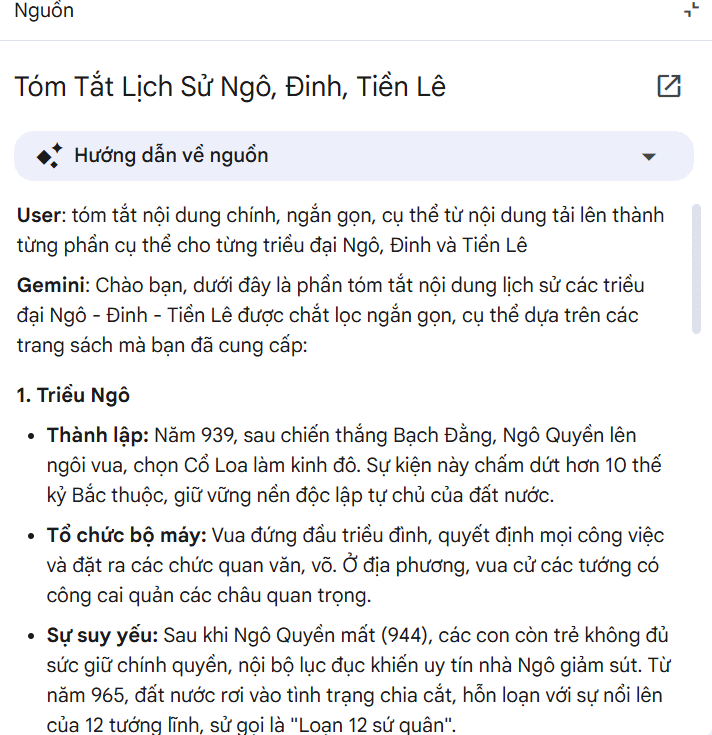
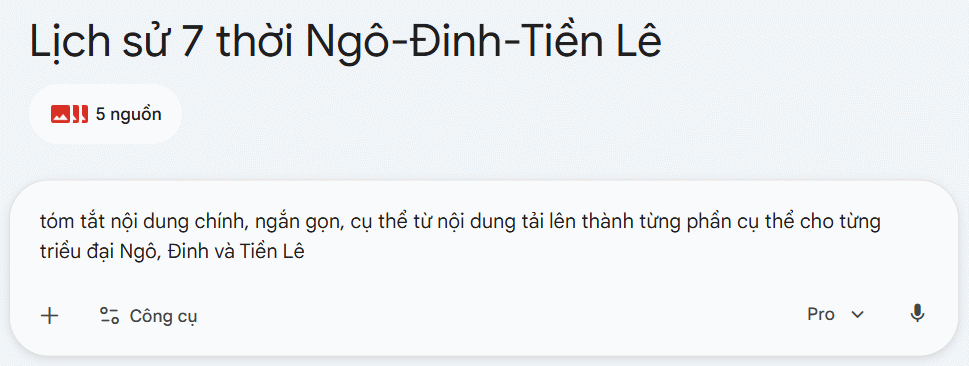
After uploading the source code, you proceed to enter commands to create content based on the uploaded source code to generate the content you want. Continue by selecting the tools you use, just as you would when working with Gemini.
Wait a moment and you'll see Gemini respond to the command we requested.
Synchronize Gemini notebooks with NotebookLM
All notes created on Gemini will sync directly to NotebookLM so you can continue working.
The source data is also synchronized, and the responses from Gemini are displayed in NotebookLM.
We click on the Gemini chat in NotebookLM and will see all the content of your previous work in Gemini.