Table of Contents
This updated guide examines How to Create a Magazine on Flipboard on Iphone or Ipad and organizes the essential facts, background, and practical takeaways in clear American English.
Method 1of 2:
On iPhone
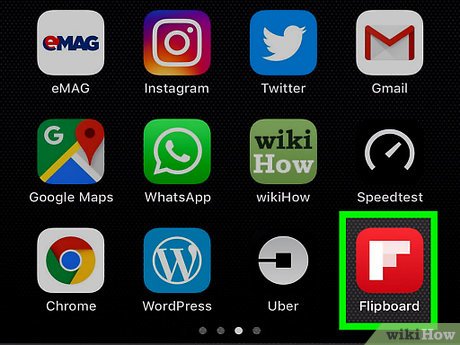 Open Flipboard. It's the red app with white blocks that resemble an "F" in the middle.
- Download the Flipboard app from the App Store and log in to your Flipboard account if you haven't already.
 Tap the "profile" icon. It's the icon that resembles a person in the bottom-right corner of the screen.
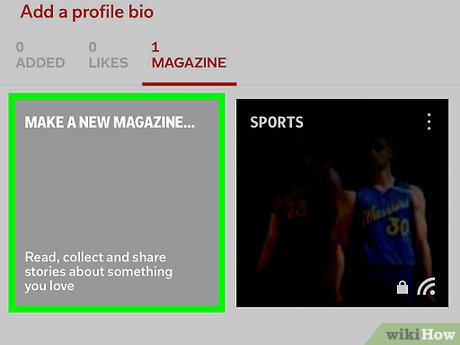 TapMake a Magazine. It's below your profile information. This opens a pop-up window from the bottom of the screen.
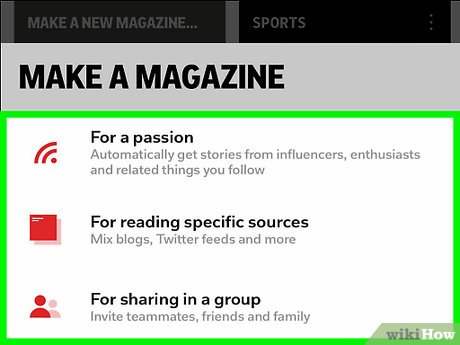 Select a type of magazine. Select from the following options to create the type of magazine you want to create:
- For a passion : will automatically gather stories to read from a list of topics you choose.
- For reading specific sources : will gather sources from blogs, Twitter feeds, and more.
- For sharing in a group : will allow you to invite friends and family to view and collaborate.
- For collecting : is for saving stories for long-term for you and your followers.
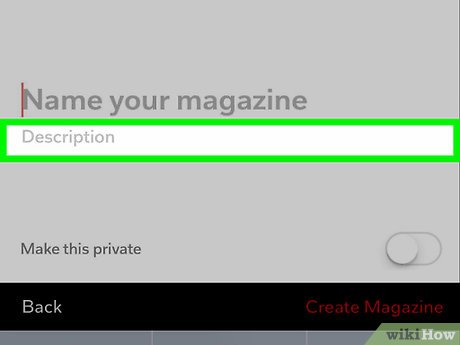
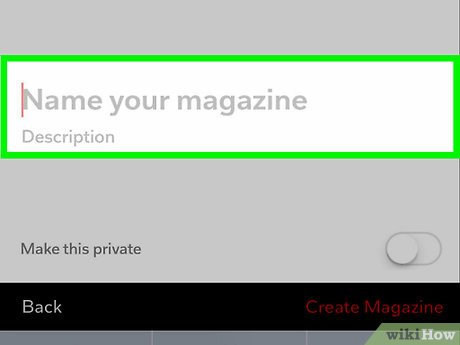 Add a title and description for your magazine. In the line that says "Name your magazine," type a title for your collection and then add a brief description to summarize what your magazine will be about.
- If you selected to create a magazine with the "For a passion" option, you won't be able to name your magazine or add a description, your magazine will be named for the t
 Add your magazine sources. If you selected "For a passion" tap the topics you want to include in your magazine or search for them using the search bar at the top. If you selected "For reading specific sources" tap Add Sources and search for and select all the sources you want to add. You can add everything from blogs, Twitter users, to national newspapers, and more.
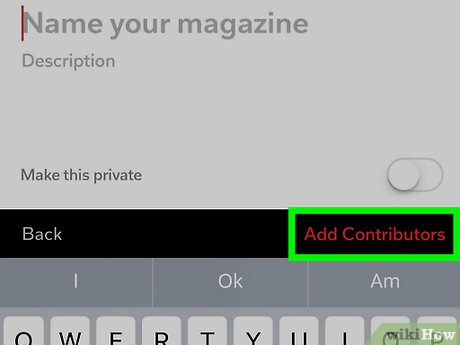 Add contributors. If you selected the "For sharing in a group" option, tap a sharing option to send a link to friends so they can contribute to your magazine.
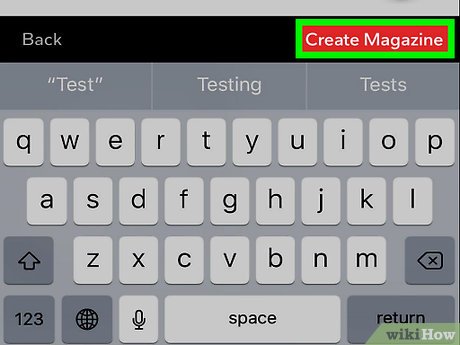 TapDone. When you've finished adding sources and contributors, tap "Done" to create the magazine. It will appear on your profile page in the "Magazine" tab.
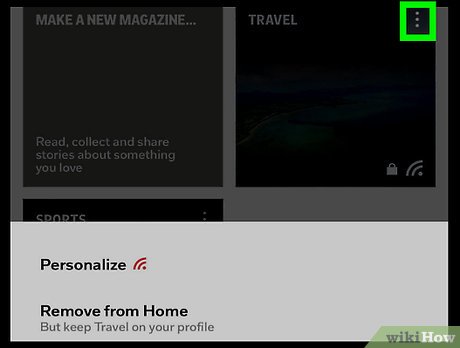
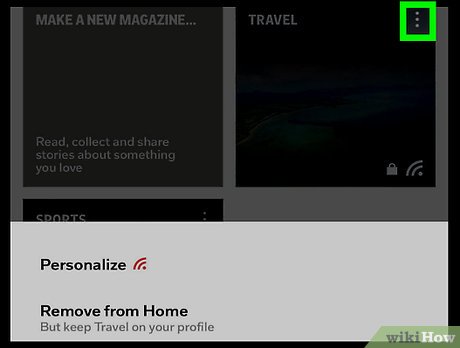 Tap⋮on the magazine. It's in the top-right corner of the magazine you just created from your profile page.
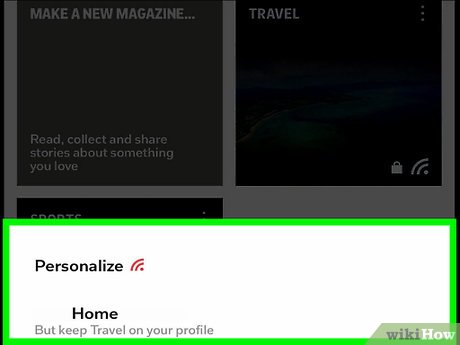 TapAdd to Home. It's in middle option. This adds the magazine to your Home page so you can read it everytime you open the Flipboard app.
Method 2of 2:
On iPad
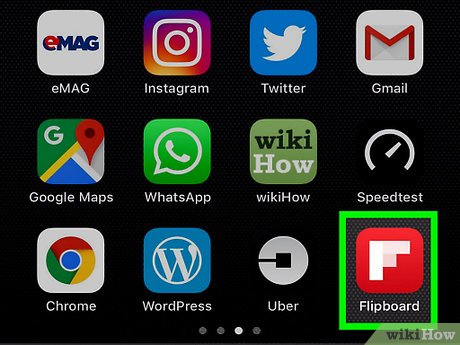 Open Flipboard. It's the red app with white blocks that resemble an "F" in the middle.
- Download the Flipboard app from the App Store and log in to your Flipboard account if you haven't already.
 Tap☰. It's the button with the three lines inside the red tab that resembles a ribbon in the upper-right corner.
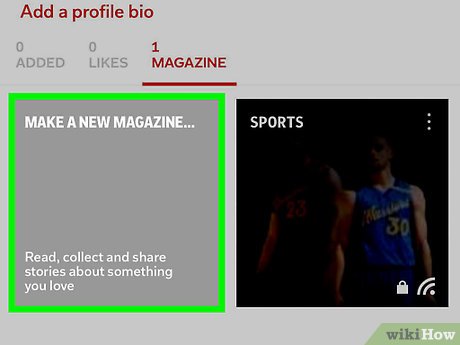 Tap the+ Newtab. It's the grey tab that says "New" and has a rectangle with a "+" sign.
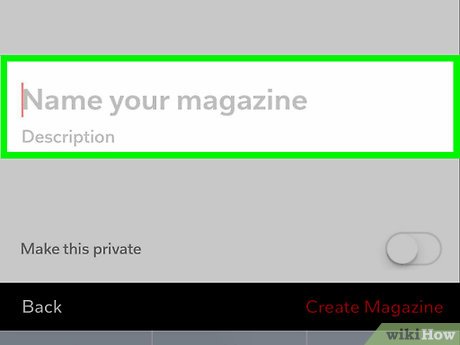 Add a title and description for your magazine. In the line that says "Name your magazine," type a title for your collection and then add a brief description to summarize what your magazine will be about.
- Tap the "Magazine Privacy" switch to the 'ON'
 position if you don't want other people to read your magazine.
- Tap the "Magazine Privacy" switch to the 'ON'
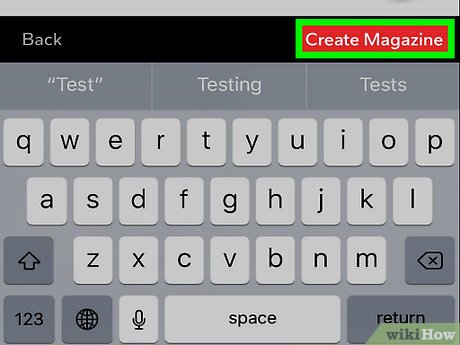 TapCreate. It's the red button at the bottom.
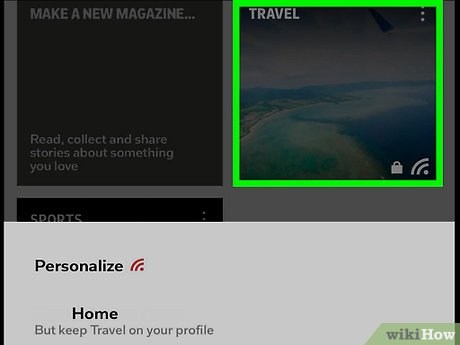 Tap the magazine. Tap the magazine you just created on your profile page. This will open the magazine.
 Tap the blue pencil icon. It's in the upper-left corner.
 Write some text for your post. Write a title and create a post.
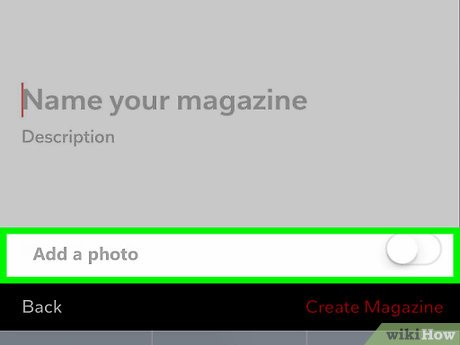 TapAdd a photo. It's the red button.
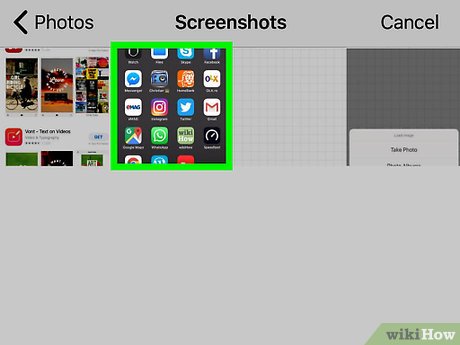 Select a photo from your iPhone or iPad storage.
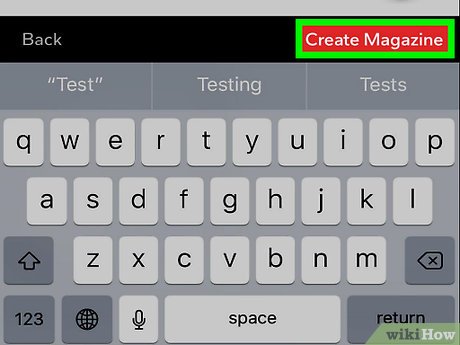 TapPost. It's the blue button in the lower-right corner of the popup window.
- The post button will only appear if there is some text written.
FAQ
What is How to Create a Magazine on Flipboard on Iphone or Ipad about?
It provides a structured overview of magazine, explains the main context, and highlights practical takeaways for readers.
Why does this topic matter?
Understanding the main concepts helps readers evaluate the issue, avoid common mistakes, and make better-informed decisions.
How should readers use this information?
Use the guidance as a practical starting point, confirm details that may have changed, and follow current product, safety, or security recommendations.
Related Articles
 Click: How to Create a Magazine on Flipboard on PC or Mac6 minutes read
 How to Create a Magazine on Flipboard on Android4 minutes read
 How to Increase the Popularity of Your Flipboard Magazine4 minutes read
 Magazine: How to Use the Flipboard Editor7 minutes read
 Tap: How to Use Flipboard on Android13 minutes read
 Screen: How to Use Flipboard for Windows 85 minutes read
Reader Comments 0
Sign in with email or Google to join the discussion.