How to create a lightweight Windows 11 for unsupported computers
The PC market is about to undergo a global shift later this year. Microsoft plans to end support for Windows 10 on October 14, 2025. And it's predicted that hundreds of millions of PCs will be stuck on this version.
The PC market is about to undergo a global shift later this year. Microsoft plans to end support for Windows 10 on October 14, 2025. And it's predicted that hundreds of millions of PCs will be stuck on this version.
Not all computers meet the hardware requirements to support Windows 11. Therefore, those who still want to upgrade but cannot afford new hardware can use 'unofficial' methods to update from Windows 10 to 11. This article focuses on creating a lightweight and debloated image, which should work better on low-end systems with less resources. Of course, if you have a more powerful PC, you can also try this method to get better performance.
Note: You should accept the potential risks of running a modified copy of Windows, especially when using third-party tools. If you're not comfortable with this or don't trust the script's creator, you can try installing Windows 11 on unsupported computers using unmodified images or enrolling your system in the Extended Security Update program to continue receiving support for another year.
In this guide, we'll be modifying your Windows 11 installation using a popular tool called Tiny11Maker. This tool strips the official requirements from your Windows installation and removes unnecessary components and bloat for a cleaner experience, allowing you to install Windows 11 on computers that don't have TPM 2.0 or Secure Boot and use older processors than the minimum requirements (2nd Gen AMD Ryzen or 8th Gen Intel Core).
Note: Some very old computers with certain processors cannot physically run recent versions of Windows 11, even with the hardware requirements removed.
Create a stripped-down Windows 11 installation for an unsupported computer
- Get a Windows 11 installation: Download the Windows 11 installation (ISO) that matches the version and language you need for your computer. You can get it from the official Windows 11 website or using the Media Creation Tool.
- Mount the installation: Mount the downloaded installation by double-clicking on it.
- Download Tiny11 Maker: Download Tiny11 Maker from the GitHub repository and extract it to any folder you like.
- Run the Tiny11maker script: Run the tiny11maker script . The folder also contains the tiny11Coremaker script , which creates ultra-compact installations with many important components removed. If you plan to use the modified Windows 11 on your main machine for daily work, use the tiny11maker script, as it does not change important components such as Windows Update, Windows Recovery, or Windows Security.

- Allow running PowerShell scripts: Open Windows Terminal with Run as Administrator privileges and enter the command Set-ExecutionPolicy Unrestricted to allow running PowerShell scripts.
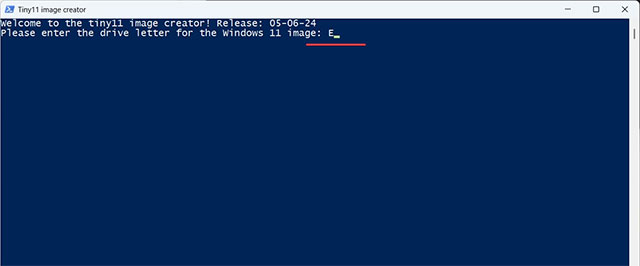
- Start Tiny11maker : Drag and drop the tiny11maker file into the Windows Terminal window and press Enter.
- Select Drive: Specify the drive letter containing the previously downloaded installation and press Enter.
- Select Edition: Select the required edition such as Home, Professional, Professional N or any edition you need and press Enter.

- Note : Remember that Tiny11maker is not a piracy tool and it will not activate your system for you. You still need a valid Windows 10 or 11 key to activate the installation. Make sure you choose the SKU (Stock Keeping Unit) that matches your license key.
- Select image index: After converting the images, PowerShell will prompt you to select the image index. Select the index that corresponds to your version of Windows.
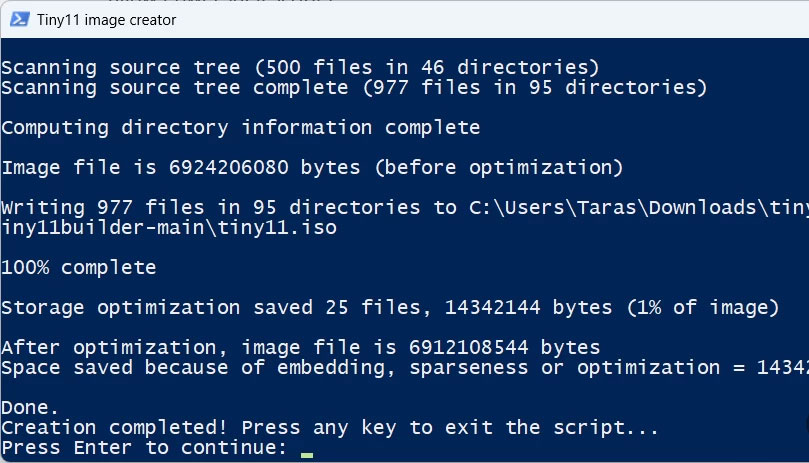
- Wait for the process to complete: Wait for Tiny11maker to do its job.
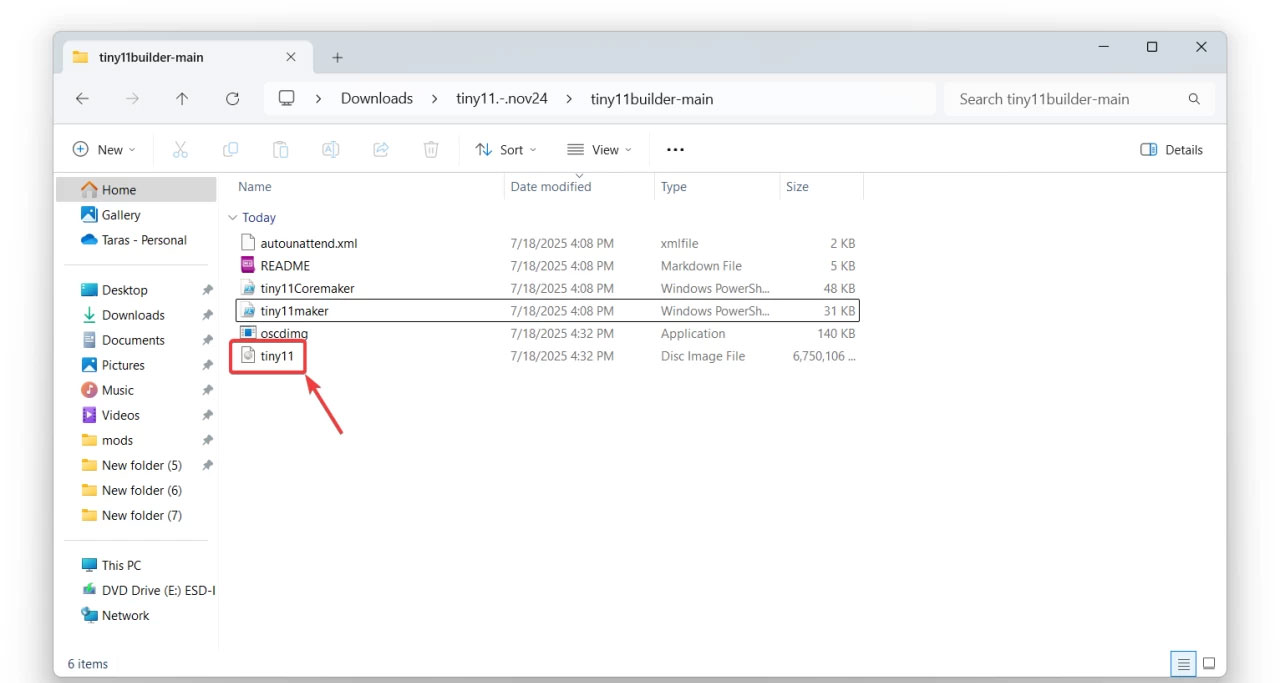
- Using the ISO File: When finished, you will have a ready-to-use ISO file that you can burn to any USB drive using applications like Rufus (don't select any options in Step 11). You will find the image file in the same folder as the Tiny11maker files.
Done! You now have a slimmed-down Windows 11 installation that works on unsupported computers and uses fewer resources than the original ("vanilla" version).
Was this article helpful?
Your feedback helps us improve.
Related Articles
 How to install Windows 11 on an unsupported PC5 minutes read
 It is possible to create a USB to install Windows 11 on an unsupported machine with Rufus2 minutes read
 How to upgrade to Windows 11 22H2 on unsupported hardware7 minutes read
 How to create Windows 11 ISO image using Tiny11 Builder5 minutes read
 How to add unsupported cards to Apple Wallet3 minutes read
 5 Lightweight Browsers for Windows 108 minutes read
Reader Comments 0
Sign in with email or Google to join the discussion.