How to configure DIG emulator frontend for Android
DIG is one of the best emulator frontends for Android devices. DIG makes classifying your video game emulators and ROMs easy and engaging.
Table of Contents
DIG is one of the best emulator frontends for Android devices. DIG makes classifying your video game emulators and ROMs easy and engaging. With support for Android, everyone can take advantage of DIG to play retro games.
What is DIG and what does it do?
There are many video game emulators available for Android devices. Unfortunately, if you have a large video game collection, you will have difficulty launching different emulators for each individual system.
DIG acts as a graphical user interface for all your emulators and ROMs on Android. Essentially, DIG is an attractive way to display your retro game collection, as well as an incredibly easy way to launch any game from any system.
With DIG, your game collection is organized by console. Furthermore, individual games have metadata, like box art, screenshots, and even gameplay summaries. It is important to understand that DIG itself is not an emulator; it is merely a graphical frontend that hosts the console emulators and ROMs you already have on your Android device.
Note: The application version that the article tested is 1.42.4 from APK. This version of the application retains all functionality detailed in this guide. The article recommends that you download this version and not update it to ensure the application continues to work as expected.
1. Add ROM to the device
DIG does not provide any video game ROMs nor does it provide you with the ability to download any ROMs from within the application. So you have to source the ROM yourself. It's important to remember that while video game emulators are completely legal, ROMs are not necessarily so. Obviously, DIG is basically useless without game ROMs, so you'll need to use some ROMs before you can start playing.
Once you have the ROMs, you will need to transfer them to your Android device. If your Android phone supports microSD cards, you should use it. Because DIG is compatible with a number of different consoles, you can comfortably load your entire retro game collection onto your Android device.
Whether you choose your device's internal storage or a microSD card, you should place your ROMs in a folder labeled 'ROM' or 'video game'. If you want, you can even organize your ROMs into separate folders using the console. This makes it a little easier for DIG to know where your ROM is.
2. Scan ROM
With the ROM on your Android device, launch DIG. When you activate DIG for the first time, it will ask if you want it to scan the device for ROMs. It will give you the option to scan the entire device or manually select a specific folder. Since you have all your ROMs organized, choose the second option and point DIG to your ROM folder to make the scanning process faster.
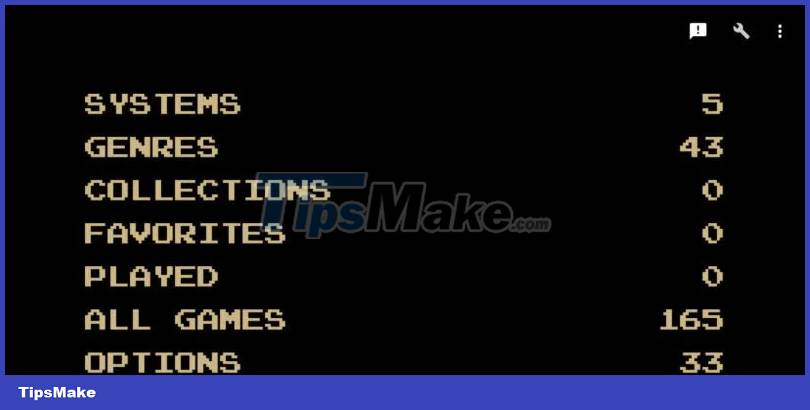
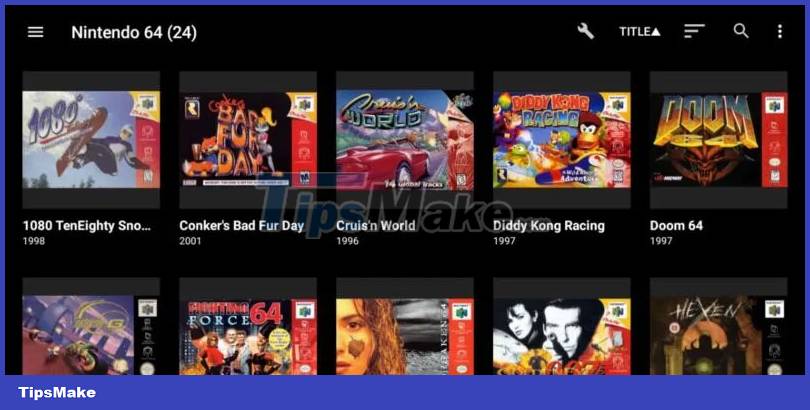
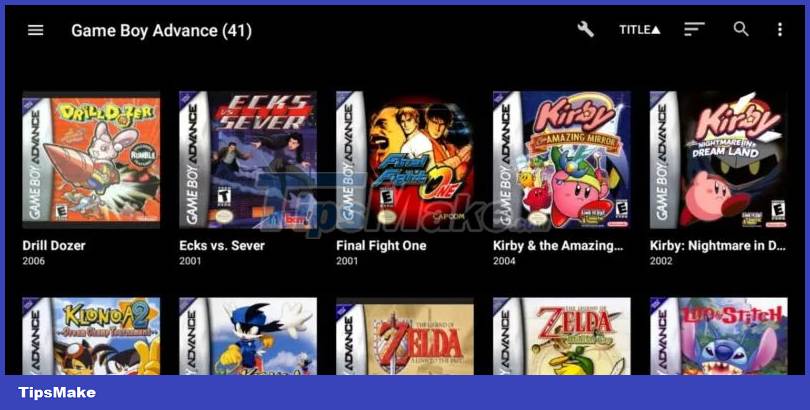
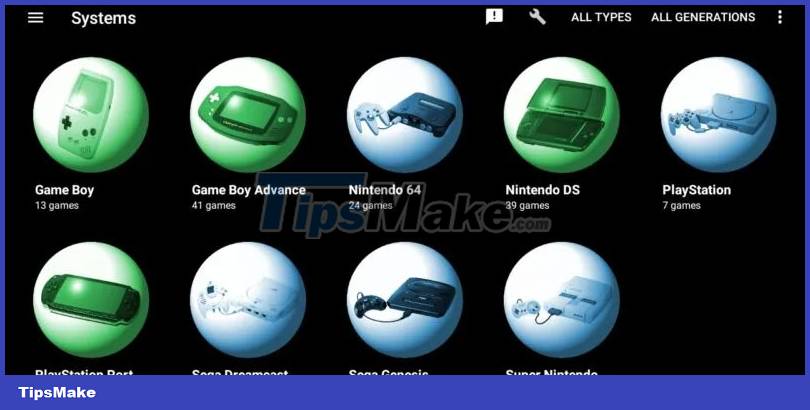
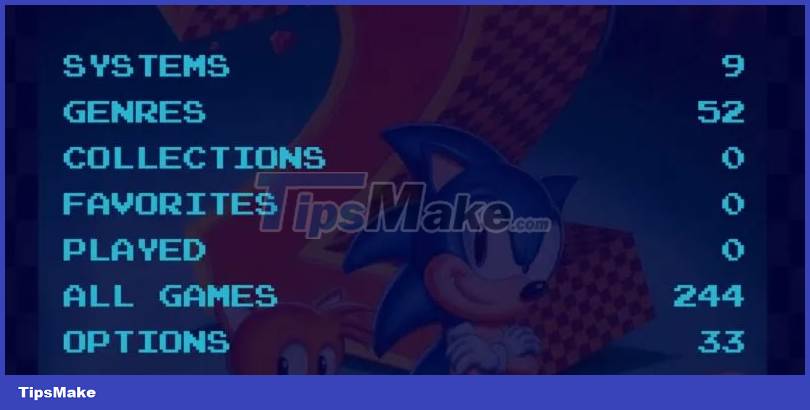
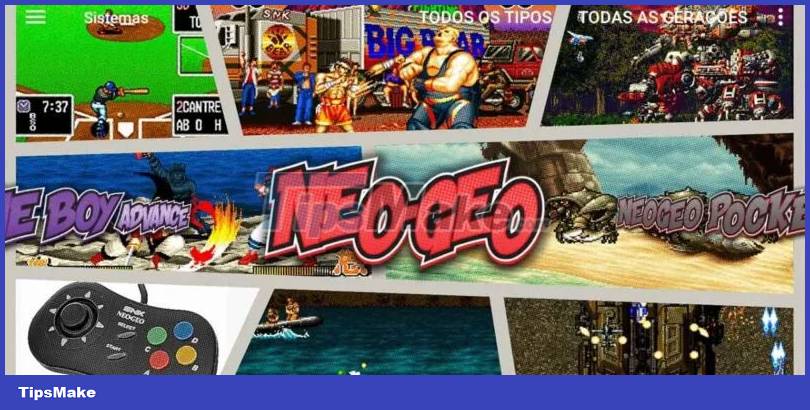
When DIG starts scanning, you will notice that your game list will automatically populate. DIG divides your ROMs into categories like Systems and Genre, making it easy to find the game you want to play. For example, clicking Systems will show you the console with ROMs on your system.

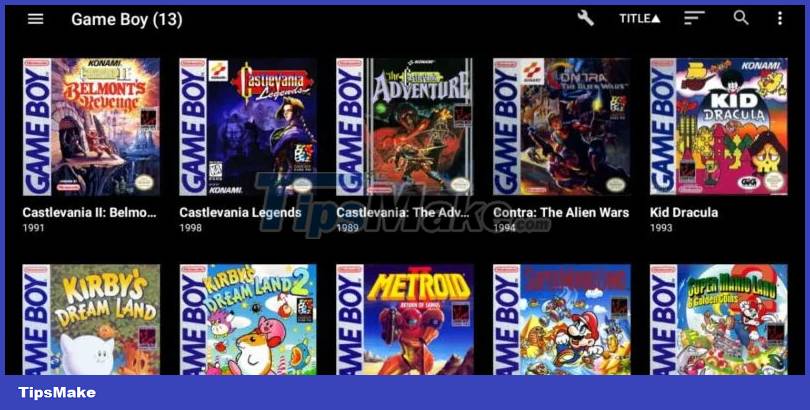
If you have the Super Mario Bros ROM, the Nintendo Entertainment System will show up as a selectable option in the Systems submenu. Selecting it will show you all the NES ROMs on your device. Furthermore, DIG will also automatically download box art, screenshots, and other metadata, such as release dates and plot summaries related to each game from TheGamesDB.
Note: Your device needs to be connected to the Internet to scan metadata.

If you later add more ROMs to your device, you can easily add them to DIG. In order for your new games to show up in DIG, you need to ask DIG to manually scan for new ROMs. To do so, tap Options in the main menu, then tap ROM scanning and finally Start manual scan.
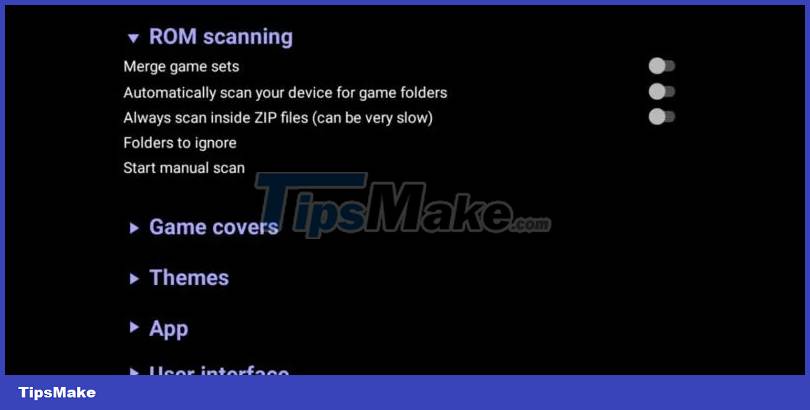
DIG will ask if you want to scan the entire device or a specific folder, then start scanning. A small wrench icon will appear at the top right of the screen to indicate that it is still scanning. Once the wrench icon disappears, DIG has finished scanning and new games will appear in DIG's menu. Unfortunately, when scanning new ROMs, you will notice that the cover art and other metadata are missing. To fix this, go to step 6 below.
3. Configure the emulator
Although DIG itself is not an emulator, it is compatible with many different emulators for a variety of consoles. If you have a DIG-compatible emulator installed on your device, DIG will automatically recognize that emulator and assign it for use with the ROM for that system. If you don't have an emulator installed for a ROM in your collection, DIG makes it extremely easy to find and assign an emulator.
If you try to launch a game without an emulator specified to play it, DIG will automatically visit the Google Play Store to download the appropriate emulator. Simply download and install the emulator to your device and DIG will automatically assign it for use with the respective ROMs.
4. Change the default emulator
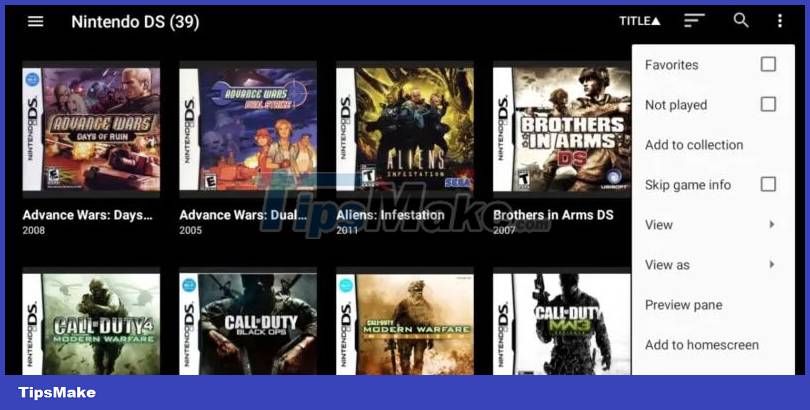
One of the best things about DIG is that you can use almost any emulator available on Google Play. If you want to experiment with different emulators, DIG makes it easy to switch between them. To do so, simply navigate to your console's games list. At the top right of the screen, tap the three stacked dots. In the drop-down menu, click Manage system.
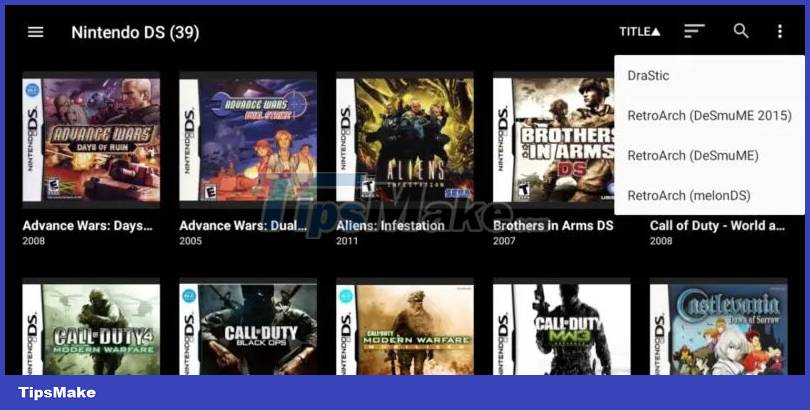
Tap the default emulator to display the list of compatible emulators, then select the emulator you have installed on your Android device. DIG will automatically set that emulator as the default for that system. Therefore, the next time you launch a game associated with that console, DIG will use the emulator you specified to run that game.
5. Search for missing cover art and metadata
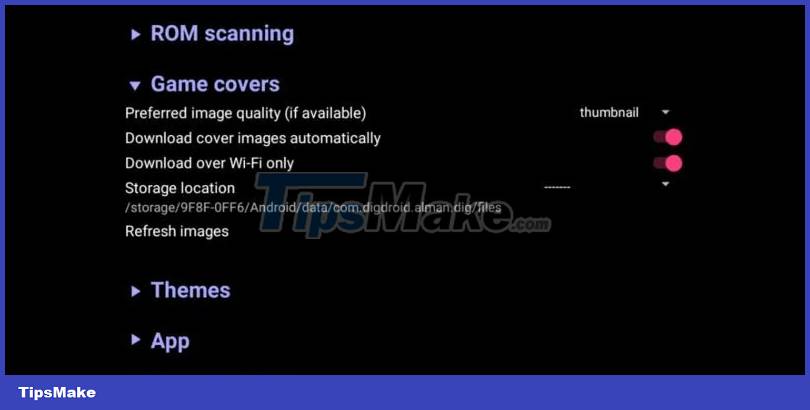
DIG automatically downloads metadata for your ROM when you launch the app for the first time. However, if you add games later, those games will not have box art or screenshots when they are added to your game list. Luckily, you can search for missing cover art and metadata at any time.

To download missing metadata, tap Options in the main menu. From there, tap Game covers -> Refresh images. DIG will ask if you want to download the missing box art. Press OK and DIG will do the rest.
6. Customize the theme
Now that you've added the ROM and configured the emulator, you're ready to play your favorite retro games. However, DIG is a bit bland. Luckily, DIG has a number of themes available so you can customize the DIG frontend on your device.

To do so, launch DIG and tap Options in the main menu. On the next screen, select Themes. In the drop-down menu, click on Select theme, this will show you 4 options that come with the DIG application. Default is Black. You can see an example of the black theme in some of the screenshots above.
In addition to black and white themes, there are also Gray and Blue/Covers, which use blue in menus and use the box art of your device's ROMs as a background.
In addition to the default themes, there are many more themes available for download thanks to a strong online community creating and sharing themes on the official DIG website.
To install a new theme on your Android device, download the theme you like from the DIG forum. If you have downloaded the theme to your computer, you will have to transfer the file to your Android device. Remember to note where you placed the file.
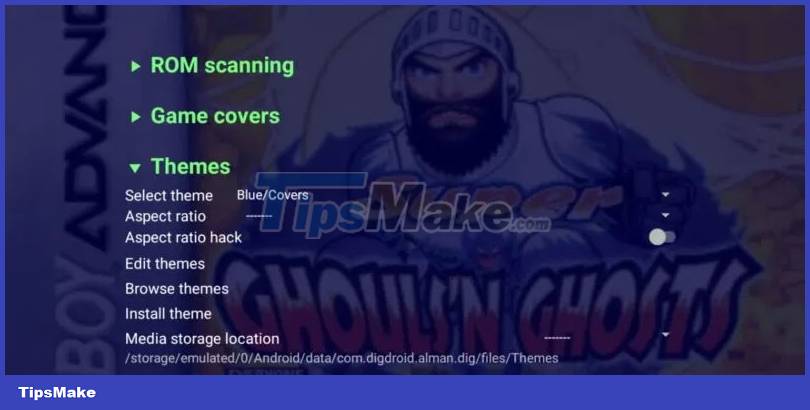
Next, launch DIG on your device and select Options from the main menu, then tap on Themes. In the drop-down menu, select Install theme. DIG will prompt you to point it to where the theme is stored on your device. Once the theme is installed, it will be a selectable option along with the default black, white, gray, and blue colors.
7. Customize how the game is displayed
In addition to changing the theme, DIG also gives users the ability to change the way the game is displayed. The default option displays your game box art as a grid. However, there are a number of different options available. When browsing your game, tap the three stacked dots in the upper right corner of the screen. Click View as in the drop-down menu.
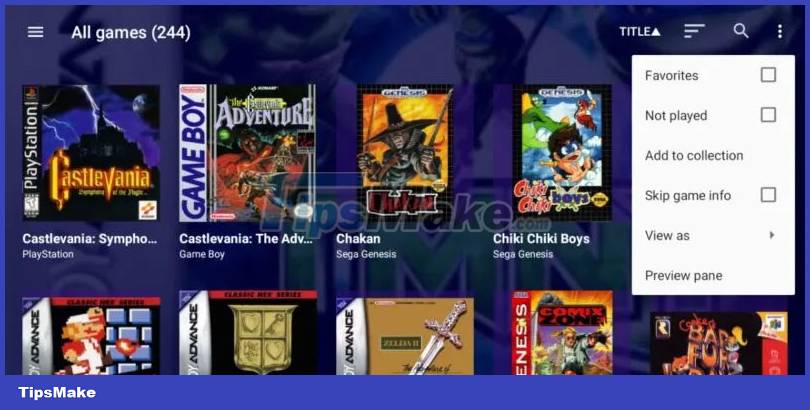
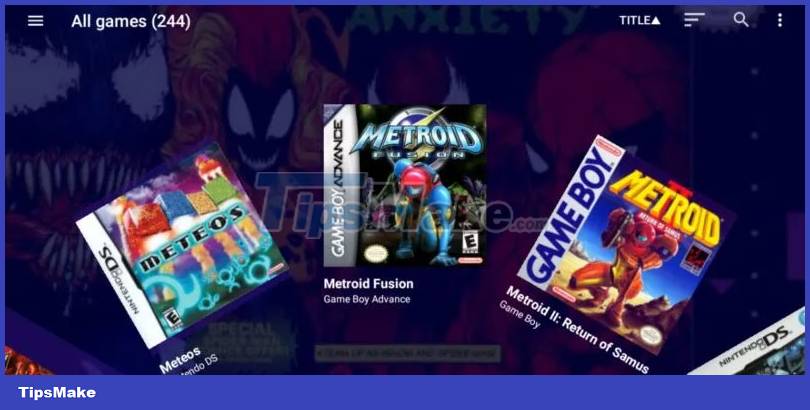
In the next menu, you will see various options, including Carousel, Wheel, Cover flow, and others. Tap the option of your choice to apply it. If you don't like any of the other options, don't worry. To return to the default view, follow the same steps and select Grid.
8. Set DIG to auto-start
Don't plan on using your Android device for anything other than playing retro games? You may want DIG to launch automatically when you turn on your device. Luckily, setting this up is easy.
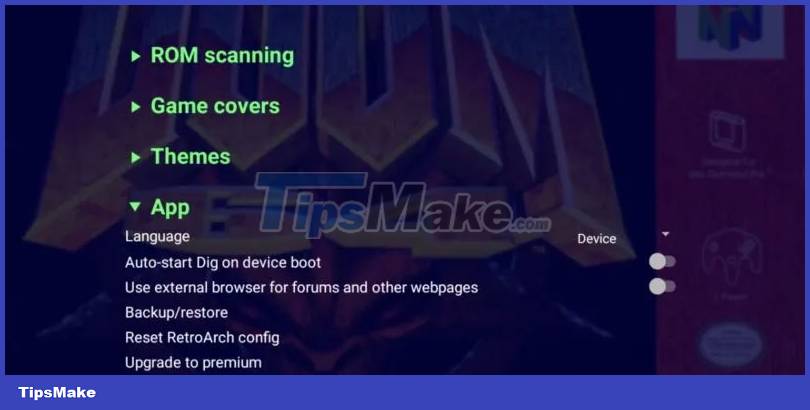
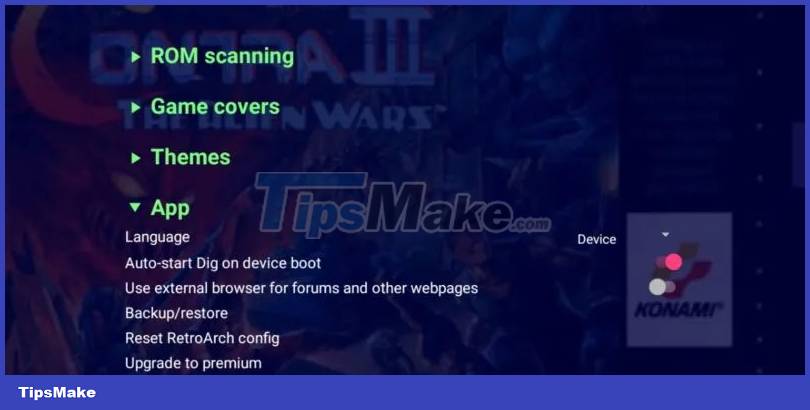
First, launch DIG. On the main menu, click Options. On the Options screen, select App. In the drop-down menu, click Auto-start DIG on device boot to turn on the toggle switch. The next time you start your Android device, DIG will run automatically.
With support for multiple systems and emulators as well as a relatively small capacity, the DIG emulator frontend is a great way to easily organize your retro video game collection. While it may require a bit of effort to get the app up and running, it's definitely worth it. DIG is one of the most user-friendly emulator frontends available for Android.
Was this article helpful?
Your feedback helps us improve.
Related Articles
 Top 9 PC emulator software for Android10 minutes read
 8 best free Terminal Emulator apps for Android5 minutes read
 4 best Android emulators on Mac5 minutes read
 10 best Android emulator software for Windows14 minutes read
 Official Android emulator application available on Mac OS X2 minutes read
 Instructions for playing Android games on PC with LDPlayer3 minutes read
Reader Comments 0
Sign in with email or Google to join the discussion.