Table of Contents
If you want to learn how to resize a layer in GIMP, don't skip this article. In today's article, TipsMake.com will show you how to resize individual layers in GIMP using the Scale tool. Before starting, make a clear distinction between changing the layer size in GIMP and changing the image size in GIMP. When resizing an image, you will resize the entire layout - including all layers in that layout (if you have multiple layers). However, if the layout has multiple layers, you can resize each layer individually without resizing the entire layout. That's exactly what will be covered in this article.
1. Create a new layout

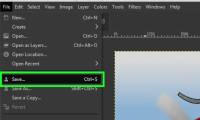
To get started, you'll need to create a new layout and open your layers. If you have opened a new layout, you can skip this section. If not, then go to File> New .

This step will open the 'Create a New Image' dialog box. From here, you can choose the size and resolution you want to set for the image. For example, select width of 1920 and height of 1080 (unit in pixels). You can change the unit if you want, by clicking on the drop-down menu.

To change the resolution, click 'Advanced Options'. The first option in this area is to change the resolution X and Y. A good rule of thumb is to set the X and Y resolutions to 300 pixels per inch, if you plan to print the final layout and set the X and Y resolution to 72 pixels per inch if you plan to use Works on a website.
For other options, leave the Color Space option unchanged by default, set Precision to 32-bit floating point and Gamma to Gamma to Perceptual gamma (sRGB) . You can leave all other options unchanged by default.
Click OK to create a new layout.
2. Create layer or import file as layer
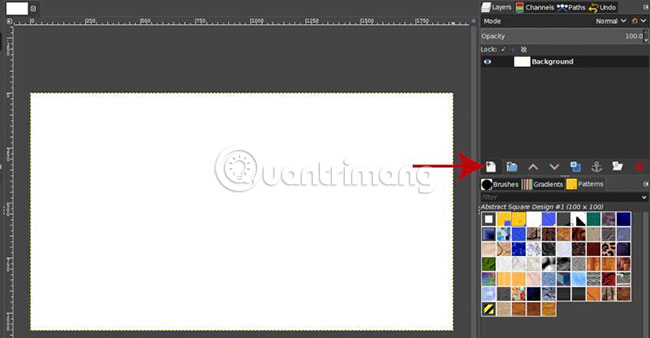
As mentioned in the previous step, if you have opened the layout and created layers for your layout, you can skip this step. If not, you can create a new layer by clicking on the New Layer icon in the Layers panel .
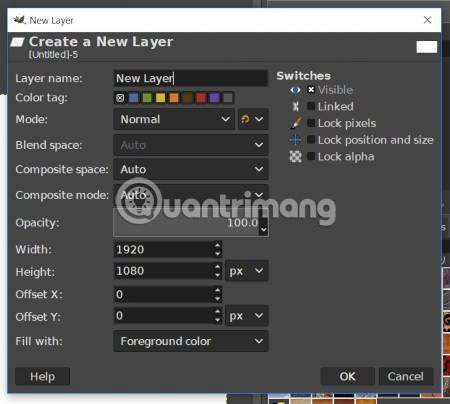
After that, the 'Create a New Layer' panel will appear. This is where you can adjust your layer settings (ie name the layer, add color tags, change the layer size and background, etc.).
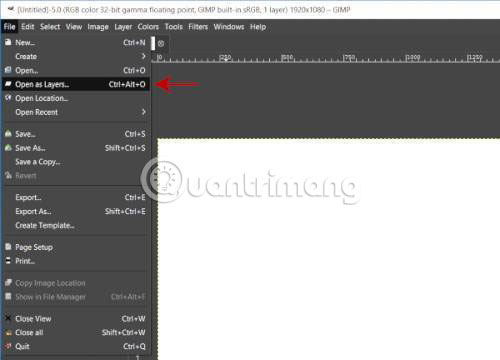
Alternatively, you can open the image as layers into the layout, by going to File> Open as Layers .

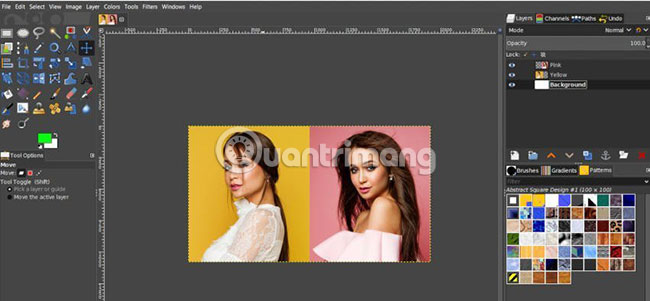
Navigate to the location on the computer where the file is located, then click to select the file and click the Open button . Repeat this process until all files are opened in the layout. The example has opened 2 images into GIMP, so there will now be a total of 3 layers (one layer per image and 1 background layer added).

To make things easier, we'll rename the layers by double clicking on the layer name in the Layers panel . For example, name the layer with the pink background Pink and the yellow background layer is Yellow.
3. Use the Scale tool to resize each layer

Now you have created the layout and imported the file as layers. Next, you can adjust individual layers to make them more suitable for layout. To do this, we will use the Scale from Toolbox. You can also access this tool by pressing Shift + S on the keyboard or go to Tools> Transform Tools> Scale .
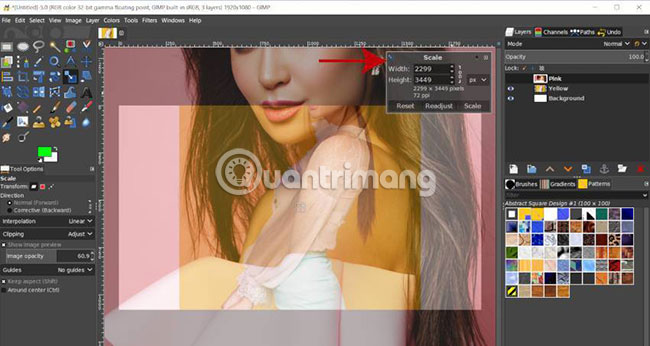
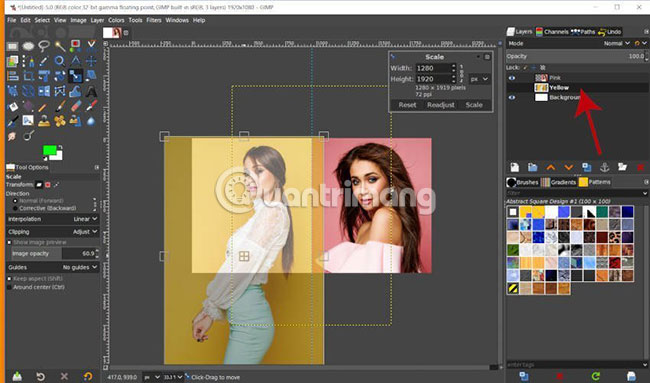
After selecting the Scale tool , click on the top layer of the work (in this case, Pink layer). This will bring up the Scale toolbox , showing the current size of the selected layer, as well as options to reset the size to default (before making any adjustments) via the button. Reset, adjust the handles that can be used to convert the layer through the Readjust button , or apply the size to the layer via the Scale button .
You can also see the link icon icon to the right of the image size, allowing you to lock the frame rate of the image. You should 'lock' this ratio, otherwise the image will be deformed.
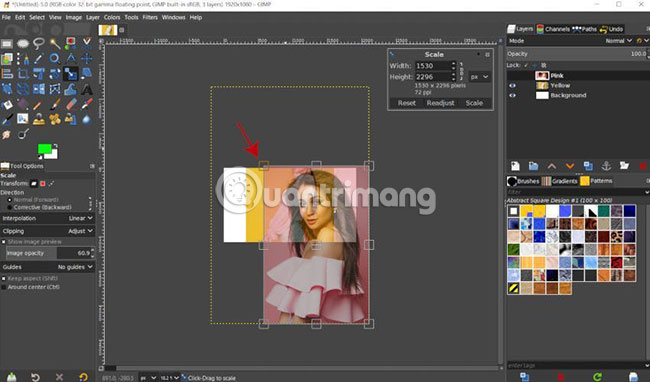
If you don't see the handles for the layer, hold down the Ctrl key and use the mouse wheel to minimize the layer. After scaling down, you can see the changing handles around the edge of the image and they will be used to shrink the layer down. For this layout, we'll let both photos appear side by side and 2 models of the same size in each photo. So first let's start with Pink layout. Click and drag the handle to the top left inward, to make the layer shrink in size. You will notice that the Width and Height values drop in the Scale toolbox when you do this.
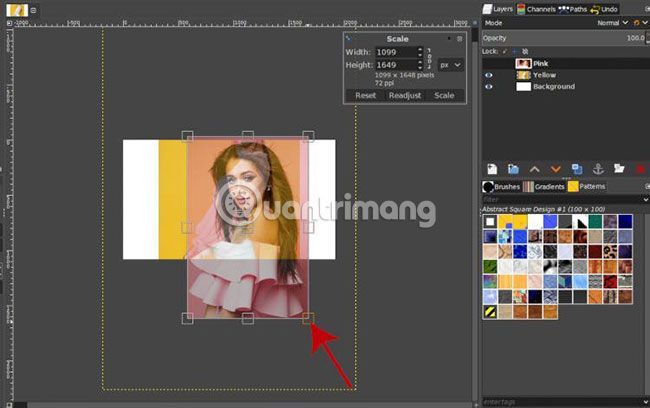
After that, hold down the Ctrl key and use the mouse wheel to enlarge the layer a bit. Next, click the transform handle at the bottom right of the image layer and drag it inside. This will also make the layer shrink.
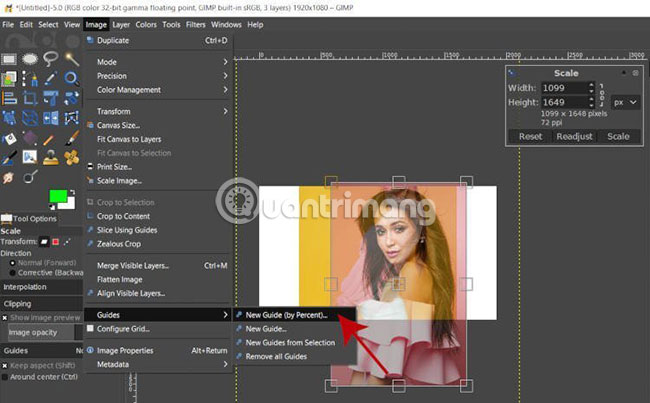
However, the problem now is that you are not sure how much to shrink the layer to achieve the desired effect. For added convenience, create a standard line by going to Image> Guide> New Guide (By Percent) .
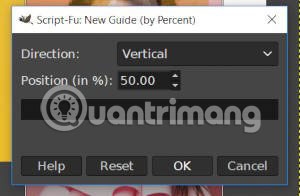
Change Direction to Vertical and keep the Position value (in%) at 50%. After clicking OK, a vertical calibration line will be added to the middle of the layout. Now, you can continue to adjust the layer size, using this calibration curve for reference.

You can also use the middle handles in the Scale tool to reposition the layer (these middle handles basically act as Move tools). For example, click on these handles and reposition the layer so that the left edge of the layer is aligned with the vertical calibration line and the top of the layer is aligned with the top edge of the layout.

Then, use the transform handle at the bottom right again to shrink the layer down until the right side of the layer is aligned with the right edge of the composition. If you want to make this process more accurate, you can use the Ctrl + mouse wheel, zoom in on the edge of the image to check and see if the edges are correctly aligned.
You can see that the new layer size in the example is 960 x 1440 . When ready to apply the changes, click the Scale button in the Scale toolbox .
Pink layer is now minimized in composition!
4. Repeat the process for all layers to resize
Now, the example will repeat this process for the Yellow layer. First, click on the Yellow layer in the Layers panel . Next, click the edge of the Yellow layer to select it with the Scale tool .
Use the transformation handle at the center to move the layer to the left of the composition. However, the model that appears in this layer is smaller than the Pink layer, so need to expand the Yellow layer. Continue changing the image ratio from the center instead of adjusting from the corners.
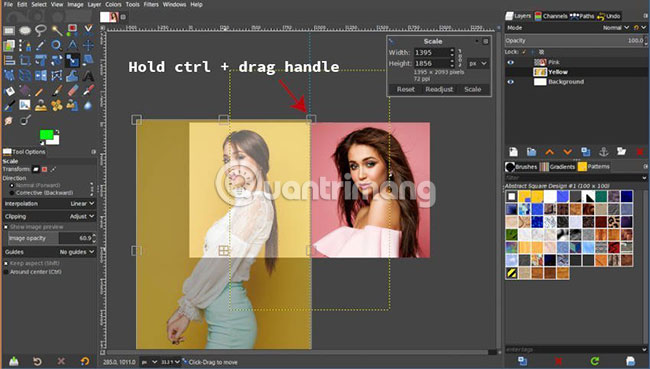
So to do this, use any transformation handle, but keep the Ctrl key pressed and drag the handle out.
You can continue to use the central handle to reposition your image after increasing its size. Continue to expand the layer until the model in the Yellow layer is the same size as the model in the Pink layer.
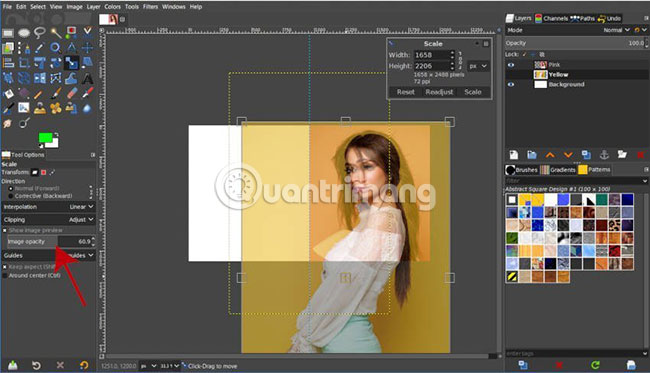
You can even temporarily reset your Yellow layer above the Pink layer (in Tool's Tool Scale Options> Show Image Preview , make sure to set Image Opacity below 100, so that you can see the Pink layer below) and continue. convert images until both models are the same size. After that, you can reposition the layer back to the left side of the layout when done.
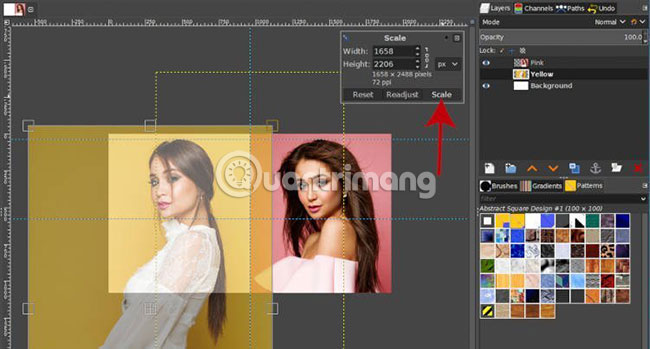
When everything is in place, click the Scale button to apply the new size to the layer.
Press Ctrl + Shift + T to hide the standard line. Both models are now the same size and placed in the right position on the composition.
That's all there is to do to change the layer size in GIMP.
Hope you are succesful.
Was this article helpful?
Your feedback helps us improve.
Related Articles
 How to Recolor Anything on Gimp9 minutes read
 How to automate GIMP by script9 minutes read
 How to Make a Bug in GIMP13 minutes read
 Let your photos 'shine' with GIMP's background change feature8 minutes read
 How to Change Hair Color in GIMP11 minutes read
 New features of GIMP version 2.1010 minutes read
Reader Comments 0
Sign in with email or Google to join the discussion.