How to Change the Arrow for a Screenshot (Macs)
There is not just one type of arrow for a screenshot. There can be many types that can be used in a screenshot. You may not know how to change the arrow to a different one, so follow these steps for tips. Open the file of the screenshot....
Method 1 of 2:
Colour
-
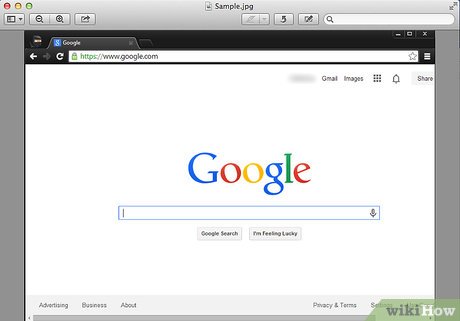 Open the file of the screenshot you want to put the arrow on.
 -
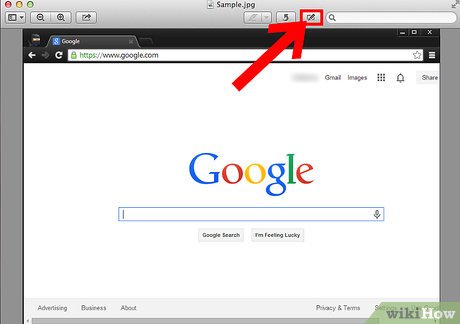 Click the pencil icon at the top menu. It should be the last box-shaped button with a picture of a pencil on it.
- Once you click the button, another menu will appear right at the bottom of the top menu.
- Once you click the button, another menu will appear right at the bottom of the top menu.
-
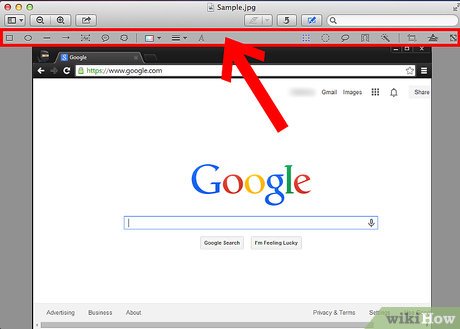
 Click Arrow option.
 -
 Click the colourful square icon on the bottom menu.
 -
 Choose your choice of colour from the drop-down menu.
 -
 Create your arrow.
 - Choose another colour.
- The arrow will change to a different colour.
Method 2 of 2:
Style
-
 Open the file of your screenshot.
 -
 Click the pencil icon at the top menu.
 -
 Click the arrow option.
 -
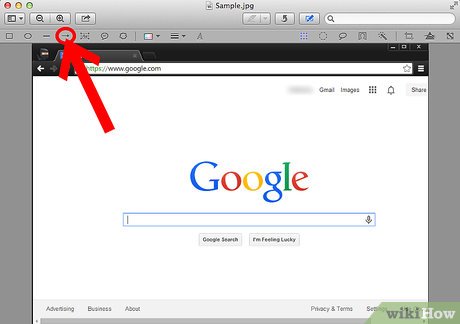
 Click the lines icon and choose your choice style of line.
 -
 Create the arrow.