How to Capture Cinematic Drone Footage
Part 1 of 3:
Planning Your Filming
-
 Shoot at the right times. A lot of things factor into your video quality, and picking the ideal time to shoot is very important. The best times to shoot are sunrise and sunset to get that extra light and color in your video.
 -
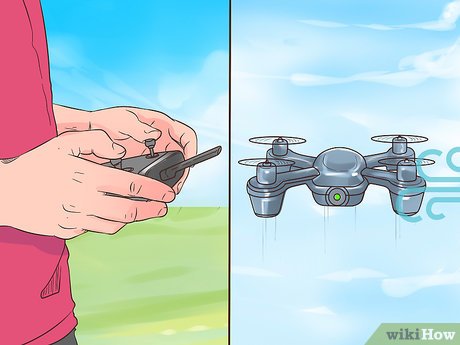
 Check the weather before you go out. It might be a beautiful day, but powerful gusts of wind can make it hard for your drone to stabilize and get cinematic shots.
 -
 Plan your shots before you put your drone in the air. You only have so much battery and planning beforehand can eliminate a lot of wasted time and allow you to capture more quality footage.
Part 2 of 3:
Shooting Footage
- Slow down your speed. The slowed speed adds emphasis and a more dramatic effect to your clips and creates this cinematic feeling.
-
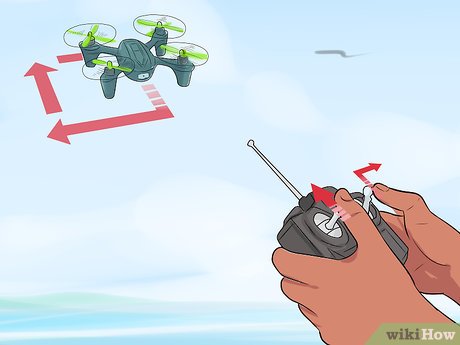
 Avoid making any sudden or jerky motions. You want your shots to be as smooth as possible to create the cinematic feel and a jerky motion can ruin your clip.
 - Use ND filters. ND filters reduce the amount of light entering the camera and provide a longer shutter speed. These are crucial for drones that do not allow you to change your aperture settings as they allow you to have a natural blur in your clips that looks really cinematic.
- Focus on your subject. If you are trying to create that cinematic feel, it helps to have a focal point in your shots.
- Shoot for variety in your clips. Many people enjoy basic movements while shooting such as a pullback or moving in; however, if you use the same movements your footage can get repetitive and dull, so it is best to capture your subject in as many unique ways as possible.
-
 Always be recording. You never know what you're going to see in the air and if you're not always recording it can be easy to miss some great shots. Also, the more footage you have, the easier it will be when you go to edit your footage.
Part 3 of 3:
Editing your Footage
- Color correct your footage. A lot of people just put their clips together without correcting their footage, however this will prevent you from getting the most from your video. Color correcting includes adjusting things like brightness, saturation, color and much more.
- Use LUTS. Instead of color grading your footage, a LUT is like a preset filter for your footage that can greatly improve the color. Most editing software comes with a pre-made group of LUTS and each one is unique, so try them out to find the best fit for what you are trying to do.
-
 Avoid jerky transitions. Transitions take away from the footage and the cinematic feel. Instead, transition your clips based on the beats in music that you choose. This makes the video feel much more dramatic and smooth.
Share by
Isabella Humphrey
Update 24 March 2020

