Table of Contents
Follow the instructions below to add a mouse effect in video on camtasia efficiently and safely. Each section focuses on the actions, settings, and troubleshooting details that matter most.
The current video recording software mostly stops at the basic features such as choosing the screen size for recording, audio recording, without additional video editing options.
Camtasia not only features computer recording, but also has many tools to customize the video. Especially effects for videos like effects for the mouse. With video tutorials, tips to use, when adding mouse effects, it is easy for viewers to capture each step. They will know what action you have, click with it, left or right mouse, etc. The steps below explain how to create a cursor effect in a video with Camtasia.
- How to separate audio, split video by Camtasia Studio
- How to cut video by Camtasia Studio
- How to pair 2 videos into 1 using Camtasia Studio
Instructions for adding mouse effects on Camtasia
Step 1:
At Camtasia's interface click Import media To add screen capture video to the app. video is in *. trec format.

Step 2:
Then drag the video in Clip bin to the Timeline bar below and on Track 1 .

Step 3:
To add effects to your cursor, click The Cursor Effect section In the toolbar. If you do not have this option, click More then select Cursor Effect.

Step 4:
Displays the custom interface of the mouse as shown. The option Mouse cursor visible Is pre-selected to use the default mouse shape.
Clicking down under the Cursor size Can adjust the mouse size by dragging the slider left or right. You can preview the mouse size with the square frame next to it.

If the mouse is enlarged, it will increase the opacity, as well as lose the aesthetic in the video. Users should adjust accordingly. It is best to choose the mouse size at level 2.
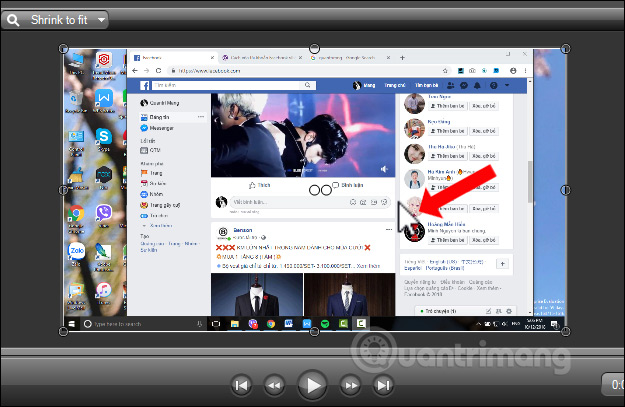
Step 5:
Below will have mouse effects to highlight the left, right or mouse cursor. With the Highlight effect To select the effect for the mouse.
- None has no effect.
- Highlight has a yellow circle on the mouse.
- Spotlight part of the mouse position will light up and the surrounding will dim.
- Magnify zooms in at the position where the cursor is placed.
Here users should choose the Highlight effect.

Step 6:
The left mouse button (Left-click effect) and The right -click effect will be similar.
- None does not use effects.
- Rings display a red circle when the mouse is pressed.
- Warp creates a dent when you click.
- Ripple creates a wavy circle when pressing the mouse.
With the left mouse button you should choose the Rings effect and the right mouse button should select the Warp effect.

Step 7:
Finally, Click sound effect Will select the sound when clicking. click the triangle icon to expand the options.
With Left-click (left Mouse click ) there is Mouse click And Laptop click . users pulls the audio bar and presses The speaker icon To listen to the audio in advance. right-click also has the same audio option when right clicking.
Mouse cursor sounds can be used or not used.

Therefore, adding effects to mouse cursor in Camtasia video is very simple, bringing aesthetic and professionalism to the video. This also makes it convenient for viewers to watch videos.
- How to make 360-degree logos on Camtasia Studio
- How to adjust video audio on Camtasia Studio
- How to cut videos on Windows 10 without software?
I wish you all success!
FAQ
What should I prepare before I add a mouse effect in video on camtasia?
Review the requirements in the guide, confirm that your device or software is compatible, and save important work before changing settings related to add a mouse effect in video on camtasia.
Why might add a mouse effect in video on camtasia not work as expected?
The most common causes are incompatible versions, missing permissions, incorrect settings, or an interrupted internet connection. Recheck each step and restart the app or device when appropriate.
Can beginners follow these add a mouse effect in video on camtasia steps?
Yes. Follow the steps in order, avoid skipping confirmation screens, and compare your interface with the screenshots because labels may differ slightly between versions.
Related Articles
 How to Create Flip Mirror Effect in Videos with Camtasia7 minutes read
 How to Adjust Video Audio on Camtasia Studio10 minutes read
 How to Highlight Video Objects on Camtasia6 minutes read
 How to Trim a Screen Displaying Videos on Camtasia6 minutes read
 How to Insert Text into Videos on Camtasia7 minutes read
 Shortcuts in Camtasia Studio6 minutes read
Reader Comments 0
Sign in with email or Google to join the discussion.