ScratchJR Maze Game Design Tutorial (Final Lesson)
For projects or games in ScratchJR, the start and end screens play a crucial role in enhancing the final product..
For projects or games in ScratchJR, the start and end screens play a crucial role in enhancing the product's completeness and showcasing the program's professionalism. We will create a start screen to introduce information and an end screen when the player wins the game. Below is a guide to creating the start and end screens for a ScratchJR maze game.
How to create a start screen for ScratchJR
Step 1:
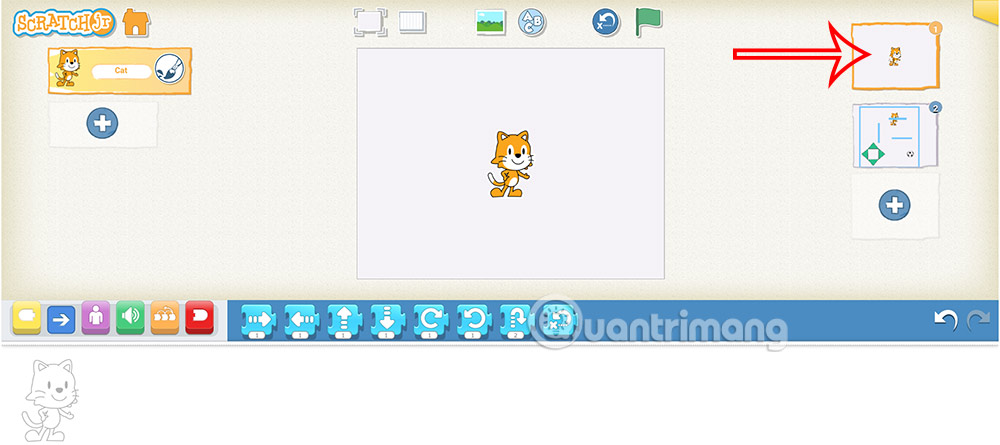
Reopen the maze program you created earlier. Then click the plus icon on the right to add a new scene.
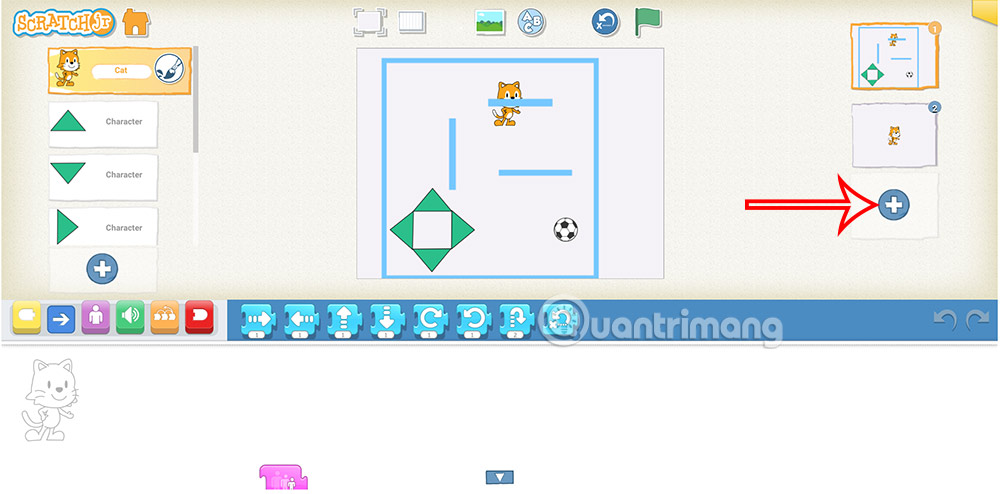
Next, drag the animation to the top of the previously created maze game to create the opening screen.
Step 2:
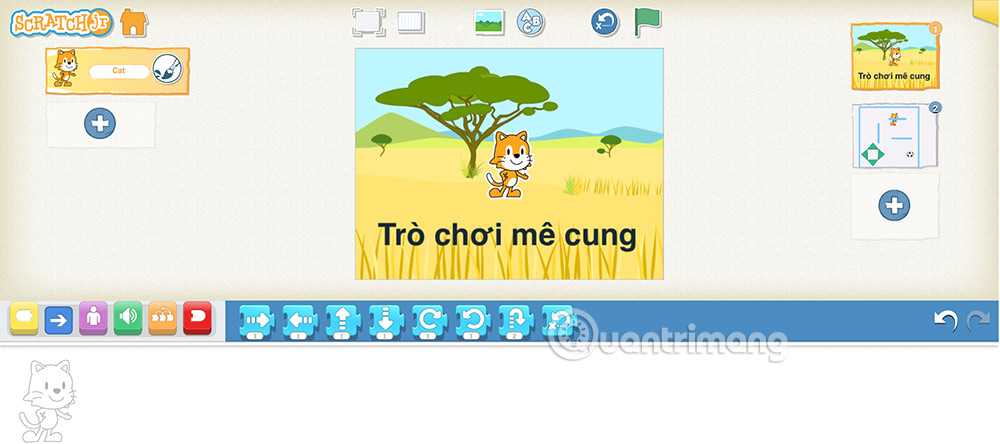
Next, you need to change the background image for the opening animation and add text . The result is the program's opening screen as shown below.
Step 3:
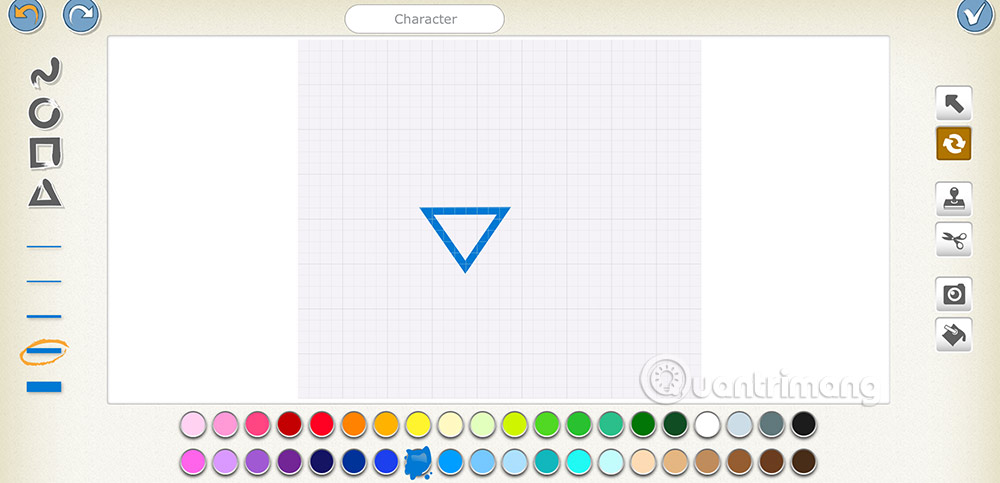
Now you need to create an arrow pointing towards the cat , then program it to move up and down to guide the player to click on it.
Tap the plus icon on the left side of the screen to add a character. Then draw a triangle to create an arrow.
Step 4:
Enter the command as shown below for the arrow icon .
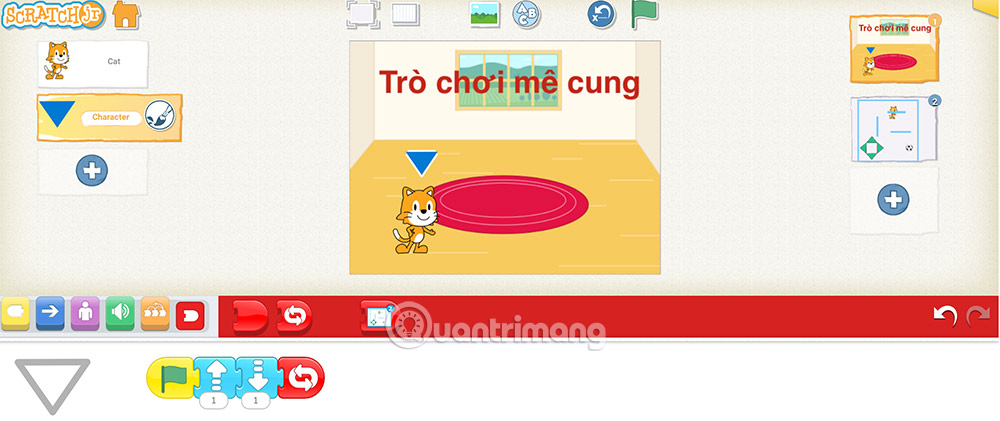
Then, a flashing movement effect will appear on the arrow, guiding you to tap the cat character to start the game.
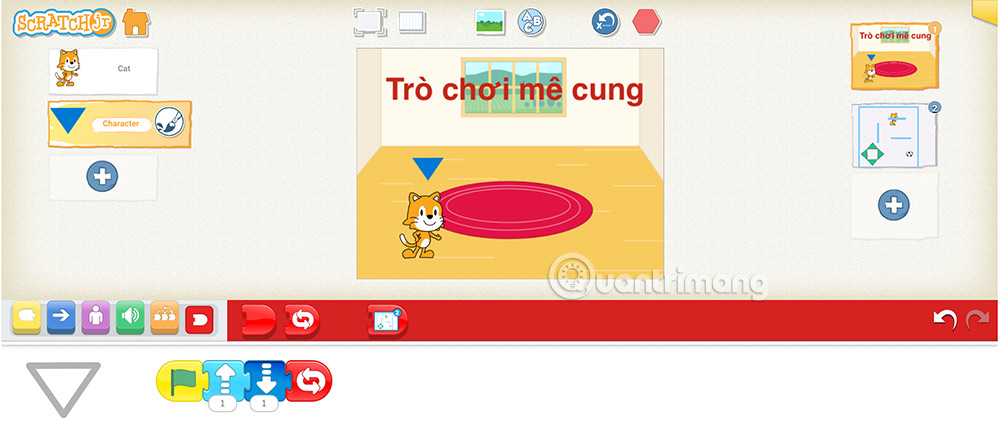
Step 5:
Continue clicking on the cat to add commands as shown in the image. Clicking on the cat will switch to the maze game animation.
How to create a ScratchJR program end screen
We will create two interactions for the end screen. Clicking on the cat character will return the program to the welcome screen. Clicking on the ball character will return the game animation.
Step 1:
First, tap the plus sign on the right to create the third animation. Then, you'll also need to change the background and add the ball .
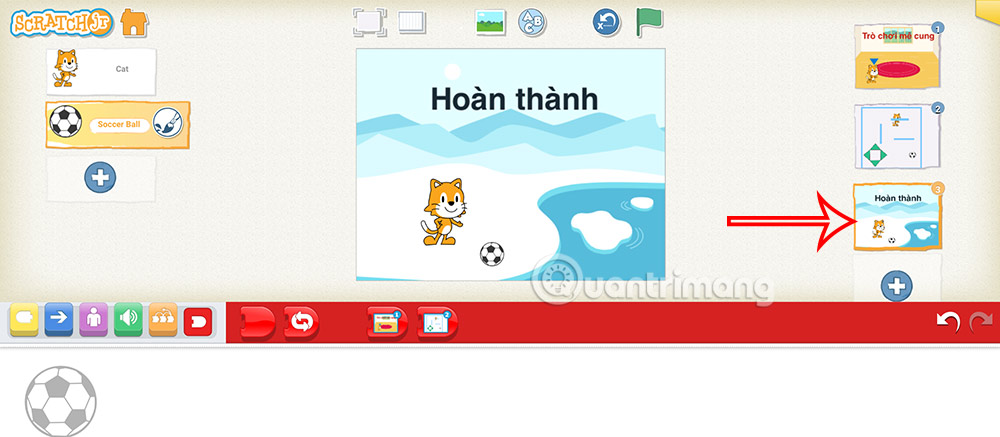
Step 2:
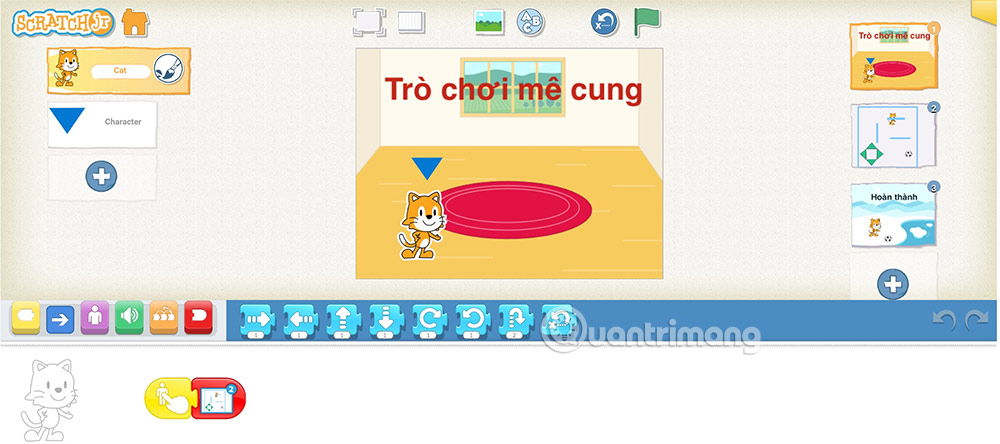
Click on each character in turn and then enter the command. For the cat, the command is as shown below.
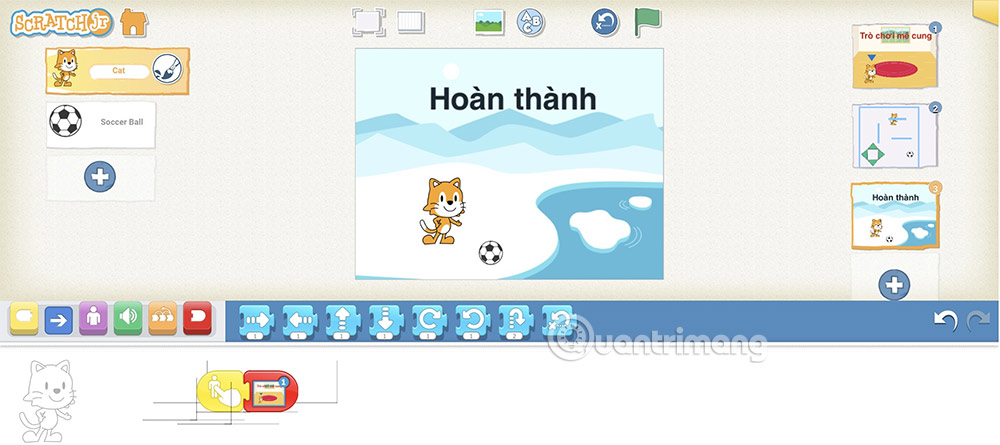
Click on the ball again and then enter the command as shown in the image.
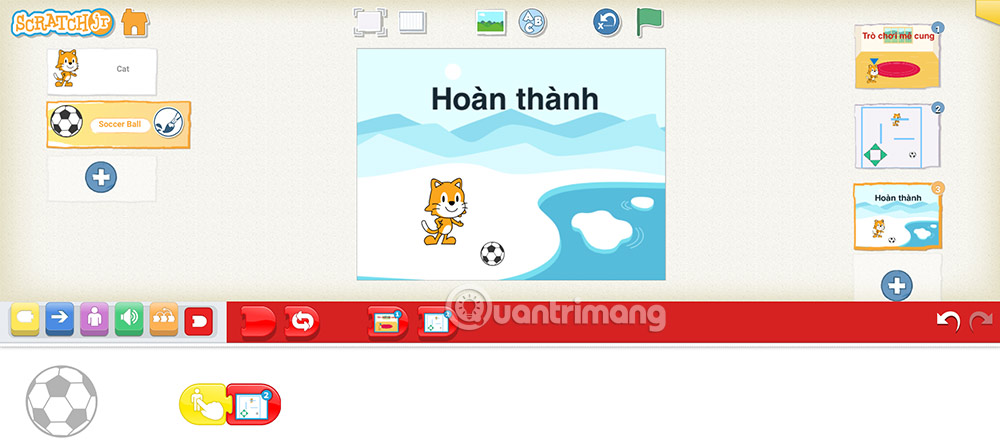
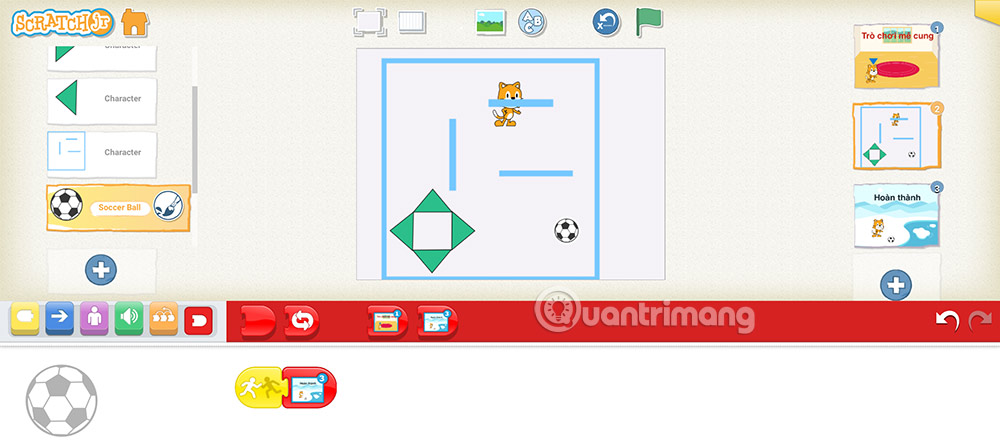
Step 3:
Next, you will adjust the game screen with a command to switch to the ending scene where the player controls their character to reach the finish line and touch the ball.
Click on the game animation, then click on the ball, and then add the command as shown below.