Table of Contents
You can make a working maze game in Scratch with one backdrop, a player sprite, four movement controls, wall collision, and a finish condition. This tutorial builds those parts first, then adds a timer and suggests upgrades once the basic game is reliable.
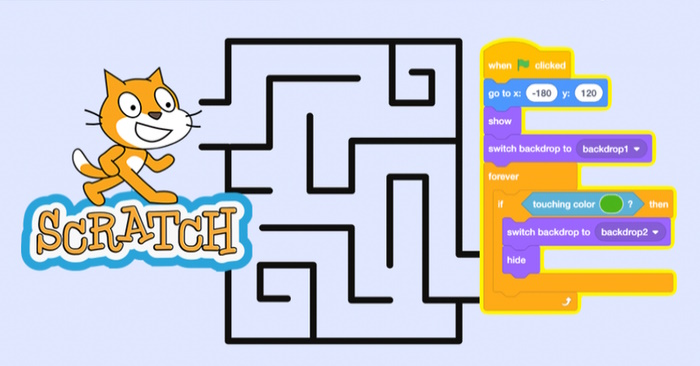
What you will build
- A maze drawn with one solid wall color
- A player controlled by the arrow keys
- Collision code that prevents the player from crossing walls
- An exit sprite that ends the round
- A timer that records the completion time
You can use the online Scratch editor without installing software. An account is helpful for saving and sharing, but you can also build a project before signing in. Save a copy regularly as you work.
1. Start a new Scratch project
- Open Scratch and choose Create.
- Keep the cat as the player, choose another sprite, or draw your own.
- Rename the sprite Player so its purpose remains clear.
- Resize it to fit comfortably between the maze walls.
A small player is easier to control, but it must still be visible. Do not design corridors narrower than the sprite.
2. Draw the maze backdrop
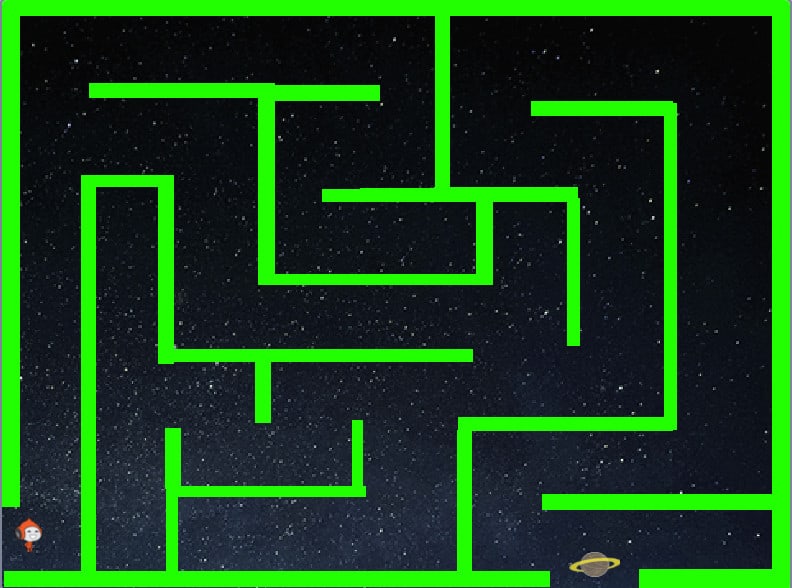
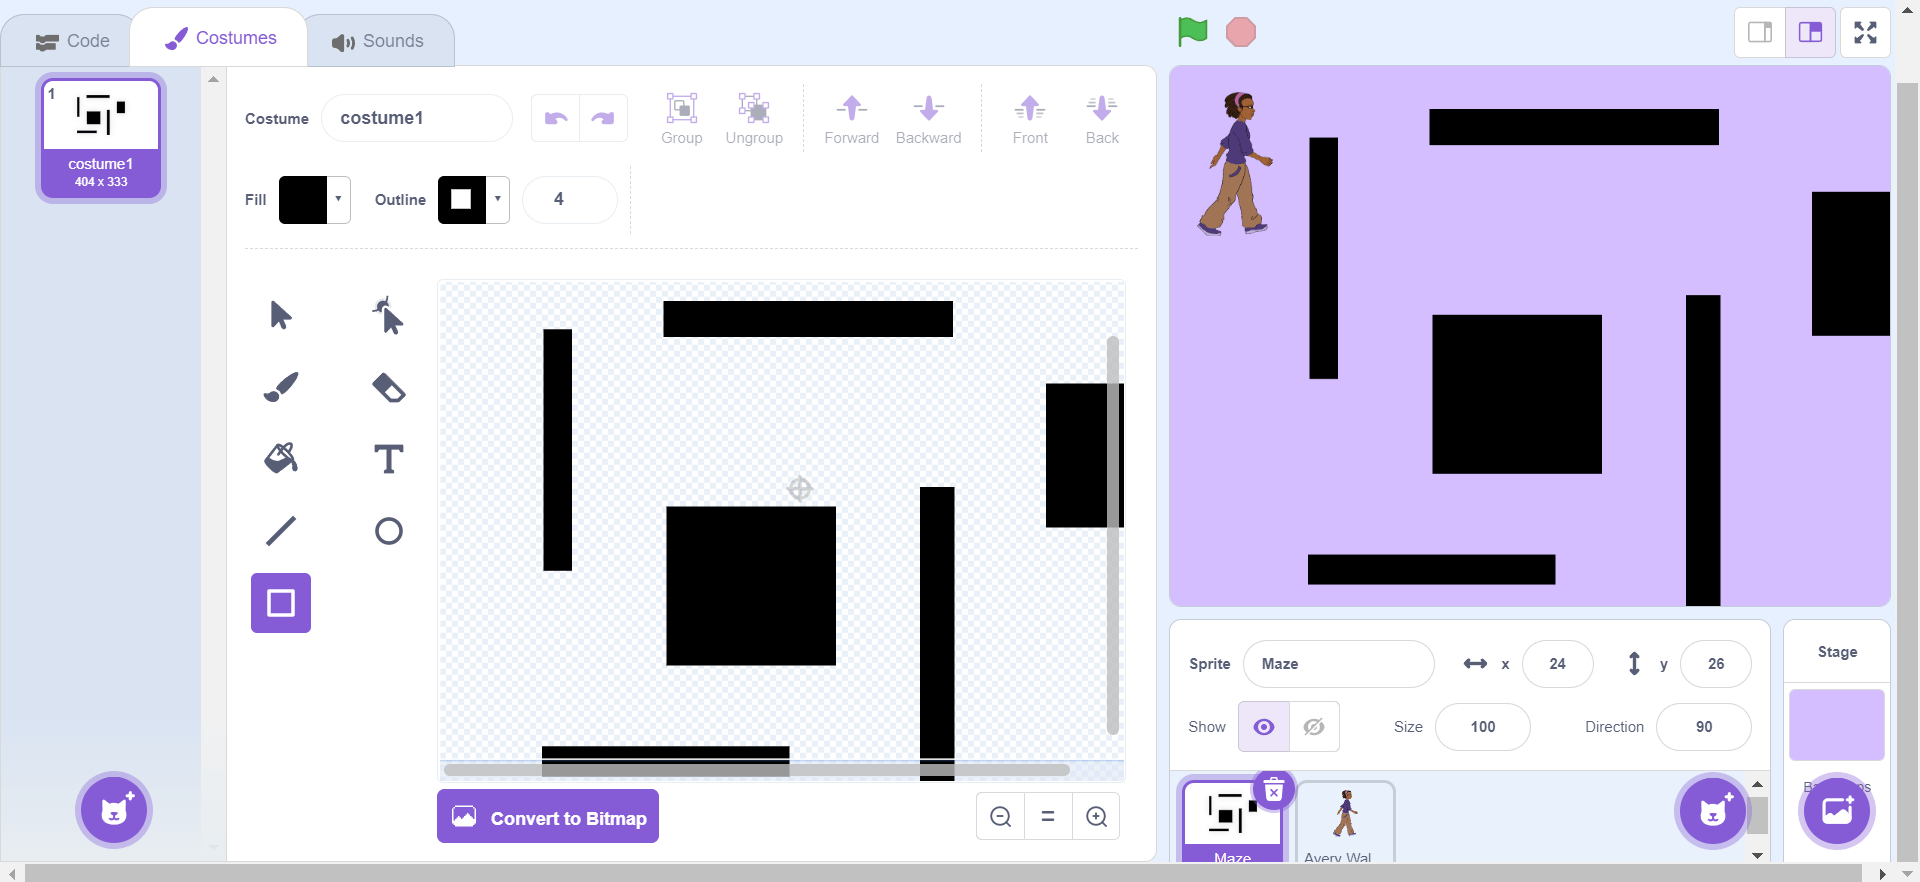
Select the Stage, open the Backdrops tab, and create a new backdrop in the paint editor. Draw the walls with a single, distinctive color—black is convenient—and leave a clear path from the start to the exit.
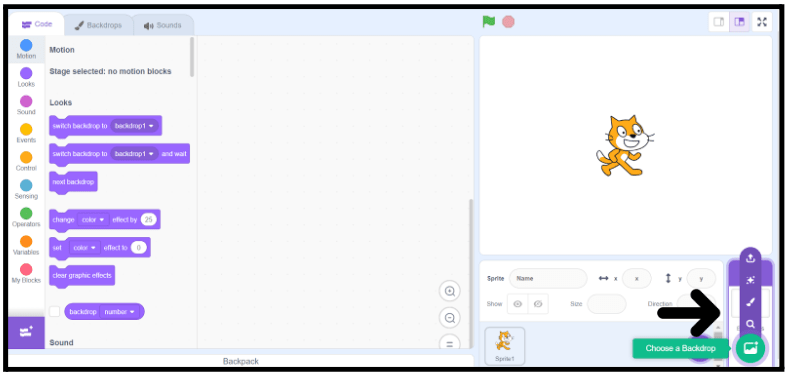
Thick walls work better than thin or anti-aliased lines because the game will use Scratch's touching color? block for collision detection. Keep the start and finish areas away from the wall color.
Maze design ideas
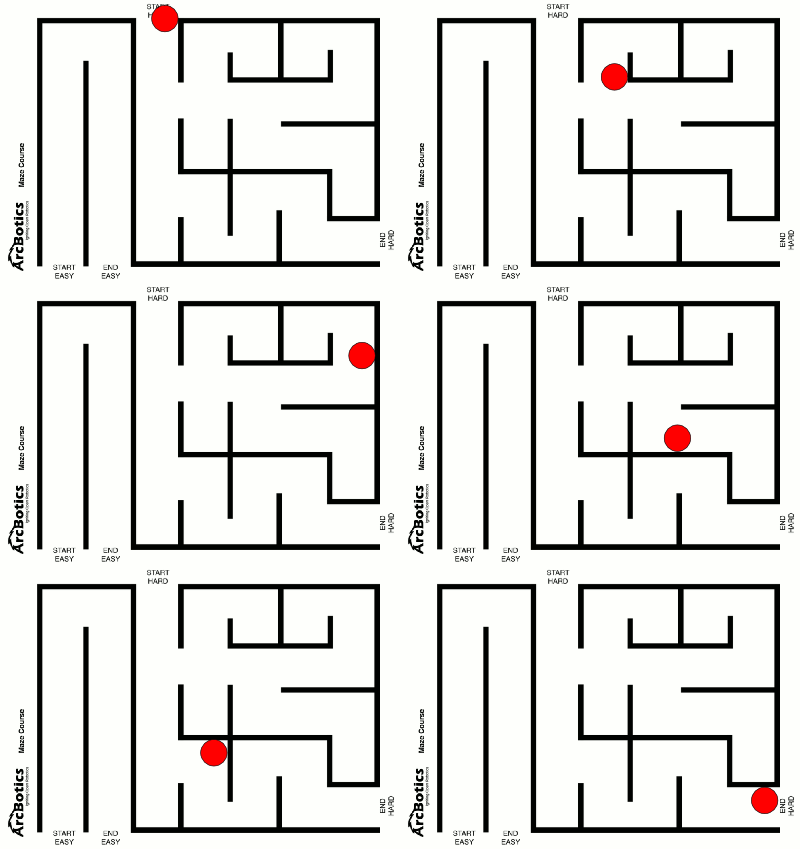
Begin with a short route and a few dead ends. Once the controls work, create tighter turns or longer routes.
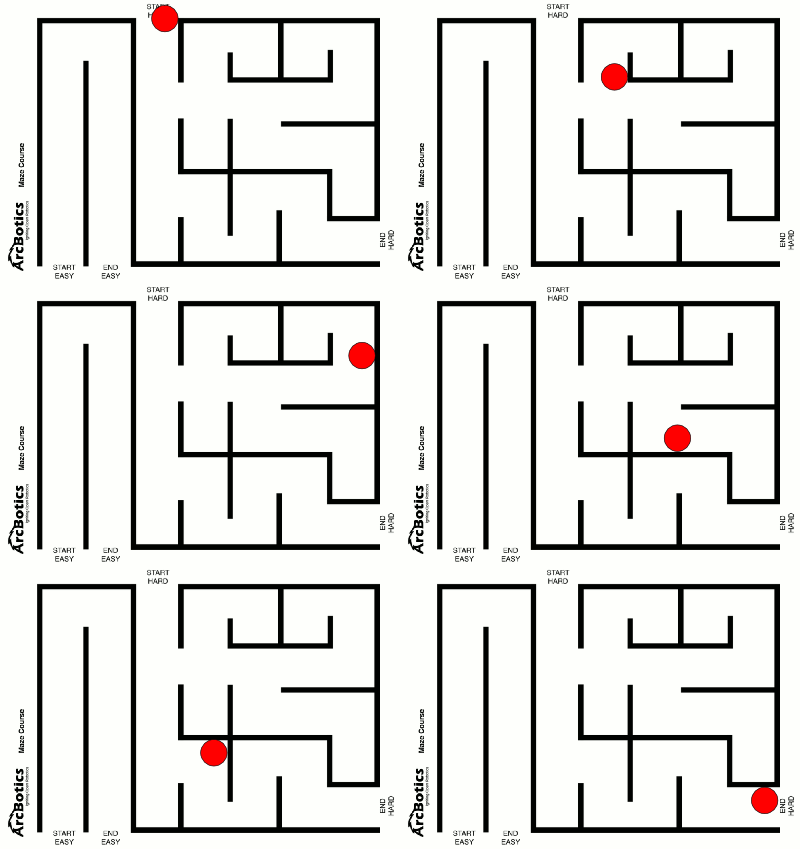
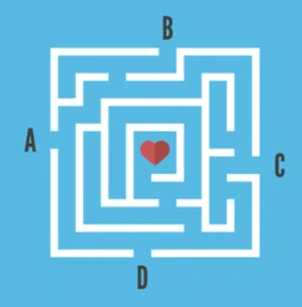
You may upload a maze image instead of drawing one, but use an image you created or have permission to reuse. Imported JPG images can blur wall edges, so PNG or Scratch's vector editor is easier for color-based collision.
3. Add the player and exit
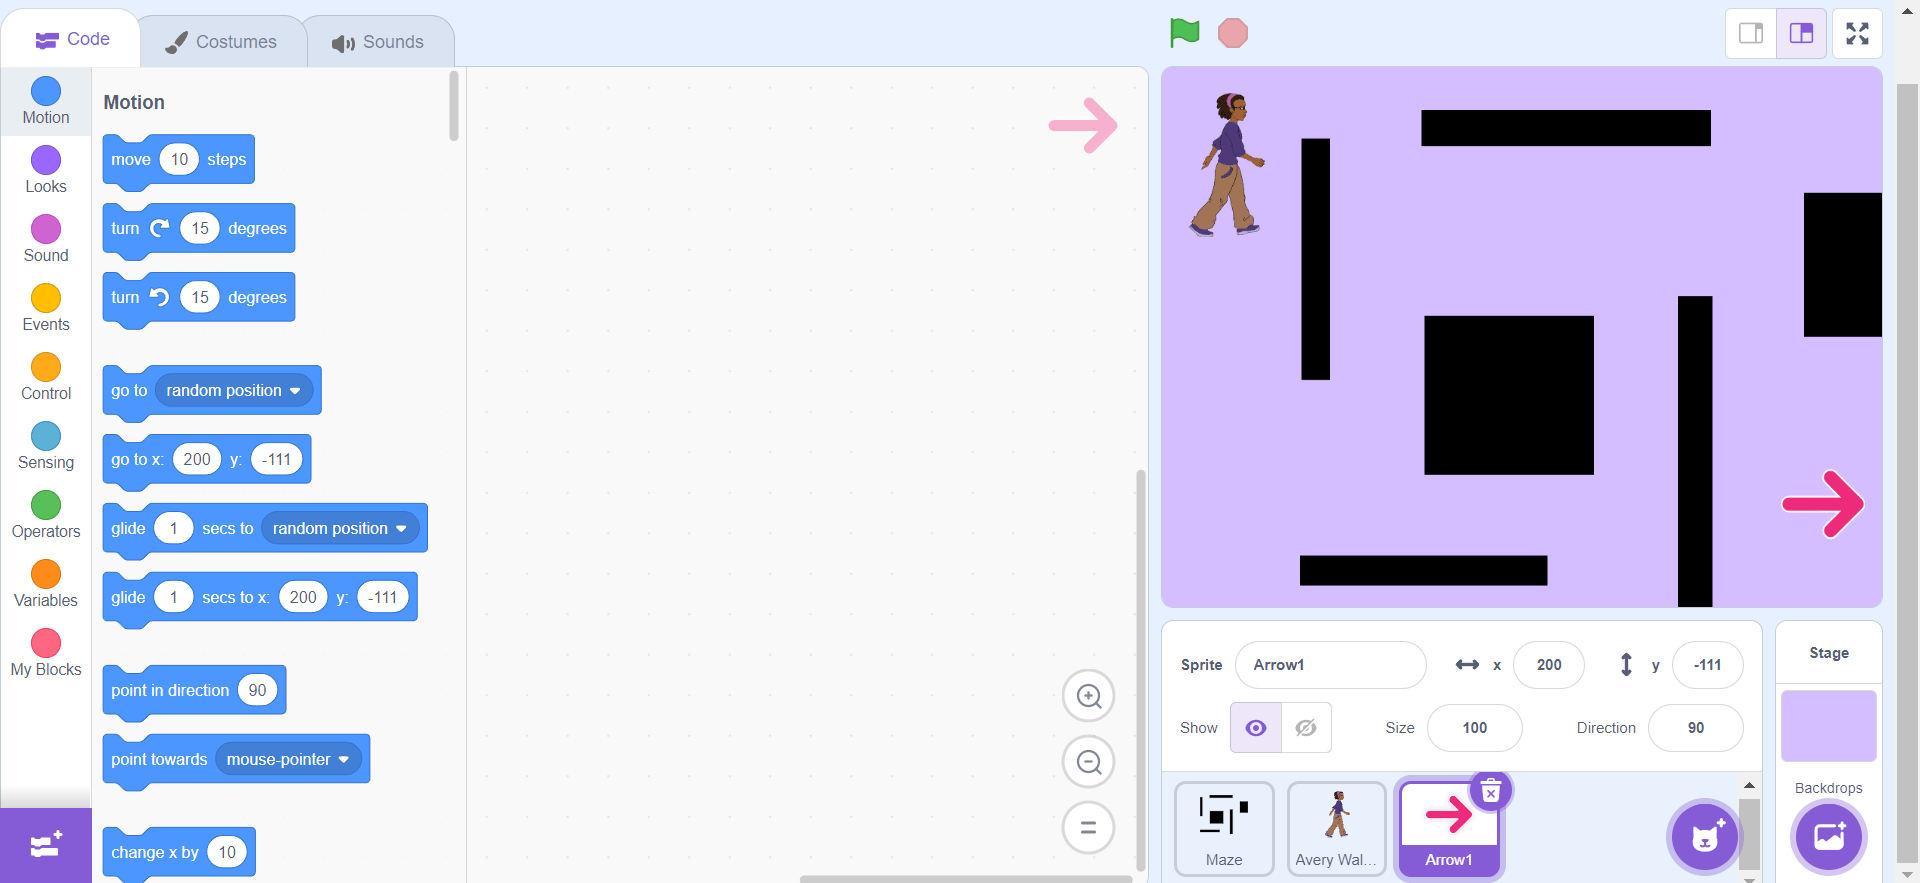
Place the Player at the entrance and note its x and y coordinates. Add a second sprite named Exit and place it at the end of the route. The exit can be a flag, arrow, door, or other clear target.
4. Program arrow-key movement
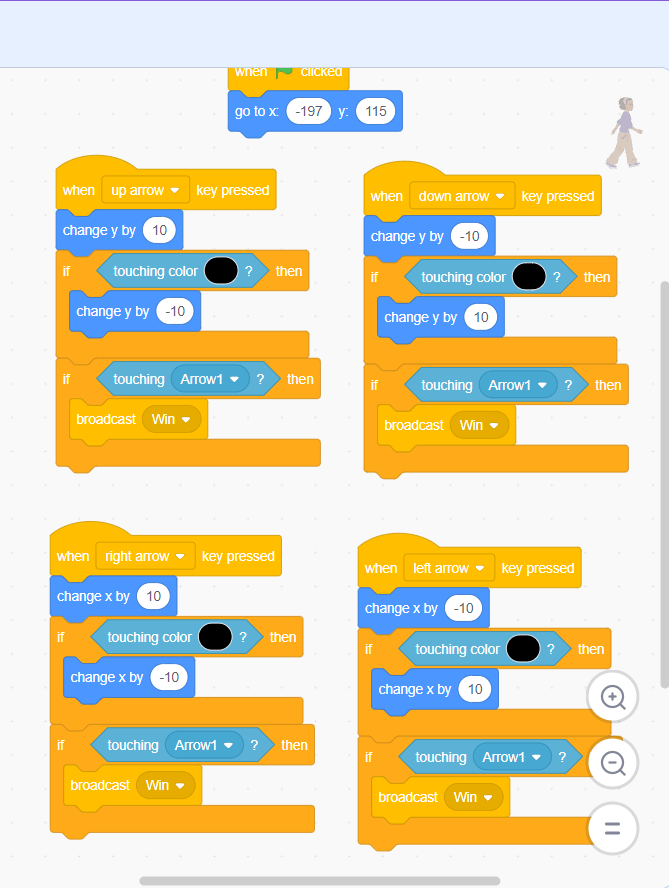
Select the Player and build one script beginning with when green flag clicked. Add a go to x: y: block using the start coordinates, followed by a forever loop.
Inside the loop, add four conditions:
- If right arrow key pressed?, change x by 3.
- If left arrow key pressed?, change x by -3.
- If up arrow key pressed?, change y by 3.
- If down arrow key pressed?, change y by -3.
Using key pressed? inside a forever loop gives smooth movement while the player holds a key. A speed of 2 to 4 is a practical starting point; a large step can let the sprite jump across a thin wall.
5. Stop the player at walls
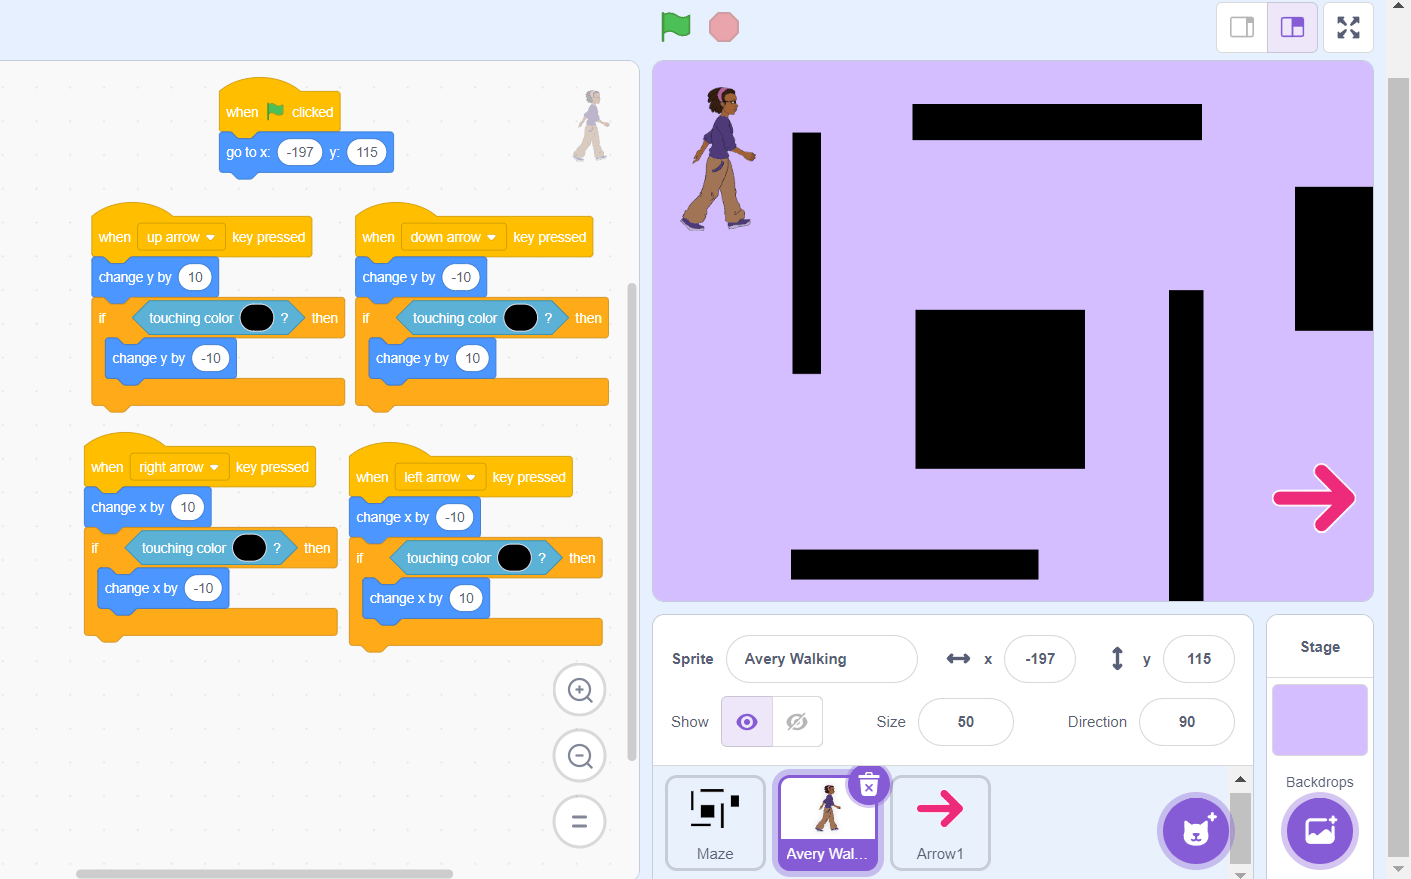
Immediately after each movement block, check whether the Player is touching the wall color. If it is, undo that movement:
- After changing x by 3, change x by -3 when touching the wall color.
- After changing x by -3, change x by 3 when touching the wall color.
- After changing y by 3, change y by -3 when touching the wall color.
- After changing y by -3, change y by 3 when touching the wall color.
Use the eyedropper in the touching color? block to select the exact wall color from the Stage.
If wall collision is unreliable
- Make the walls thicker and use one solid color.
- Reduce the movement amount.
- Check that the player's costume does not contain invisible space or a long protruding shape.
- Make sure you sampled the wall itself, not a nearby shaded pixel.
- Keep the Player's initial position clear of every wall.
6. Detect the exit
Still inside the Player's forever loop, add:
- if touching Exit?
- broadcast [Finished]
- stop [this script]
Create the Finished broadcast from the block's menu. Detecting the Exit sprite is usually more reliable than testing another backdrop color.
7. Add a timer and win screen
At the start of the Player script, add reset timer. Create a variable named Finish time for all sprites. In a new script, use when I receive [Finished], then:
- Set Finish time to round(timer).
- Switch the backdrop to a win screen.
- Say a message such as “Finished in [Finish time] seconds!”
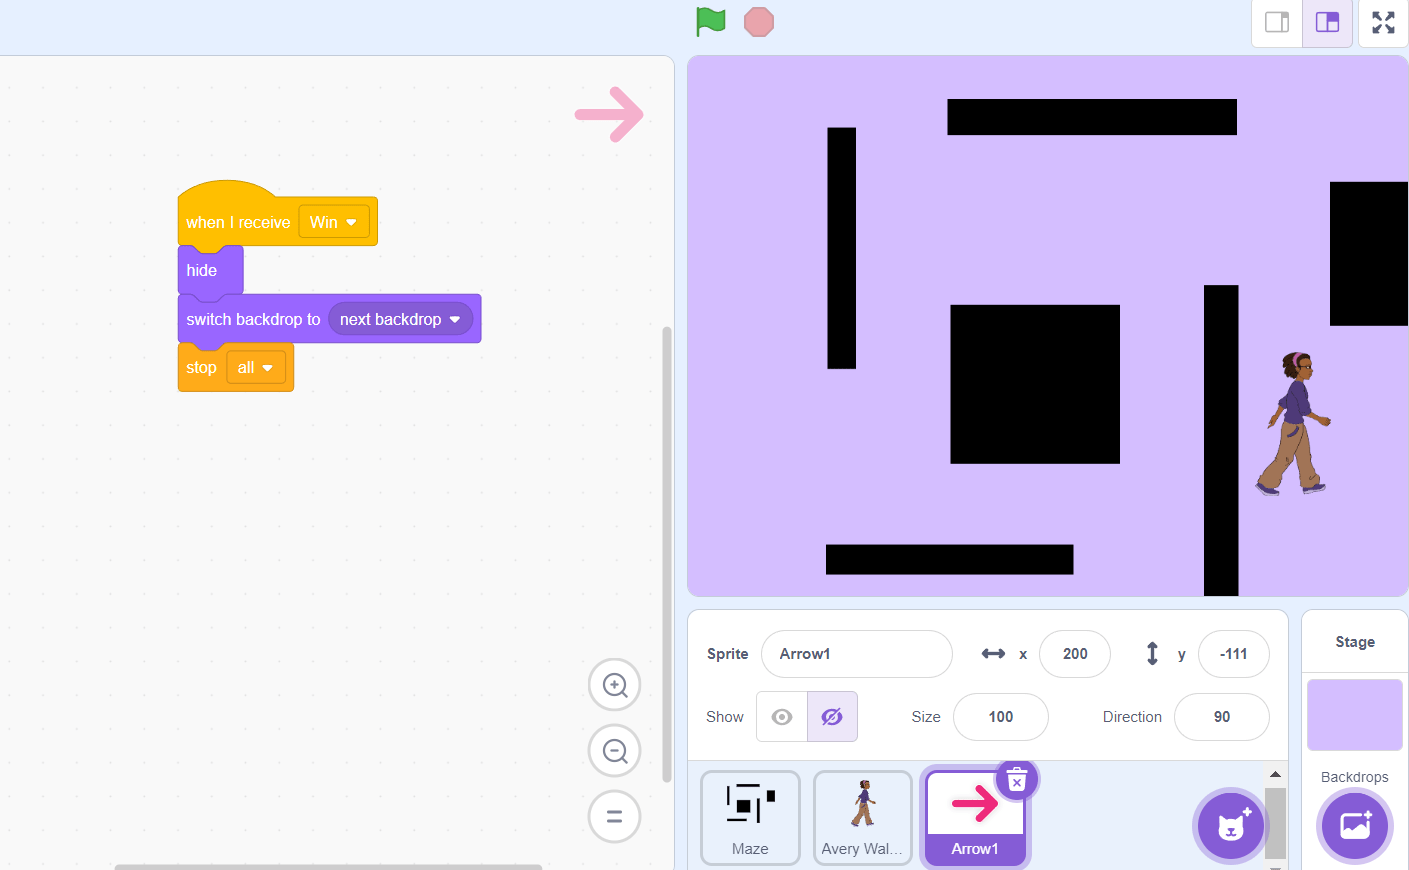
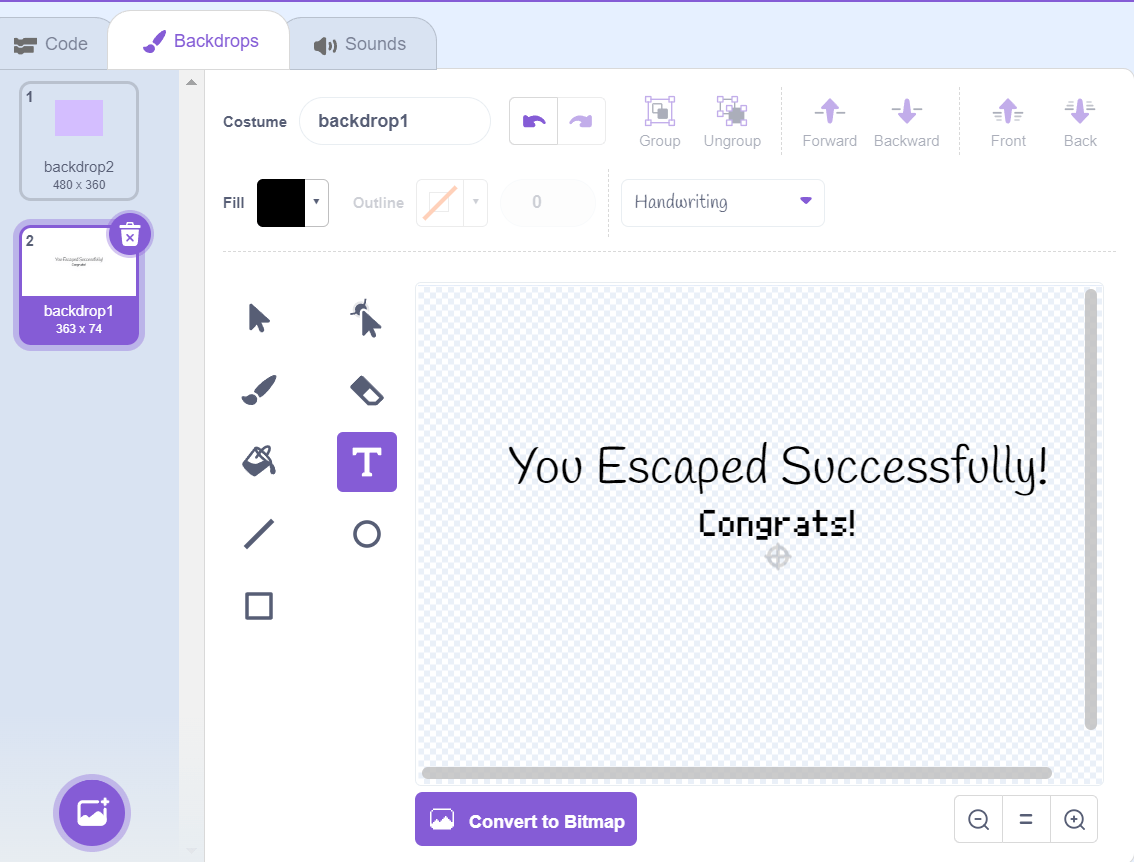
Create a second backdrop for the result screen, then select it in the switch backdrop to block.
When the green flag is clicked again, switch back to the maze backdrop, reset the timer, show the needed sprites, and return the Player to the start. This prevents the previous round's state from carrying into the next game.
8. Test the complete game
Click the green flag and deliberately test:
- Every arrow key and diagonal key combination
- Thin walls and sharp corners
- Holding a key down near a wall
- Reaching the Exit from different directions
- Restarting after a win
- The timer and win message
If the sprite gets stuck in a corner, reduce its size or movement amount. If it crosses a wall, thicken the wall and confirm that every directional move has an immediate reverse step.
Ways to extend the maze
- Multiple levels: store the level number in a variable and switch backdrops after each exit.
- Lives: subtract a life when the player touches a hazard and return it to the start.
- Collectibles: hide items after collection and increase a score variable.
- Moving obstacles: glide or bounce an enemy sprite along a predictable route.
- Sound: play short effects for collisions, collectibles, and finishing.
- Best time: update a high-score variable only when the new time is lower.
Add one feature at a time and retest the basic movement after each change. A dependable maze with clear feedback is more enjoyable than a complicated project whose collision or restart logic is inconsistent.
Related Articles
 Instructions for Designing a Maze Game in ScratchJR4 minutes read
 ScratchJR Maze Game Design Tutorial (Part 2)4 minutes read
 Basic Scratch Tutorial for Beginners5 minutes read
 How to Create a Virtual Pet Game in Scratch10 minutes read
 How to Make a Piano Game Using Scratch5 minutes read
 Scratch: a Guide to Creating an Opening for a Project5 minutes read
Reader Comments 0
Sign in with email or Google to join the discussion.