Table of Contents
Magic Eraser's video tool can mask a logo or other unwanted object by filling the selected area from surrounding pixels. It works best when the mark is small, stationary and placed over a simple background. Use it only on videos you own or have permission to edit; do not remove attribution or rights information that a license requires you to keep.
Before uploading the video
- Keep an untouched copy of the original file.
- Confirm that you have the right to alter the footage and its watermark.
- Avoid uploading confidential or sensitive footage to an online editor.
- Note where the logo appears and whether it moves during the clip.
For a comparison of similar services and their limitations, see free online video watermark removers. If you would rather crop, cover or rebuild a section in a full editor, compare these free video editing programs for PC.
Remove a logo with Magic Eraser
1. Open the video watermark remover
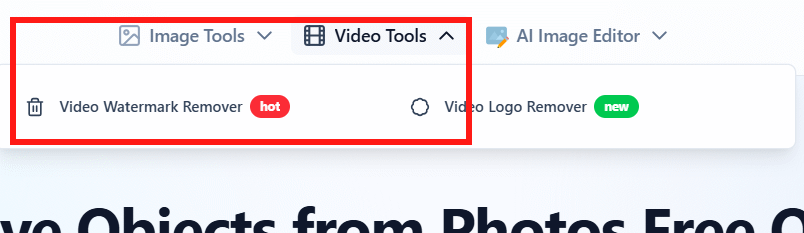
Go to Magic Eraser, open Video Tools, and choose Video Watermark Remover. Tool names and limits may change, so use the current video-removal option shown on the site.
2. Upload the video
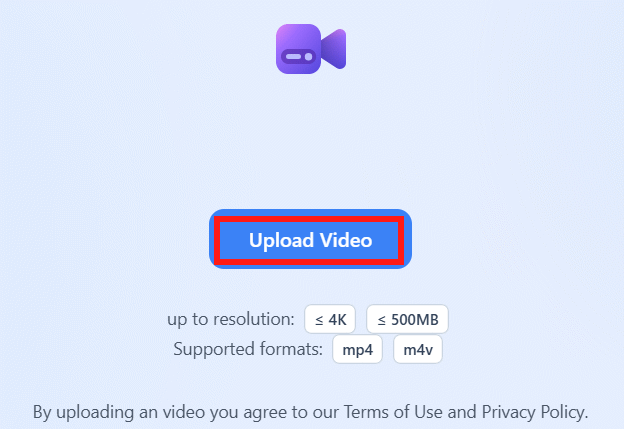
Select the file you are authorized to edit and wait for the preview to load. Large or long videos may take more time to upload and process. Check any displayed file-size, duration and format limits before starting.
3. Mark the unwanted area
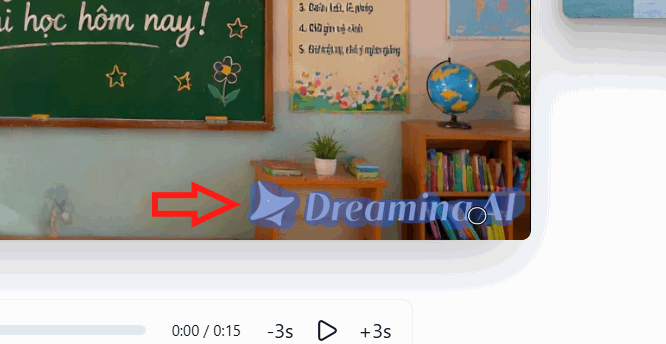
Move to a frame where the logo is clearly visible, then drag over the complete mark. Keep the selection as tight as possible: including a large area gives the tool more detail to reconstruct and can create obvious smearing.

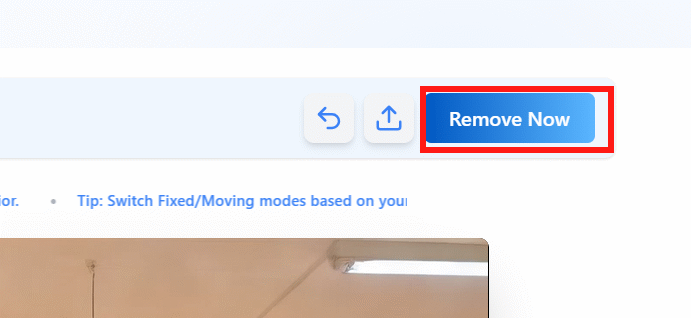
If the selection is inaccurate, use the undo control and draw it again. When the entire mark is covered, choose Remove Now to begin processing.
4. Review the processed video
Do not judge the result from a single still frame. Play through every section where the logo appeared and look for blurred patches, repeated textures, flicker or distortion around moving objects. Removal is less convincing when the background changes rapidly or the logo crosses a person's face, text or detailed scenery.

If an artifact remains, undo the operation and try a smaller selection. For a moving logo, you may need to process separate portions of the clip or use a video editor with tracking and masking tools.
5. Download and verify the file
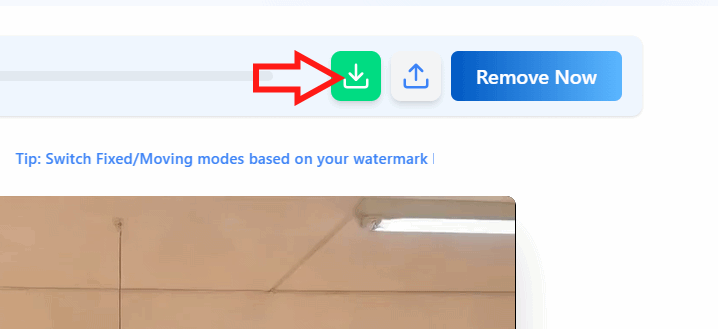
Use the save or download control when the preview is acceptable. Open the downloaded file locally and check its resolution, aspect ratio, audio synchronization and full duration before deleting any working copy.
Use the brush for a more precise selection
When the rectangular selection includes too much of the surrounding scene, choose the pen or brush tool and paint directly over the unwanted object. Adjust the brush size if that control is available, cover the edges carefully, and then run the removal again.
Object removal cannot recreate hidden detail perfectly. If the result looks unnatural, cropping the frame, covering the area with an authorized graphic, or returning to the original project and exporting without the unwanted overlay will usually produce a cleaner video.
Related Articles
 Software to Remove Logos, Words on Videos and Usage3 minutes read
 How to Use the Object Deletion Tool in Photos Windows: Complete Guide4 minutes read
 How to Remove Subjects in Photos on Google Photos3 minutes read
 Revealing 4 Immortal Magic Tricks That 99% of People Still Wonder7 minutes read
 How to Use Magic Actions for YouTube: Magic Actions YouTube6 minutes read
 Quickly Create Multiple-choice Quizzes from Videos Using Magic School AI5 minutes read
Reader Comments 0
Sign in with email or Google to join the discussion.