How to use Luminar AI for beautiful landscape shots
Luminar AI is the first photo editing software to use artificial intelligence (Artificial Intelligence) technology. With Luminar AI, you can easily take your landscape photos to the next level!
With Luminar AI, creating outstanding photos is surprisingly fun and easy. You can add realistic atmospheric effects with 3D depth, fog, haze, steam, drizzle, with Atmosphere AI. Create a 'so deep' photo without layer masks and layers like Photoshop.
If you know how to make good use of Luminar AI, it is not too difficult for you to create impressive photos without spending too much time, as well as photography knowledge. And in this article, we will together refer to how to use Luminar AI to get beautiful landscape photos taken with smartphones. As follows.
How to use Luminar AI for beautiful landscape shots

First, download and install Luminar AI here.
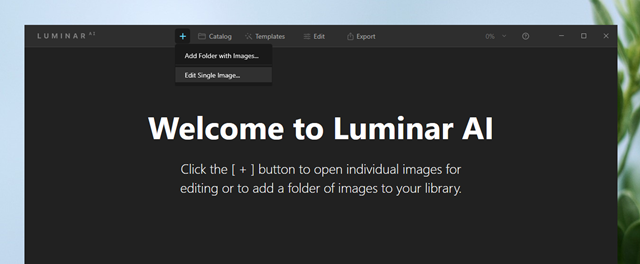
After installation is complete, start the software and click " + ", then click on the line Edit Single Image.
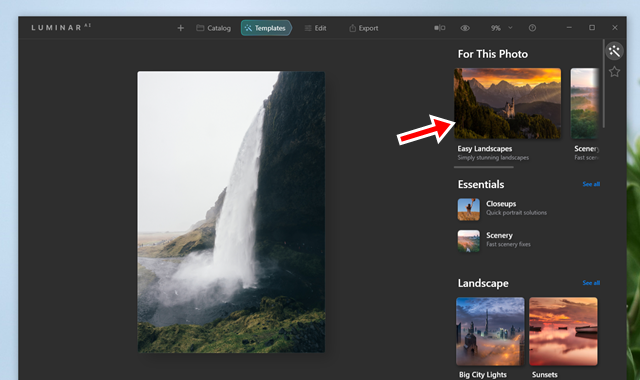
Luminar AI will switch to the photo editing interface, at this point click on the " Easy Landscape Collection " option.
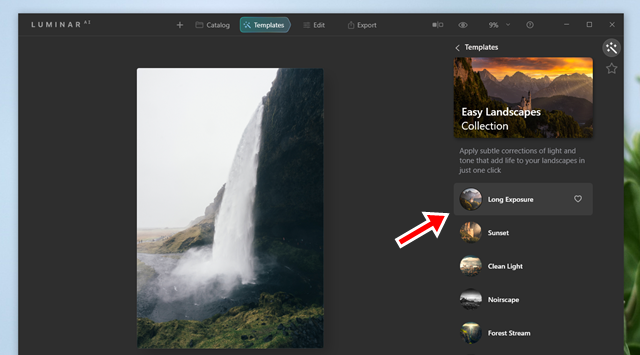
Continue to click on " Long Exposure ".
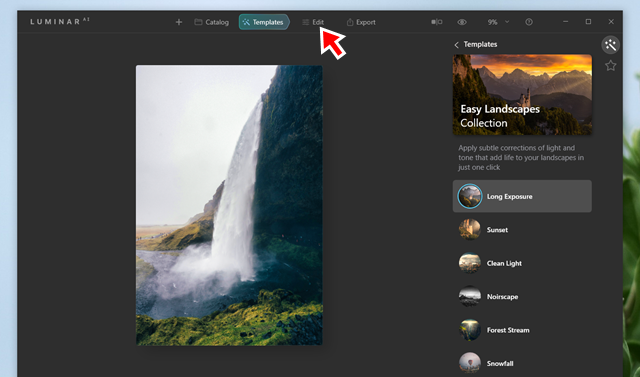
The image will be applied the selected color filter, now we will click on the " Edit " tab above to go deeper into the adjustment.
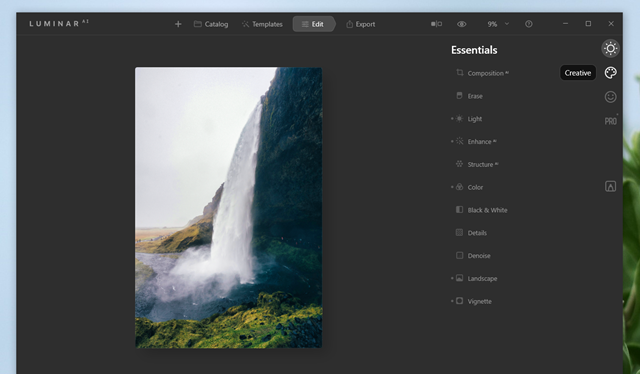
A list of advanced editing options will appear, click " Creative " to unlock these options.
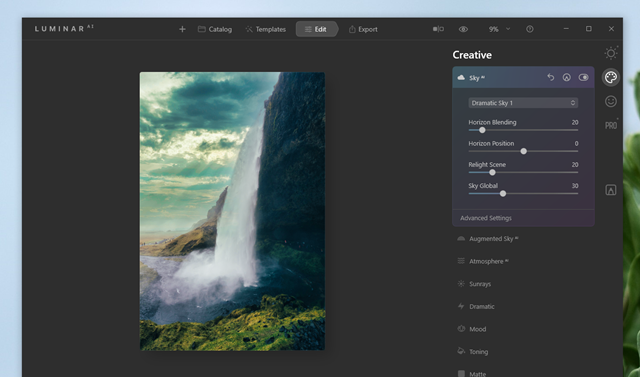
In Sky AI , adjust the parameters as you like to get the perfect correction for the composition of "sky" in the image. Here we can adjust the parameters according to the model " Dramatic Sky 1 ": Horizon Blending: 20, Horizon Position: 0, Relight Scene: 20, Sky Global: 20.
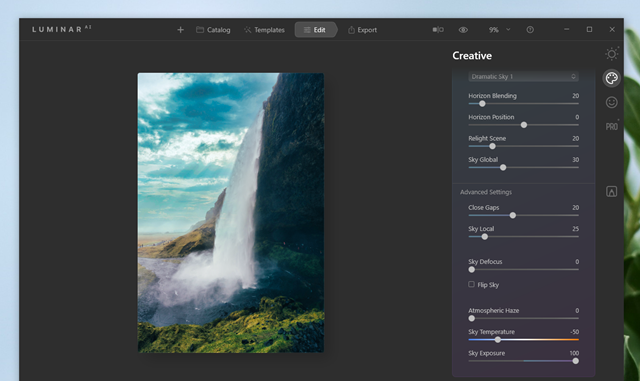
Continuing with Advanced Settings , you can adjust the parameters to Close Gaps: 20, Sky Local: 25. Then, Sky Temperature: -50, Sky Exposure: 100.
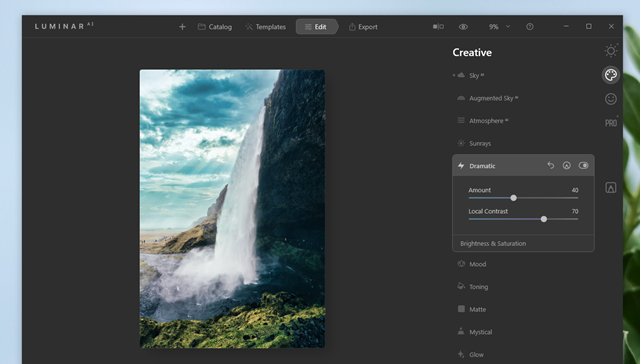
With Dramatic , you can adjust Amount: 40, Local Contrast: 70, respectively.
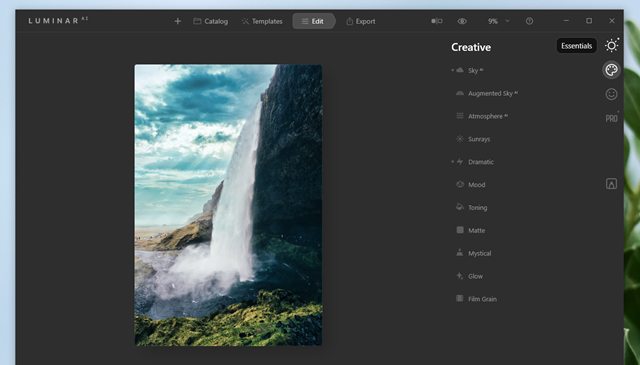
Now let's move on to Essentials .
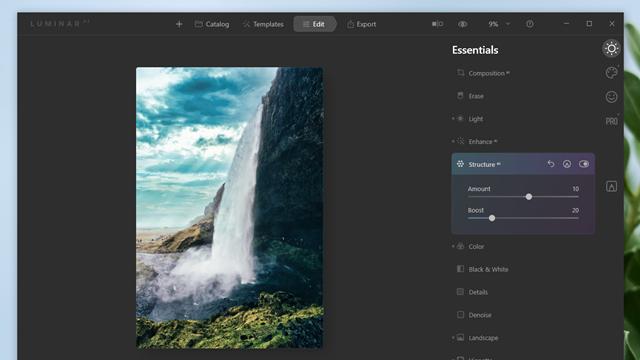
And adjust the Structure AI to the Amount: 10, Boost: 20 values .
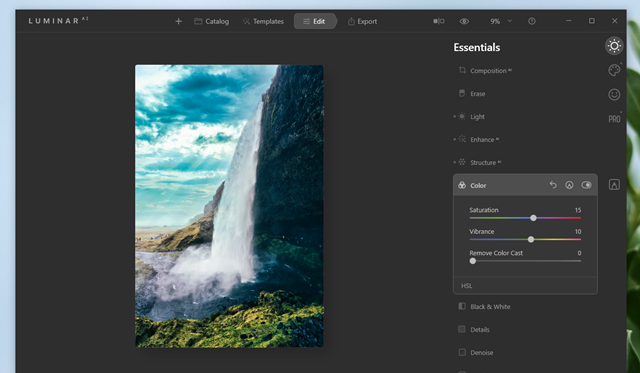
Continuing with Color , adjust the Saturation values : -15, Vibrance: -10.
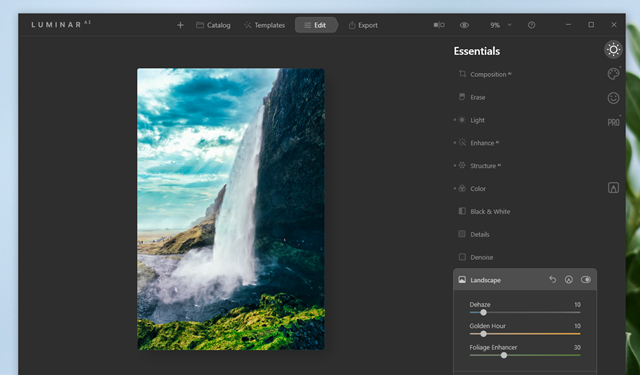
With Landscape , you can adjust Dehaze: 10, Golden Hour: 10, Foliage Enhancer: 30 respectively.
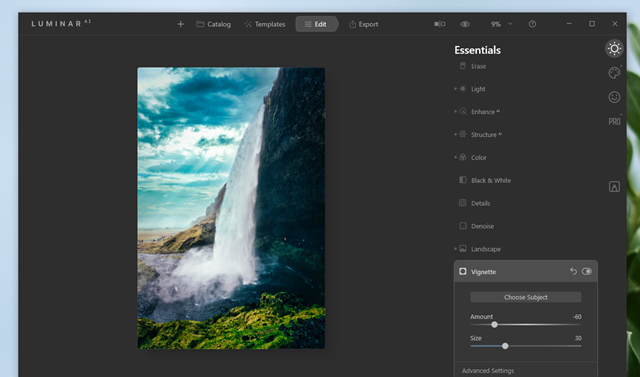
Next, adjust the Vignette to Amount: -60, Size: 30.
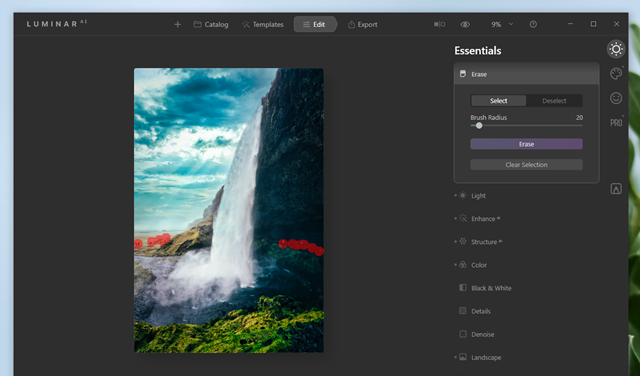
Now we will proceed to erase unnecessary details in the image using Erase.
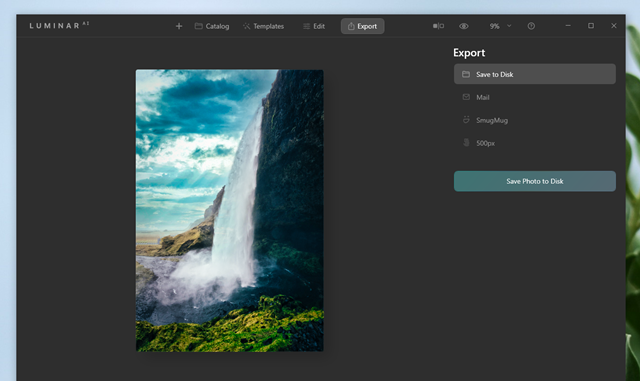
After everything is satisfied, click Export and choose the export method is done.
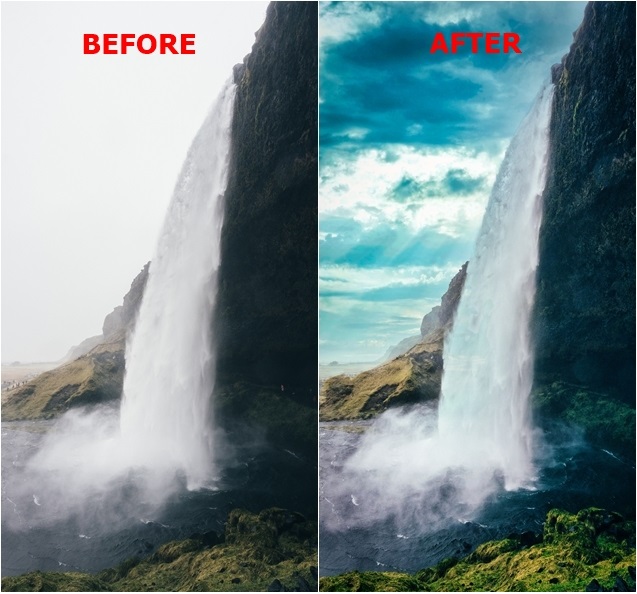
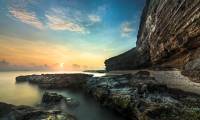
And here are the results before and after photo editing with Luminar AI, great, right?
Hope you will be satisfied.
Was this article helpful?
Your feedback helps us improve.
Related Articles
 Beautiful Landscape Background, download Beautiful Landscape Background here2 minutes read
 'Beginner lessons' take landscape photos for new ghosts5 minutes read
 Instructions for using MacPhun Luminar for beginners13 minutes read
 Synthesis beautiful landscape background3 minutes read
 How to use Luminar AI with Photoshop to create more perfect portraits5 minutes read
 Take photos of the fanciful sky landscape with the following 5 tips6 minutes read
Reader Comments 0
Sign in with email or Google to join the discussion.