Computer management with Windows Intune - Part 2: Prepare the environment
In this article, I will show you how to prepare the environment and deploy client software for managed computers.
Table of Contents
TipsMake.com - In this second part, I will show you how to prepare the environment and deploy client software for computers that need to be managed.
In the previous part of this series, we introduced Windows Intune, a Microsoft cloud service that manages and secures corporate computers from anywhere through the web interface. In part one, you already know the general knowledge about Windows Intune, in this part, we will introduce how to set up Windows Intune environment so that you can use it to manage computers in the company.
Note : This series is written based on the pre-release version of Windows Intune, in the final version there may be some new features not included in this version.
Set up Windows Intune
To set up an environment for Windows Intune, start by signing up for a 30-day trial or signing up for a service fee. You can do that on the main Windows Intune page here.
After you have registered to use Windows Intune, you need to use Windows Live to login to the Windows Intune Login page. This link will ask you to link the Windows Live ID to the Windows Intune registry, after you do this, you will be prompted to download and install Microsoft Silverlight on your computer if your computer does not have Microsoft installed. Silverlight before.
After the installation of Microsoft Silverlight, log into Windows Intune with the Live ID shown in the System Overview page of the Windows Intune web administration interface as shown in Figure 1 below.

Figure 1: Windows Intune web-based management interface using Microsoft Silverlight
Note:
If you have multiple Windows Intune subscriptions, you will first see a dialog box that allows you to choose to subscribe to manage. After making the selection, the web administration interface will appear to allow you to manage computers for that subscription.
Download client software
Before you can manage computers from the Windows Intune web administration interface, you must deploy Windows Intune client software to those computers. Therefore the next task in the preparation of the environment is to download this software. You can do this in one of the following ways:
- Log in to every computer you want to manage. Open Windows Explorer and log in to the Windows Intune administration interface. Select the Administration option (the icon is in the lower left pane) and click Client Software Download in the list of administrative tasks (see Figure 2 below). Follow the instructions on the website to prepare your computers, download and install client software on them.
- From the administrative workstation logged into Windows Intune, select the Administration option and click Client Software Download in the list of administrative tasks (see Figure 2). After you have finished preparing the computers (uninstall the existing antimalware programs on them), download the client software to your administrative workstation. Then copy this software to the shared folder in the network to be able to access it from any computer you want to manage or to a USB drive so that it can be copied directly to these computers. .
- From the administrative workstation, download the client software as option 2 above. Then use Group Policy Software Installation to deploy client software for managed computers. Note that computers must belong to an Active Directory domain if you want to implement this method.
Since we do not want to perform manually on each computer during the test, we did not use option 1. In addition, because there are a number of standalone computers and do not join the domain, we do not Use method 3. Therefore, in this tutorial, we will execute on method 2, copy the client software to the shared folder on the network, and then notify the user to install the software himself.
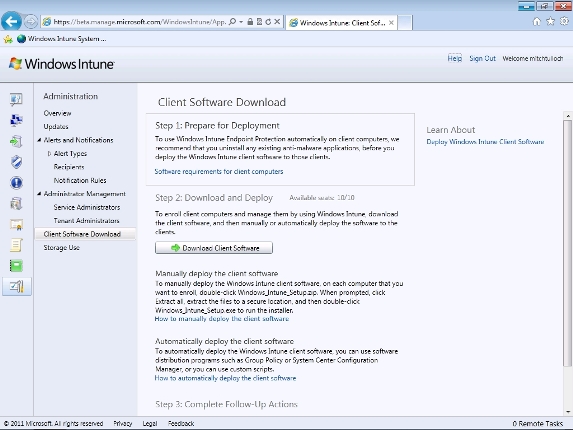
Figure 2: Download Windows Intune client software
To download the client software, click the Download Client Software button as shown in the image above. Users will then see an Open dialog box or Save compressed file containing client software (Figure 3):
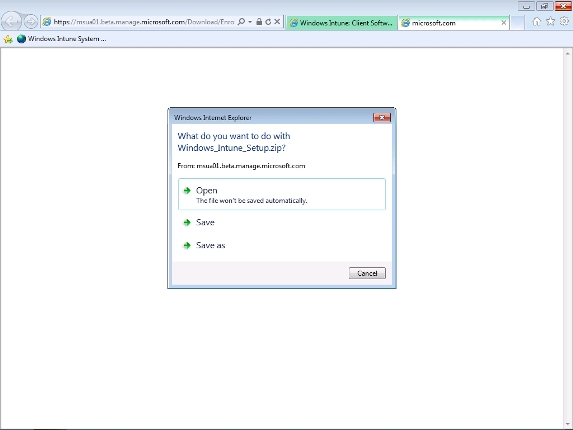
Figure 3: Download client software to deploy to computers
In this tutorial, the administrative workstations and computers that need to be managed are all virtual machines or dynamic within the Hyper-V environment, so we choose Save As in the above dialog and save the client software. Go to the shared folder on the Hyper-V host. When the software is saved in the shared folder on the network, we can right-click it and select Extract All to extract the software (see Figure 4) so that users can install it on their computers.
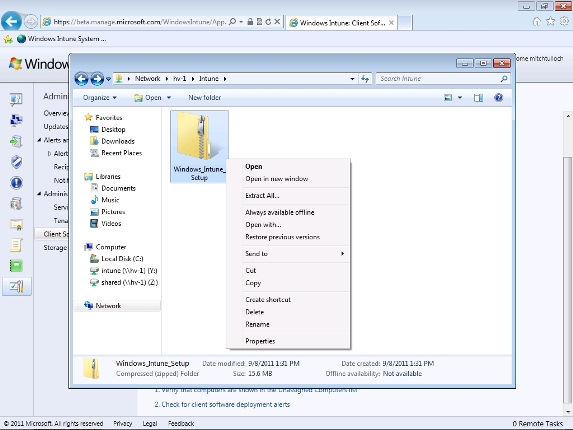
Figure 4: Save the client software on the shared folder and select Extract All.
Verify the location for extracting unzipped files (Figure 5):
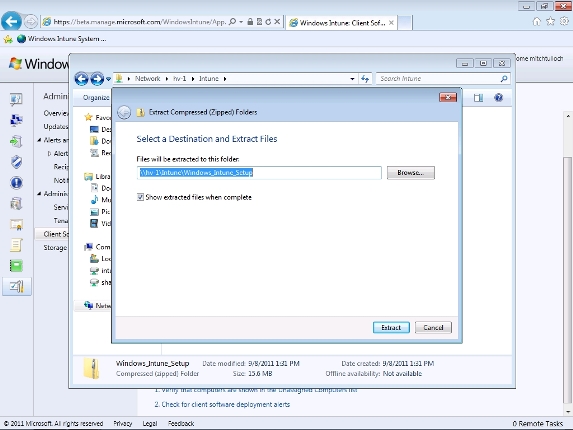
Figure 5: Unzip the client software so users can install it on their computer
Figure 6 shows the extracted files, including an installation file and an accompanying file. * .Accountcert is used to identify the organization and link client software to your Windows Intune registry:
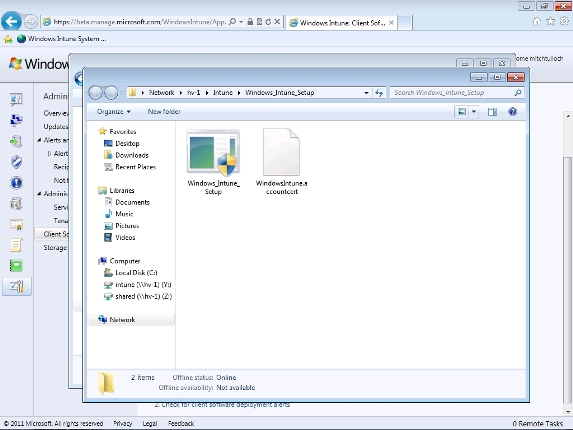
Figure 6: Client software files are decompressed
Install client software
Instructions for users in your organization how to access the shared folder to get the compressed software for the client software, double-click the Windows Intune Setup file to install this software on their computer. When you do this, your users will see the Windows Intune Setup Wizard screen as shown in Figure 7:
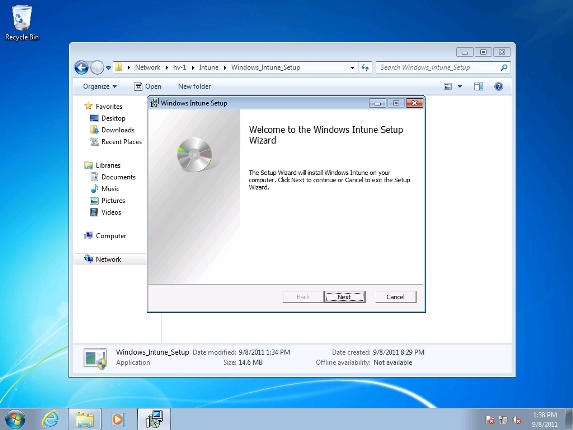
Figure 7: Step 1 of installing Windows Intune client software on the computer
The progress bar indicates the software installation process:
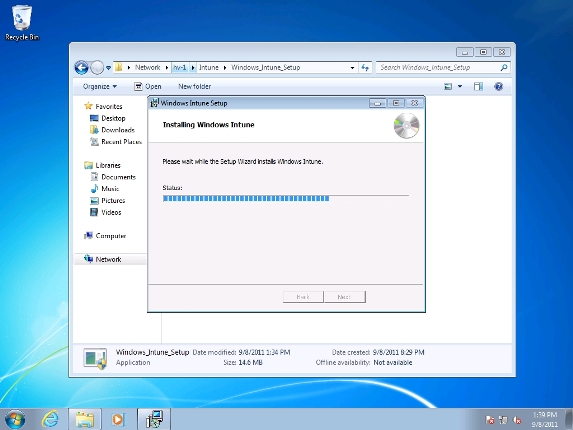
Figure 8: Step 2 during the installation of Windows Intune client software on the computer
Users will see a successful installation message:
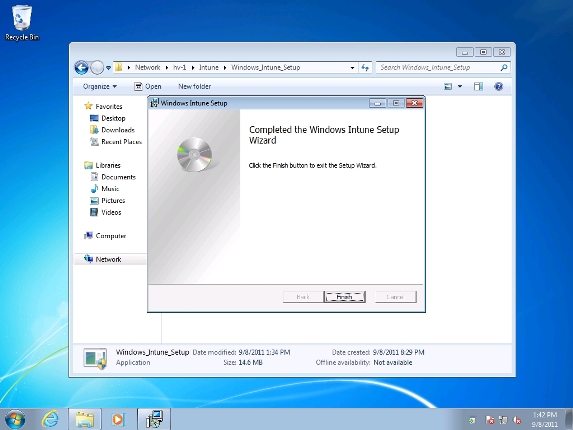
Figure 9: Successful installation of client software
At this point, the computers will automatically be enrolled in the Windows Intune account and you can manage it from anywhere via the web interface.
Conclude
In this section, I have shown you how to prepare the environment by setting up Windows Intune and deploying client software to managed computers on the network. In the next parts of this series, I will show you how to manage these computers from anywhere via the Windows Intune web administration interface.
Was this article helpful?
Your feedback helps us improve.
Related Articles
 Computer management with Windows Intune - Part 1: Introduction7 minutes read
 Managing computers with Windows Intune - Part 3: Managing computers and upgrading15 minutes read
 Remote system management with the new Microsoft Intune application for Android2 minutes read
 Configure Always On VPN in Windows 10 with Microsoft Intune3 minutes read
 Windows Intune Beta 2: New things4 minutes read
 Some Samsung devices experience email, VPN errors due to missing Microsoft Intune certificates3 minutes read
Reader Comments 0
Sign in with email or Google to join the discussion.