9 basic steps to replace, upgrade Wifi card on Laptop
If your computer's Internet access speed is slow or interrupted. The first thing you should think about is to replace the new Wifi card. If you do not know how to replace yourself, upgrade your Wifi card, and refer to the article below..
Sometimes your Internet connection is often interrupted, even if the connection is very slow. The first reason you can think of it is the Wifi card. Replacing with a new high-speed Wi-Fi card that supports multiple bands will help you access the Internet at a faster rate.
Step 1: PIN

Turn off the power then remove the Battery from the laptop.
Step 2:
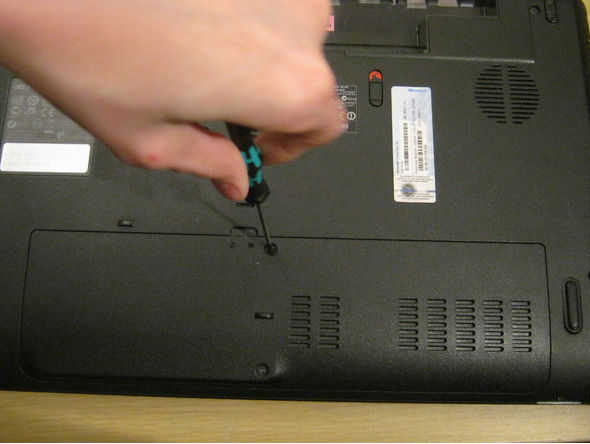
Use a 4-sided screwdriver (often called a pake screw) to screw the screw to open the Wifi card slot cover.
Step 3:

Use Spudger (this is a high quality wooden stick or plastic used to poke the device slots) to push the Panel (Laptop cover) out of the plastic jaws.
Note: Do not press your hand hard or it will break the clamp.
Remove the Panel (Laptop cover) from the Laptop and set it aside.
Refer to: 2 basic steps to replace and upgrade RAM laptop
Step 4: WLAN card

WLAN card is protected by a transparent cellophane cover. Gently lift this cover from the WLAN card.
In addition, you can use transparent tape to attach the cover to one side while working to avoid getting entangled.
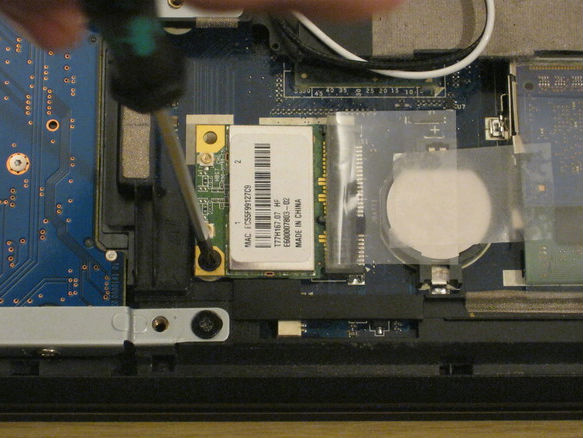
Step 5:

Use Spudger's spearhead (this is a high quality wooden or plastic stick to poke the device slots) to remove the antenna wire connections from the WLAN card.
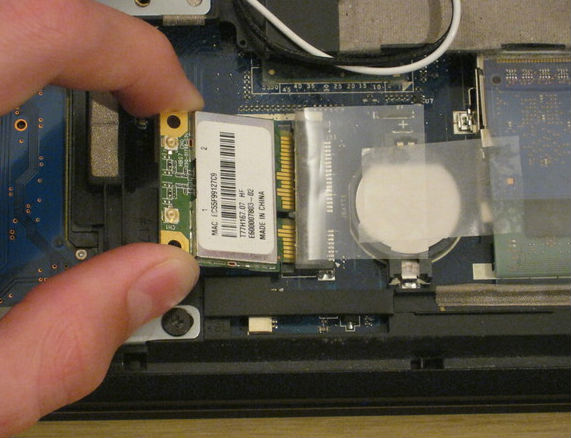
Step 6:

You can pull the antenna cable toward the plastic jaw so that it doesn't get confused when doing.
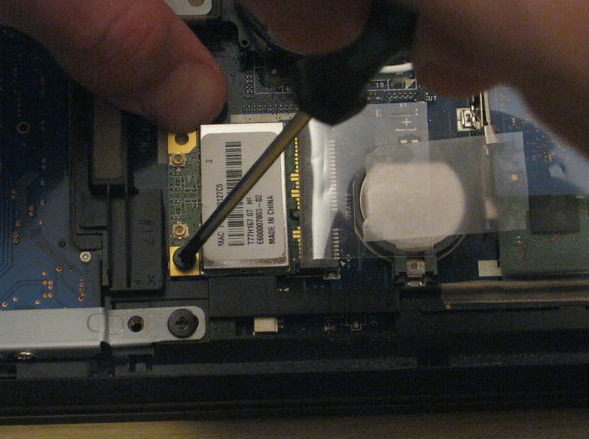
Step 7:
Use tour-screw to remove screws from WLAN card.
After removing the screw, the old WLAN card will pop up.
Step 8:
Just like RAM, you just need to drag a WLAN card to your side and remove the old WLAN card from the slot.
After attaching a new Wi-Fi card to the blank position and removing the old card, check if the new card is fully inserted.
Step 9:
After you have successfully inserted the WLAN card, reinsert the previously removed antennas and close the Panel (laptop cover) again.