6 simple steps to make a unique calendar for the new year
With only a few more days, we will officially enter the new year 2016. To welcome a new year full of intentions, hopefully each person will have different activities. However, TipsMake.com will suggest you a very simple way that is very useful, which is manually designed unique calendar to hang in the house or give to loved ones. Let's see how to do it.
First, install the Picture Collage Maker software on your computer.
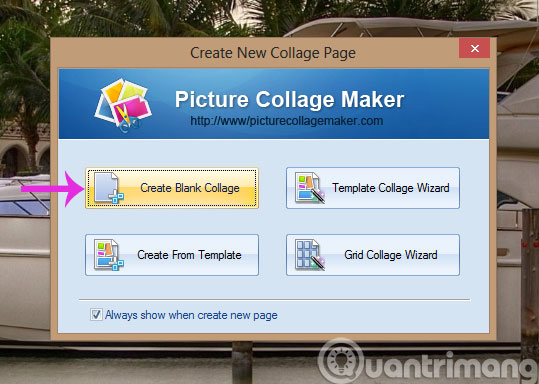
Step 1: From the main interface of the program, click Create Blank Collage
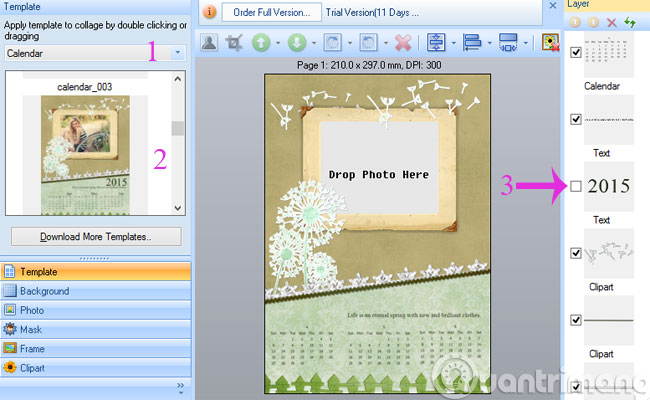
Step 2 : In the new interface, click on the item below, select Calendar . Then, find the template you like best and can omit the "extra" details in that template by unchecking the right frame.
Step 3 : Double click on any month in the calendar template to proceed with editing
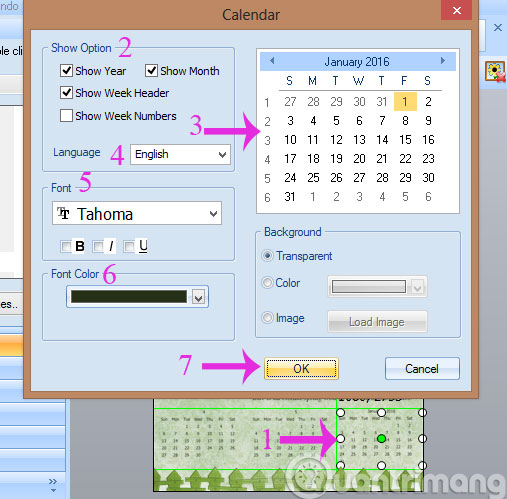
- Show Year : Show year.
- Show Month : Displays the month.
- Show Week Header : Display the title for the week.
- Show Week Numbers : Displays the serial number for the week.
- Language : Change language, support 5 different languages.
- Font : Customize the font.
- Font Color : Customize the font color.
After all is done, click OK to save the settings. Take the same action with the remaining months on the calendar.
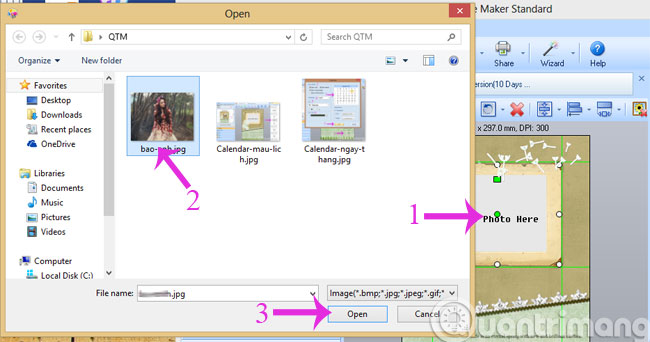
Step 4 : Double-click the Drop Photo Here item to insert a photo into the calendar.
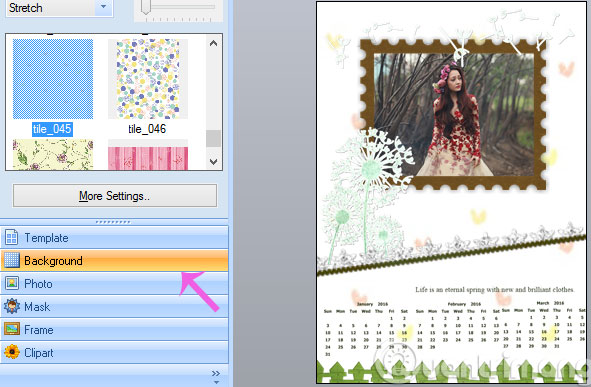
Step 5 : You can select the calendar for the calendar in the Background menu
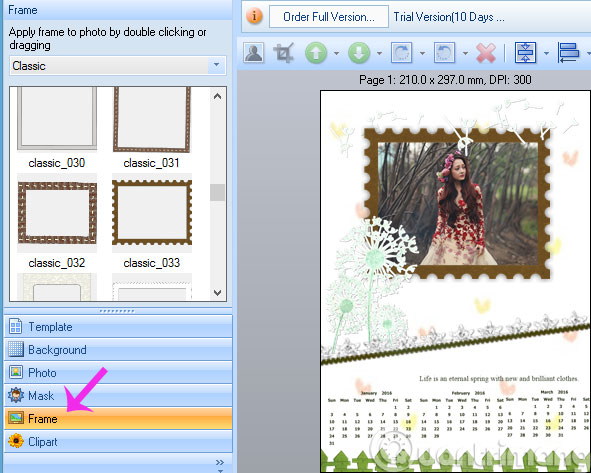
Step 6 : To add a frame to the photo, go to the Frame menu
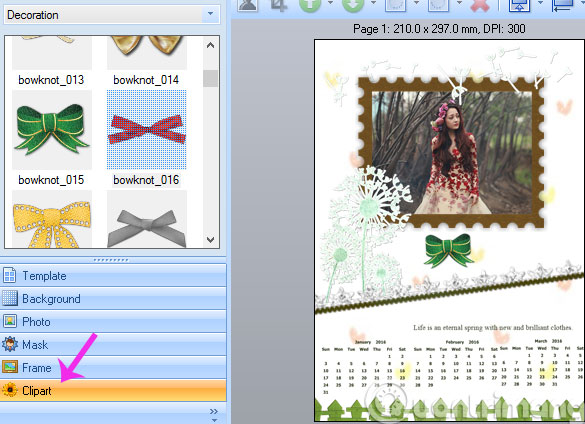
Step 7 : To add icons for more vivid, go to the Clipart menu
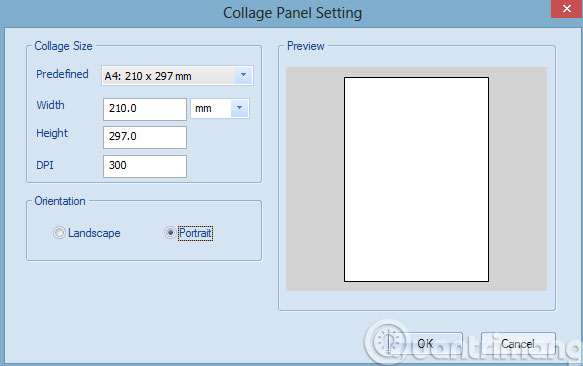
Step 8 : If you want to change the size of the calendar, click the Collage menu, select Collage Panel Setting .
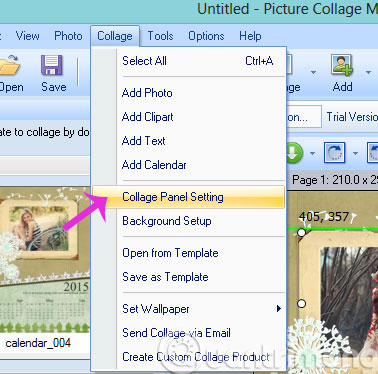
Step 9 : Collage Panel Setting window appears, you can choose the size for the picture at Predefined or manually fill in the size and Height section to match the screen resolution of the computer you are using. Then click OK to save the setting.
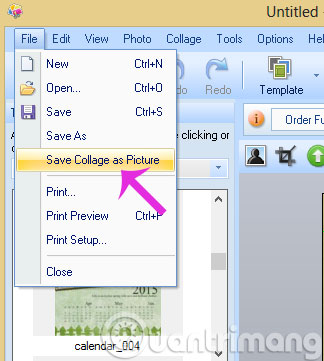
Step 10 : After completing editing click on File , select Save Collage as Picture to save this calendar again.
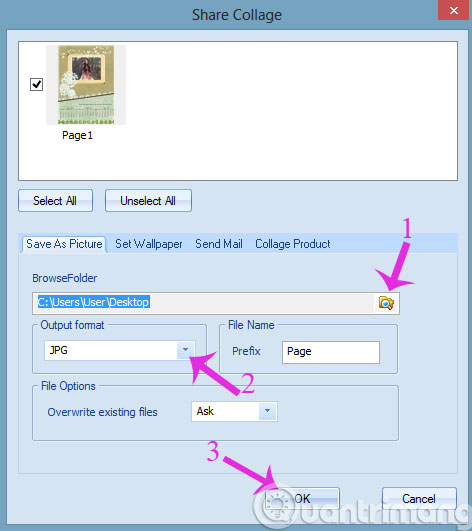
Step 11 : The Share Collage window appears, click the folder icon with the magnifying glass in BrowseFolder to select the location to save the file. Continue clicking the drop down button in the Output format section to select the output image format. Then click OK .
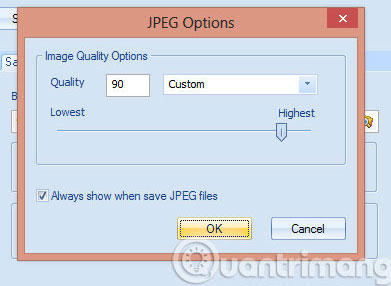
Step 12 : Next, the JPEG Options window appears allowing you to select the quality of the output image, then click OK to export the calendar to an image file.
And this is the calendar we just illustrated above
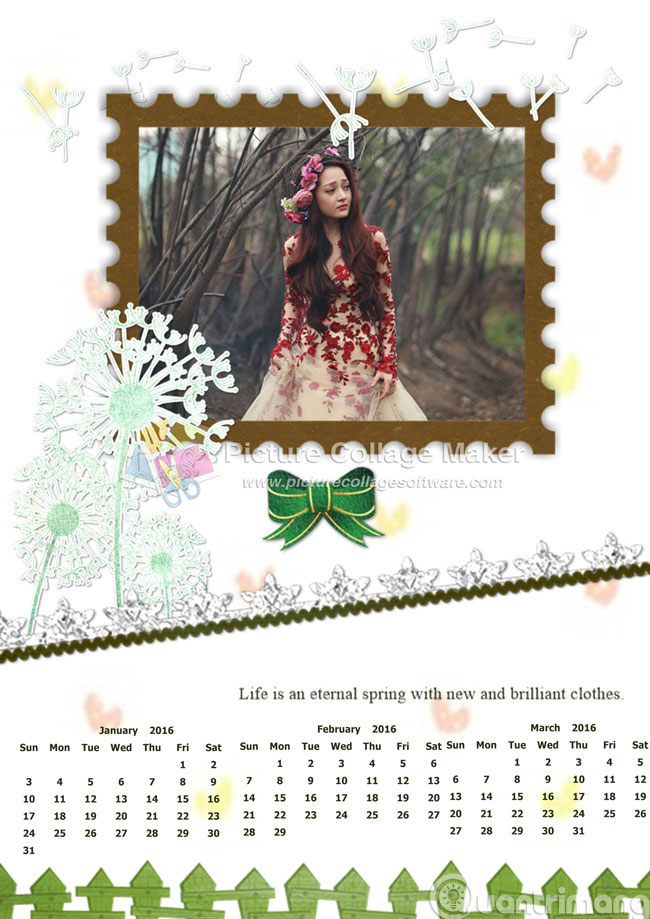
Thus, we have just instructed you how to create a unique calendar with 3 months of illustration. For the rest of the year, you take the same steps above.
- Make a greeting card for Vietnamese women on October 20 online
- Instructions for making an online 20/11 card
- Add a simple way to make beautiful Christmas cards
Good luck!