What is MSIX Packaging Tool and how does it work?
When you open the MSIX Packaging Tool, you are greeted with a simple interface. Next to the settings button in the upper right corner, you will see the following three features presented as actions:
- Application package → Create standalone MSIX package
- Modification package → Already have MSIX and need to make modification package
- Package editor → Edit an existing package

Let's take a closer look at each individual task to see if it fits your needs and how it works.
1. Application package
Here is the script that starts when creating the MSIX package. As required, you will need the base application repackaged as an MSIX and a certificate. Remember, all MSIX packages must be digitally signed.
Step 1: Choose the environment
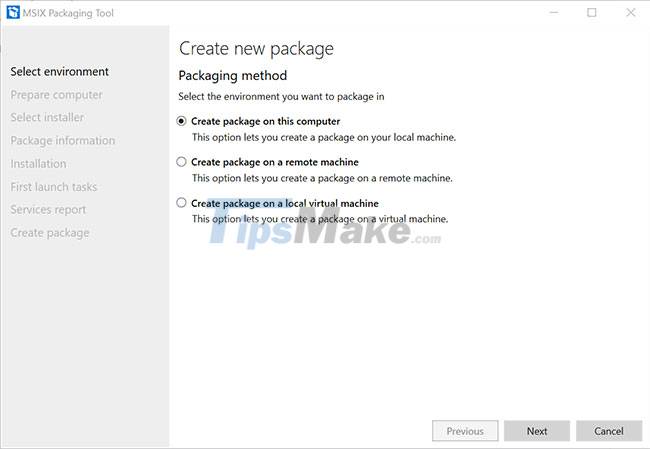
Regardless of which option you choose, it is best to create the package on a 'clean' computer, similar to the one you are using to deploy the application. This helps to avoid compatibility issues.
Many people prefer to run the process in a virtual machine where the MSIX Packaging Tool is installed to avoid possible communication and configuration issues between machines.
Step 2: Prepare the computer
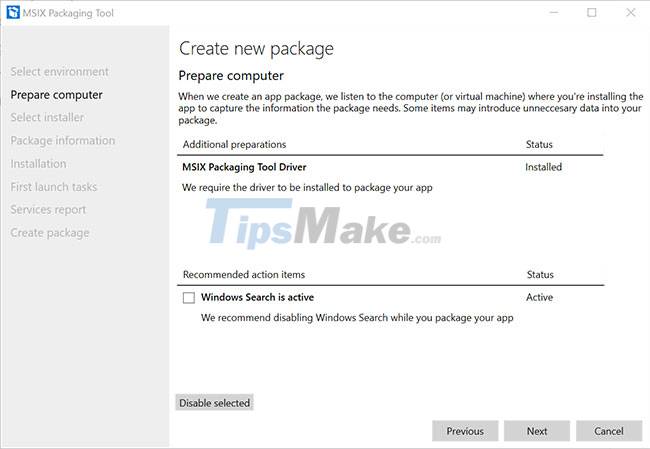
MSIX Packaging Tool has a launch detection method before starting the repackaging process. It detects if the required Tool Driver is installed and if there are any services, pending reboots or other interfering items that are active and need to be shut down.
Step 3: Select the installer
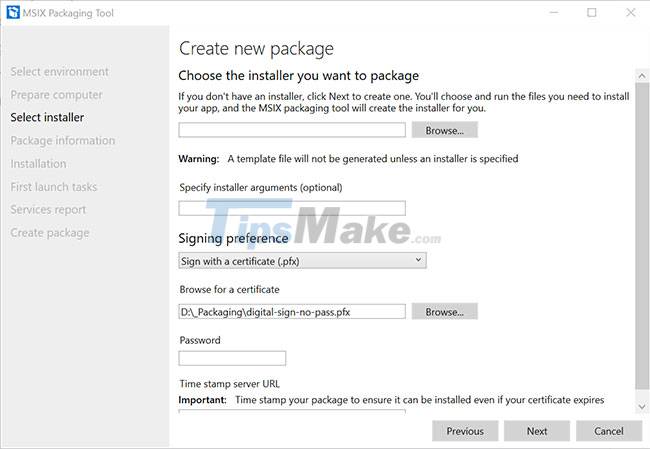
In the Select Installer step, you will browse for your base application installer and specify the installation arguments as needed. Since the MSIX Packaging Tool works like a repackager, it also allows you to create a package without an installer, by adding files and operations that run on the operating system during the process.
Also, an important step here is to define the signing method and actually sign the package. This is important, as every MSIX package must be digitally signed. No exception.
The packager will take two snapshots. One before and one after you install the application or make any modifications in the operating system (i.e. copy files, run executables, etc.). Finally, it will compare the two snapshots and the result will be the MSIX package.
To assist users, Microsoft has created a best practice guide for repackaging an application using the MSIX Packaging Tool. Readers can refer here.
Step 4: Package Information
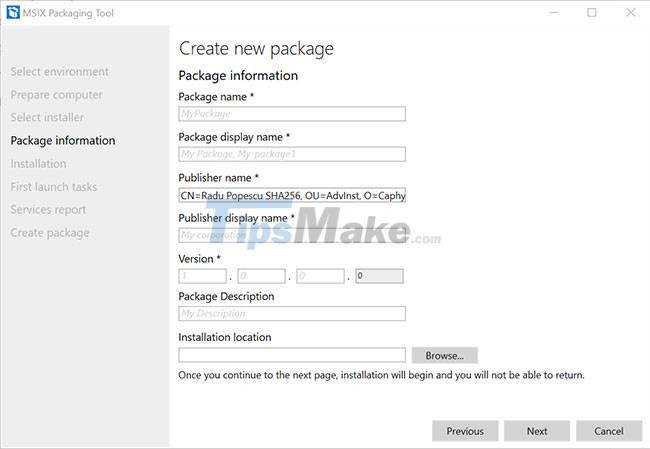
You will add package information in this step. You will also notice that "Publisher name" is pre-populated as it automatically pulls the information from the certificate.
Step 5: Install
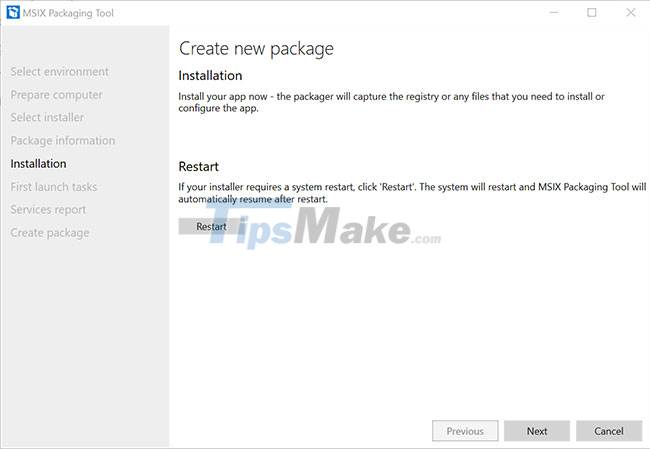
When it comes to the installation step, you can run the installation wizard of the base application or manually perform the operations you need, such as copying, moving, deleting or configuring files, etc. Click Click Next when you're done.
Step 6: Launch the first task
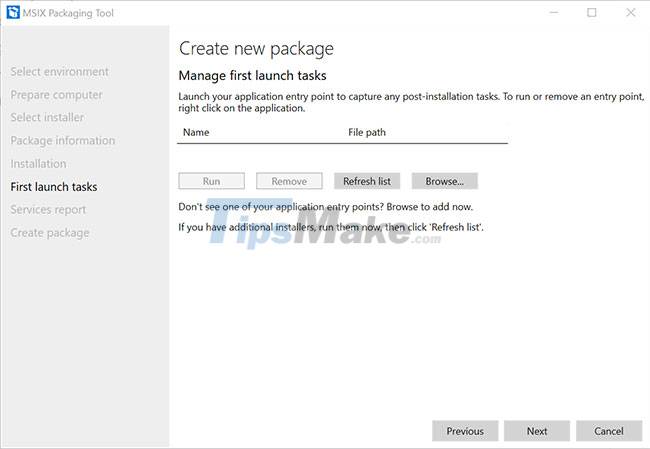
The MSIX Packaging Tool will attempt to detect the entry point(s) of the application. Many shortcut items will need to use PSF.
At the end of this step, the MSIX Packaging Tool will take a second snapshot. Note that the initial snapshot is taken immediately after the second step, when the tool detects any activity that interferes with the repackaging process.
Step 7: Report service
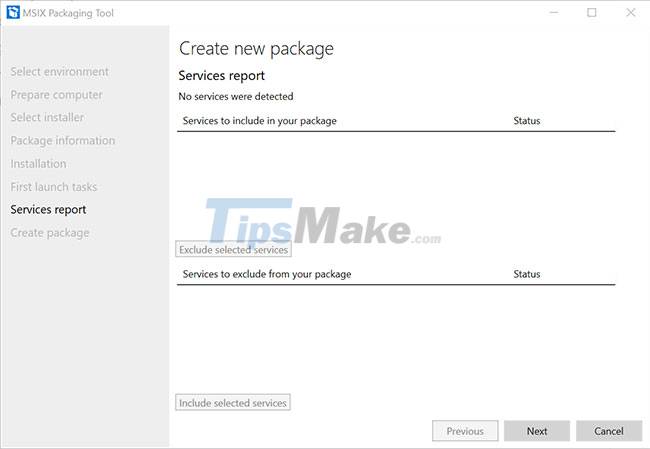
If your application has any services, they will be listed here. Remember: MSIX services will run outside of the container, that's why they are treated separately.
Step 8. Create the package
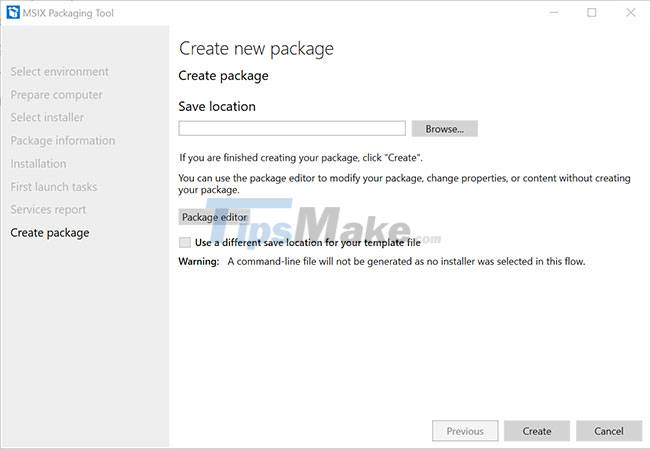
Last but not least, just use the Browse button to select the location where you want to save the package.
2. Modification package (modification package)
Let's say you have deployed an MSIX package and need to create a custom package for it, or in other words create a 'patch'. To do this, you will need to create a modified package.

You can observe a lot of similarities when packaging and modifying packages.
The main difference here is that in the installer selection step (3rd step) you need to provide the main MSIX package as a reference. The package information will be extracted from there.
However, if you do not want to provide MSIX before or do not have access to the source files, you can skip adding the referenced package and enter the information manually.
The article recommends that you always provide the main MSIX. This way you will avoid any typos that could lead to packet repetition and wasted time.
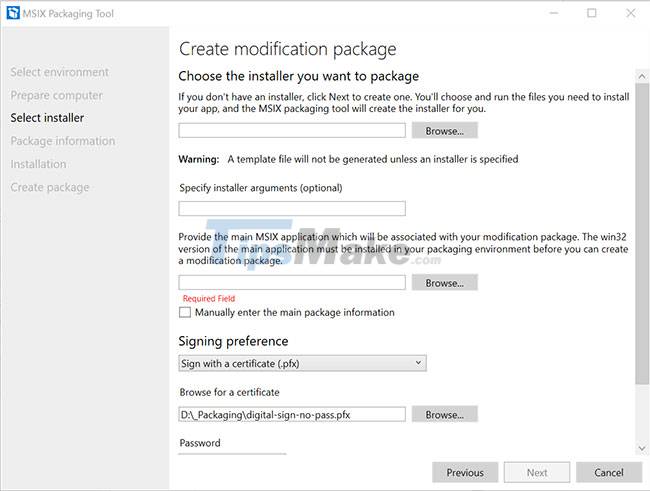
As mentioned above, the remaining steps are similar to a simple application packaging process. Follow the stated steps to complete the modified package.
3. Package editor (package editor)
Once you've got an MSIX package and all you want to do is make a quick edit, this option does the job for you. Browse through the package and you will have access to the details inside.
Package information
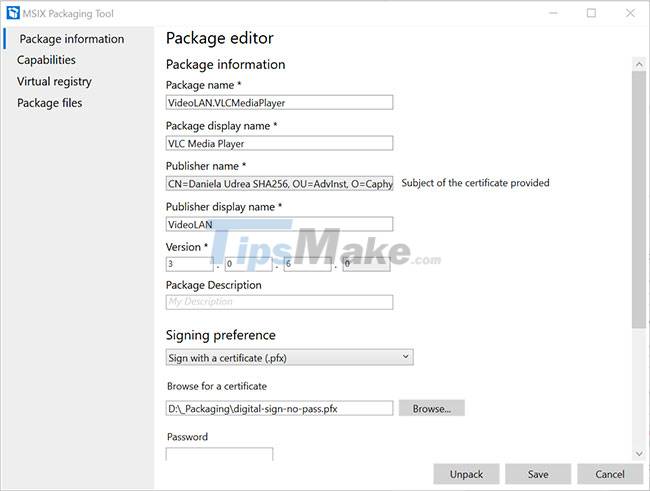
- Modify any package information
- Sign the package with another certificate
- Edit manifest.xml
Package editor
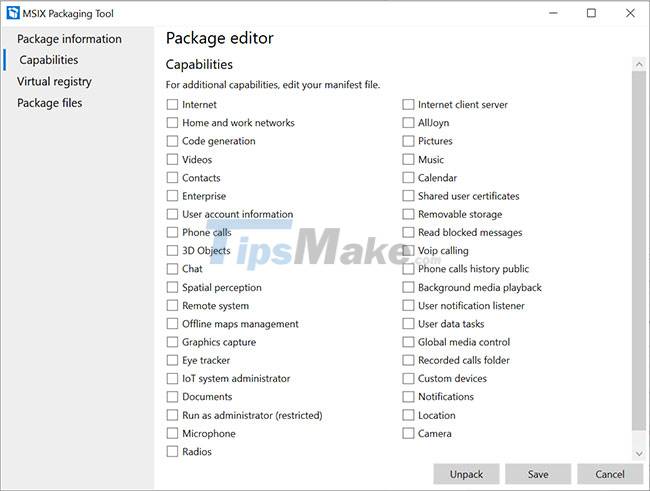
- Add any capabilities your MSIX may require
- Additional unlisted capabilities can be added to the manifest
Virtual registry
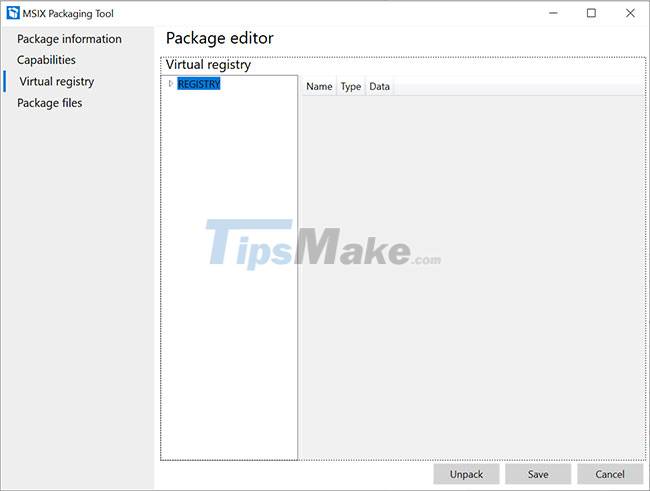
- Browse and edit your computer's hive registry
- Browse and edit the user's hive registry
- Remember that these are stored registry
Package files
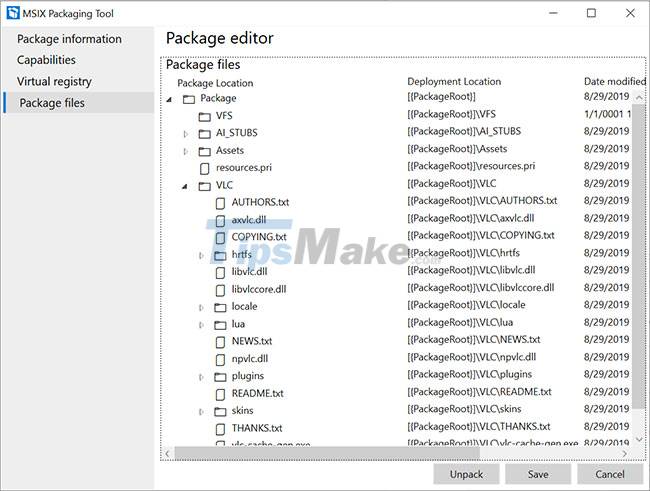
- Add, move, delete files
- Add, move, delete folders
Besides, you can also have the option to extract the MSIX package to a specified output location.