Steps to install OpenStack on Ubuntu 18.04 using DevStack
Devstack is a set of extensible scripts that facilitate OpenStack deployments. In this tutorial you will learn how to deploy OpenStack on Ubuntu 18.04 using devstack..
Openstack is a free and open source IaaS cloud platform that handles networking, storage, and cloud computing resources. It comes with an intuitive dashboard that allows system administrators to provision and monitor these resources.
You can seamlessly install OpenStack locally on your Ubuntu 18.04 instance for learning and testing purposes using Devstack.
Devstack is a set of extensible scripts that facilitate OpenStack deployments. In this tutorial you will learn how to deploy OpenStack on Ubuntu 18.04 using devstack.
Minimum requirements
Before you get started, make sure you have the following minimum prerequisites:
- Fresh Ubuntu 18.04 installation
- User with sudo . privileges
- RAM 4GB
- 2 vCPU
- Hard drive capacity 10GB
- Internet connection
With the minimum requirements met, you can now continue with the steps below.
How to Install OpenStack on Ubuntu 18.04 Using DevStack
Step 1: Update and upgrade the system
To get started, log in to your Ubuntu 18.04 system using SSH protocol, and update and upgrade the system repositories with the following command:
apt update -y && apt upgrade -ySample output:
 System updates and upgrades
Next, reboot the system with the command:
sudo rebootOr:
init 6Step 2: Create a Stack user and assign sudo . privileges
Best practice requires that devstack be run with a regular user account with sudo privileges.
Therefore, the article will add a new user called "stack" and specify sudo privileges.
To create a stack user, execute the command:
sudo adduser -s /bin/bash -d /opt/stack -m stackNext, run the command below to assign sudo privileges to the stack user:
echo "stack ALL=(ALL) NOPASSWD: ALL" | sudo tee /etc/sudoers.d/stackSample output:
 Create a Stack user and assign sudo quyền privileges
Step 3: Install git and download DevStack
Once you have successfully created the stack user and specified sudo privileges, switch to this user using the command.
su - stackIn most Ubuntu 18.04 systems, git comes pre-installed. If by chance git is missing, install it by running the following command:
sudo apt install git -ySample output:
 Install git
Using git, clone (clone) Devstack's git repository as shown.
git clone https://git.openstack.org/openstack-dev/devstackSample output:
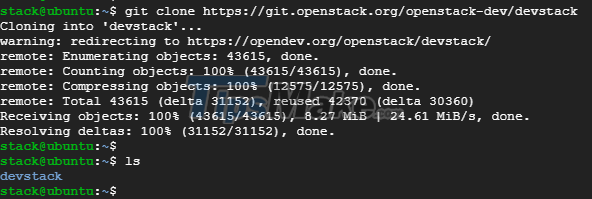 Download DevStack
Step 4: Create Devstack configuration file
In this step, navigate to the devstack directory:
cd devstackThen create the local.conf configuration file :
vim local.confPaste the following content:
[[local|localrc]] # Password for KeyStone, Database, RabbitMQ and Service ADMIN_PASSWORD=StrongAdminSecret DATABASE_PASSWORD=$ADMIN_PASSWORD RABBIT_PASSWORD=$ADMIN_PASSWORD SERVICE_PASSWORD=$ADMIN_PASSWORD # Host IP - get your Server/VM IP address from ip addr command HOST_IP=10.208.0.10Save and exit the text editor.
Note :
1. ADMIN_PASSWORD is the password that you will use to login to the OpenStack login page. The default username is admin .
2. HOST_IP is the system IP address obtained by running the ifconfig or ip addr commands .
Step 5: Install OpenStack with Devstack
To start installing OpenStack on Ubuntu 18.04, run the script below found in the devstack folder.
./stack.shThe following features will be installed:
- Horizon – OpenStack Dashboard
- Nova – Compute Service
- Glance – Image Service
- Neutron – Network Service
- Keystone – Identity Service
- Cinder – Block Storage Service
- Placement – Placement API
The deployment process takes about 10 to 15 minutes depending on your system speed and Internet connection. In the example case, it took about 12 minutes.
At the end you will see output similar to what the article has below.
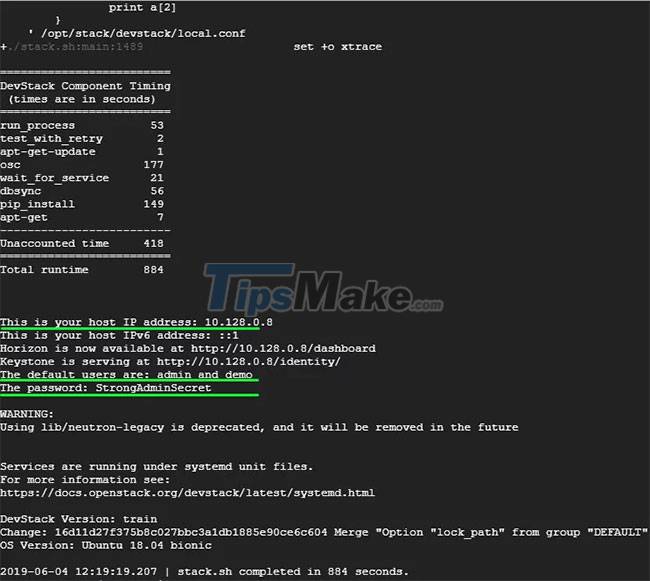
This confirms that all is going well and that OpenStack can be continued to be accessed through a web browser.
Step 6: Access OpenStack on a web browser
To access OpenStack via a web browser, browse for your Ubuntu IP address as shown.
https://server-ip/dashboardThis directs you to a login page as shown below:
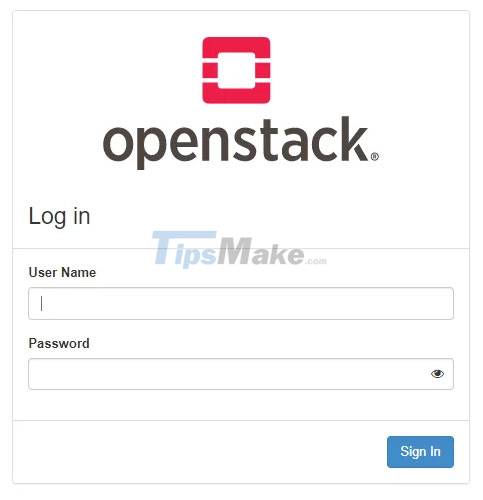
Enter your login information and press Sign In.
You should be able to see the Management panel as shown below.

Hope you are succesful.