Table of Contents
Explore powerpoint 2019 (part 32).
Export your presentation as a video
The Create a Video feature allows you to save your presentation as a video. This can be useful as it lets your audience watch the presentation whenever they want. To ensure your audience has enough time to view each slide, you can try rehearsing or recording your slideshow before using this feature.
How to create a video
1. Click on the File tab to access the Backstage view.
2. Select Export , then click Create a Video . The video export options will appear on the right.
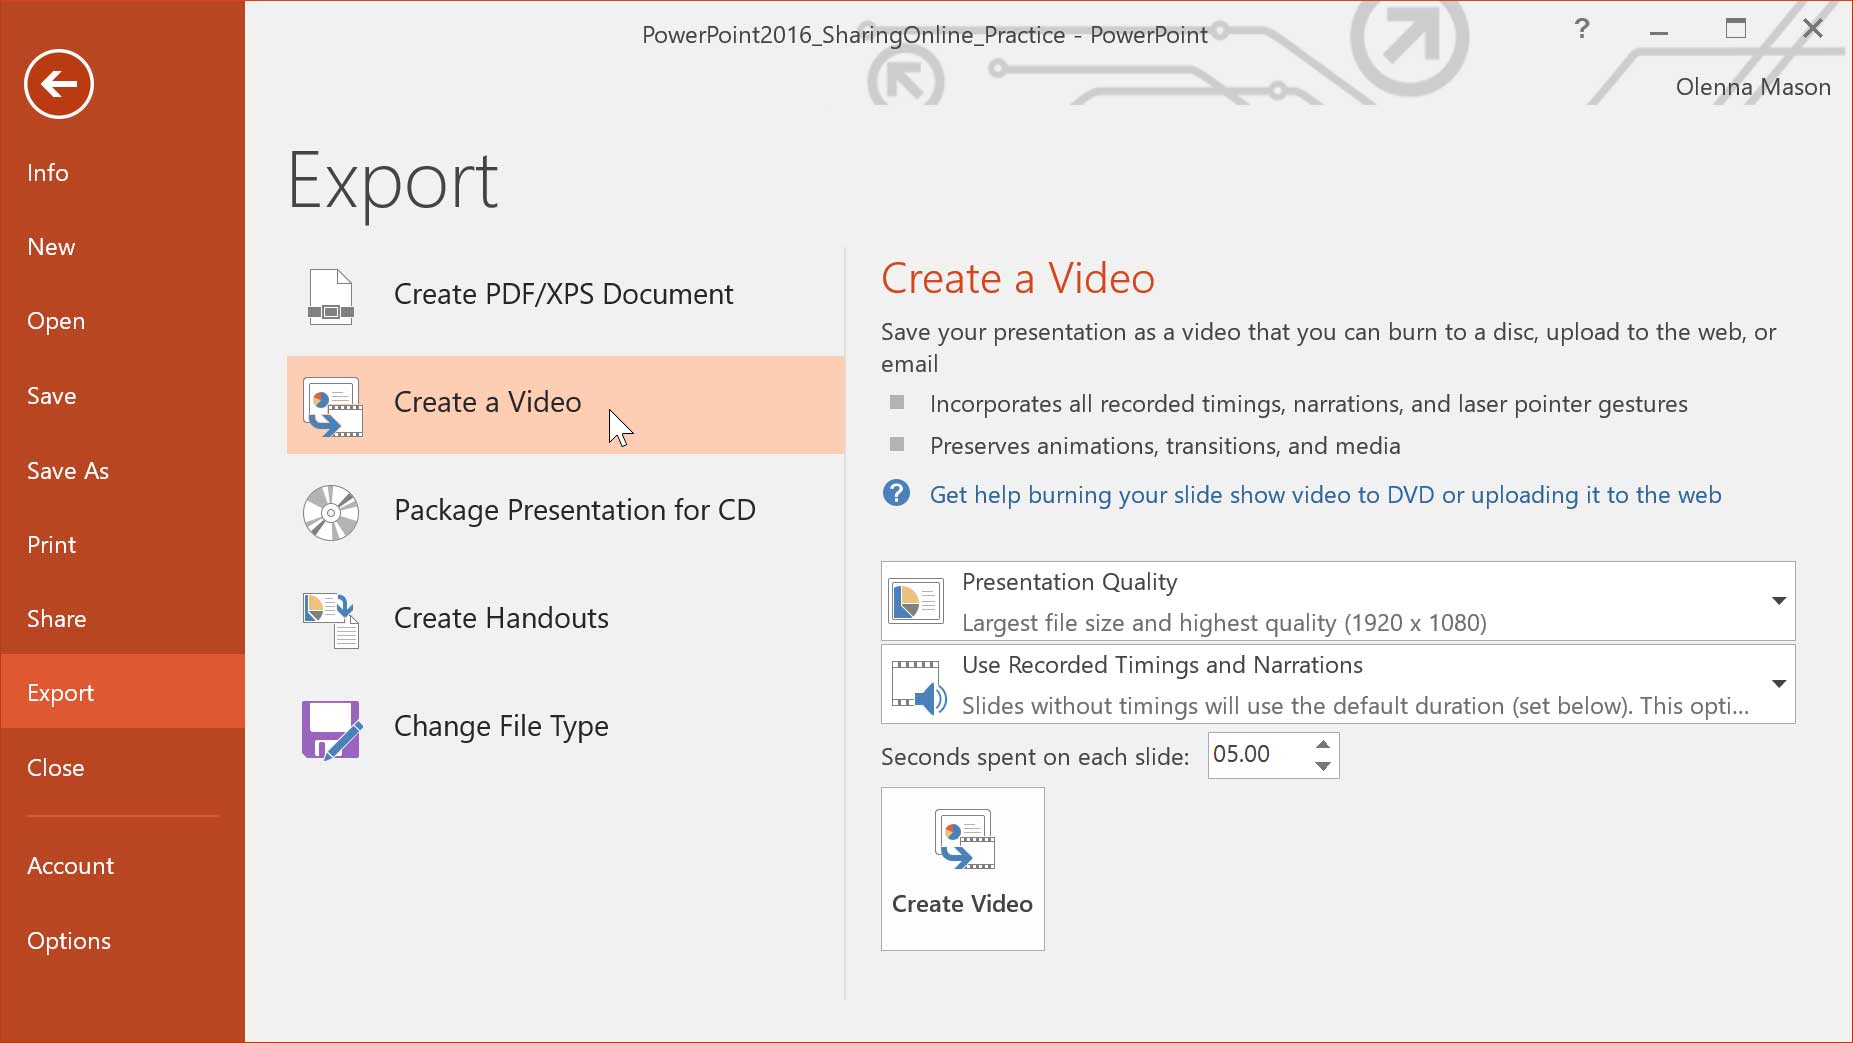
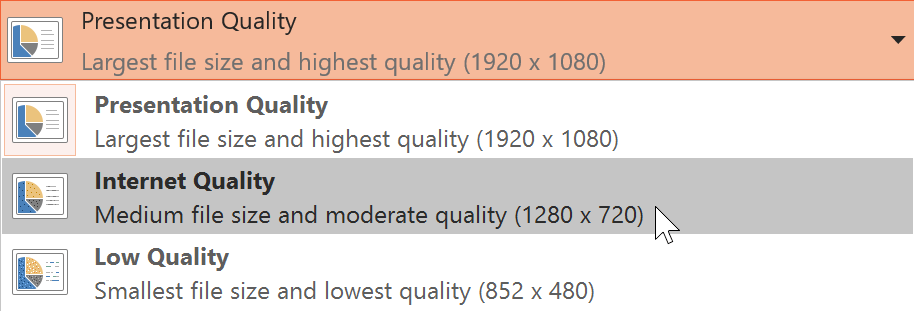
3. Click the drop-down arrow next to Presentation Quality to select the video size and quality.
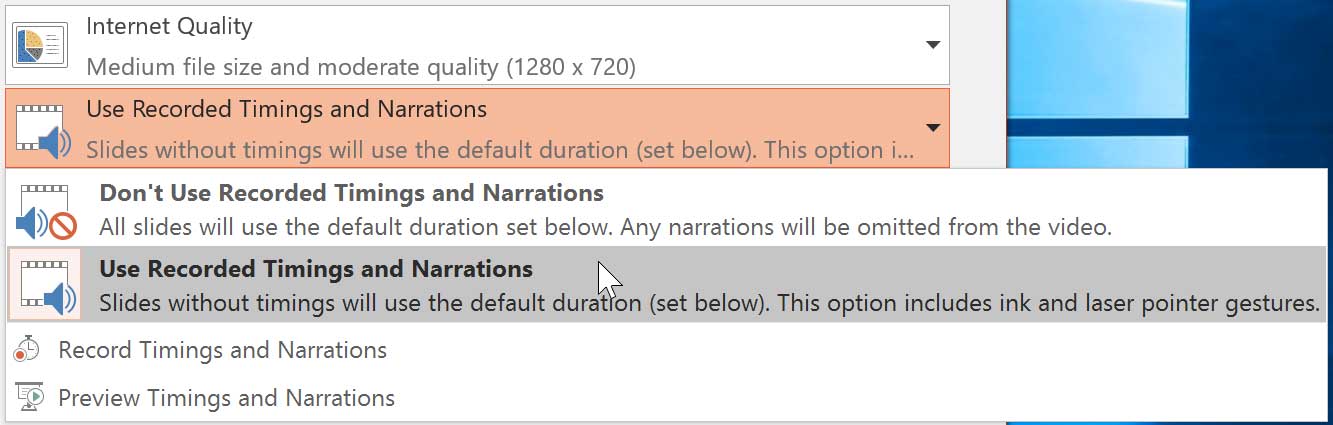
4. Select the drop-down arrow next to Use Recorded Timings and Narrations . Choose Don't Use Recorded Timings and Narrations if you don't have or don't want to use recorded timings. You can also choose Use Recorded Timings and Narrations if you have recorded timings and narration and want to use them in your video.
5. Click on Create Video. The Save As dialog box will appear.
6. Choose the location where you want to save it, then enter a name for the presentation.
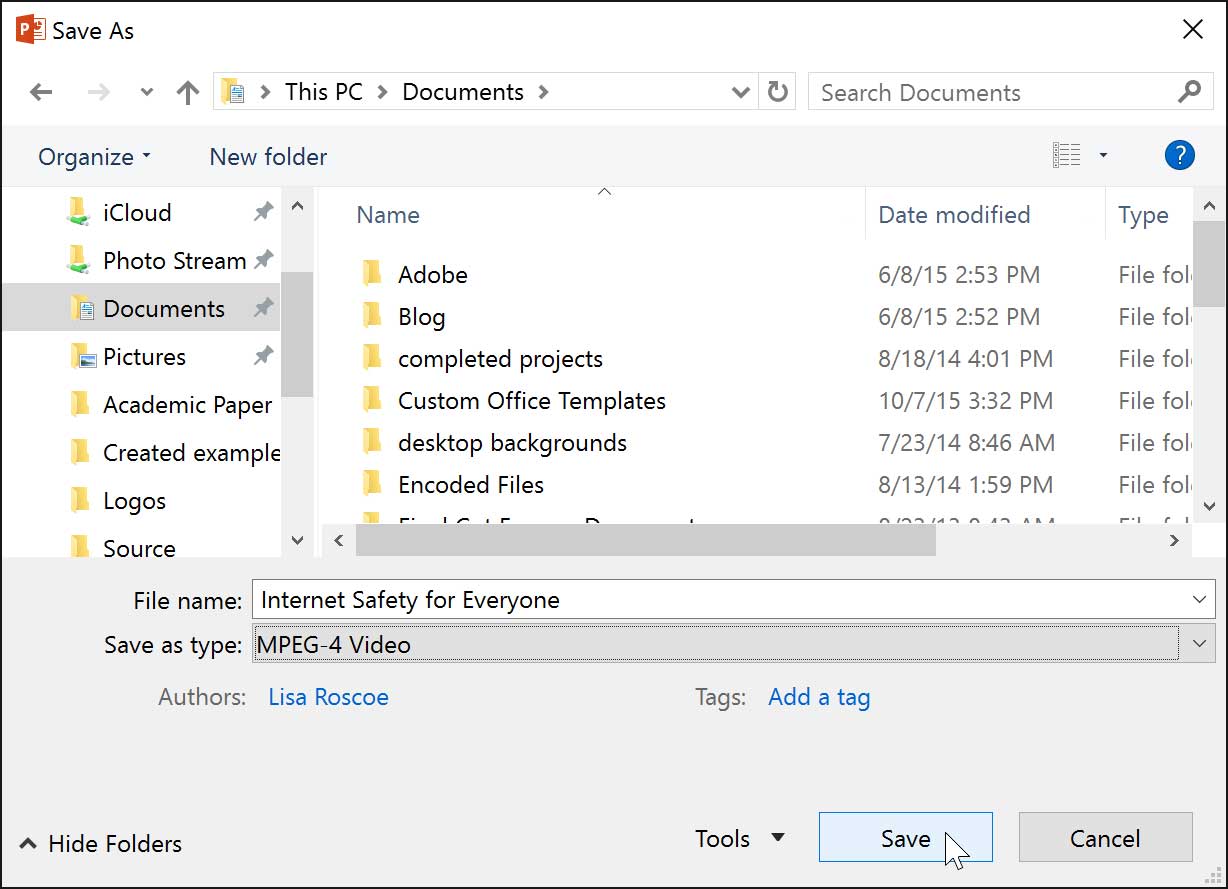
7. Click Save. As PowerPoint creates your video, a status bar will appear at the bottom of the PowerPoint window. Once this bar is complete, your video is ready to view, send, or upload.

Besides sending your videos via email, you can upload them to free video sharing sites like YouTube. Once the video is uploaded, you can provide the link to anyone you want.
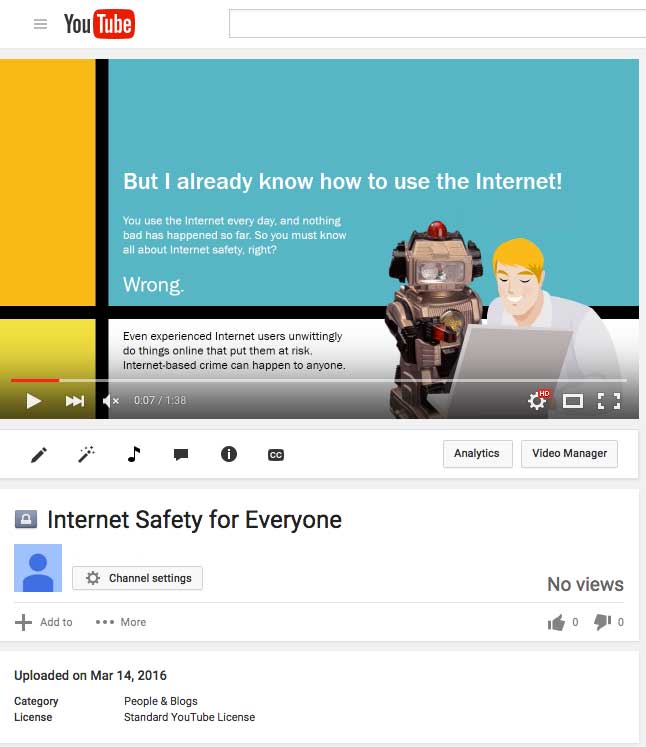
Presenting a slideshow online
Presenting a slideshow online is surprisingly easy. All you and your audience need is an internet connection – they don't even need to download PowerPoint. Once your audience is connected, you can start your presentation as usual.
Please note that you cannot edit your presentation or highlight it with a pen or marker while it is live. You also cannot use PowerPoint to speak to your audience. Plan to communicate with your audience through a video conferencing application or pre-record your narration.
How to give an online presentation
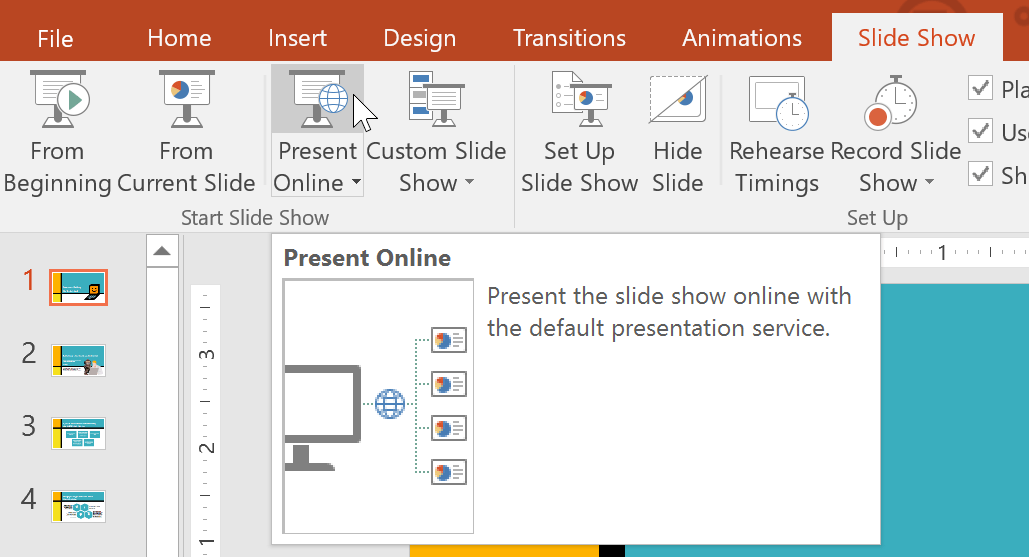
1. Select the Slide Show tab, then find the Start Slide Show group.
2. Click on the Present Online command.
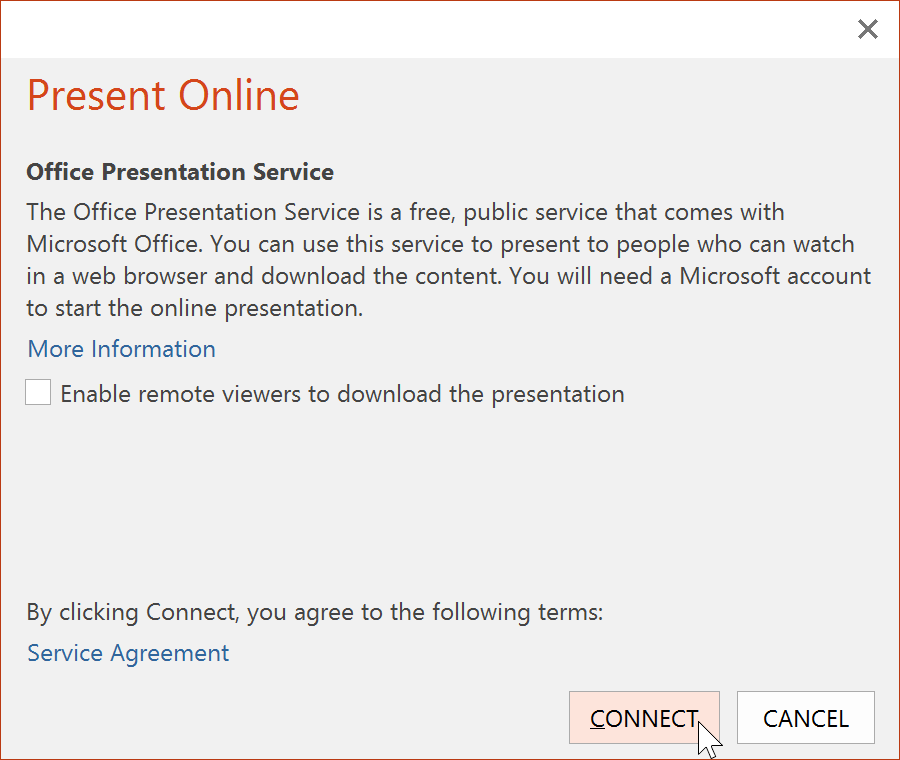
3. A dialog box will appear. Click Connect. Status messages will appear as PowerPoint prepares your online presentation.
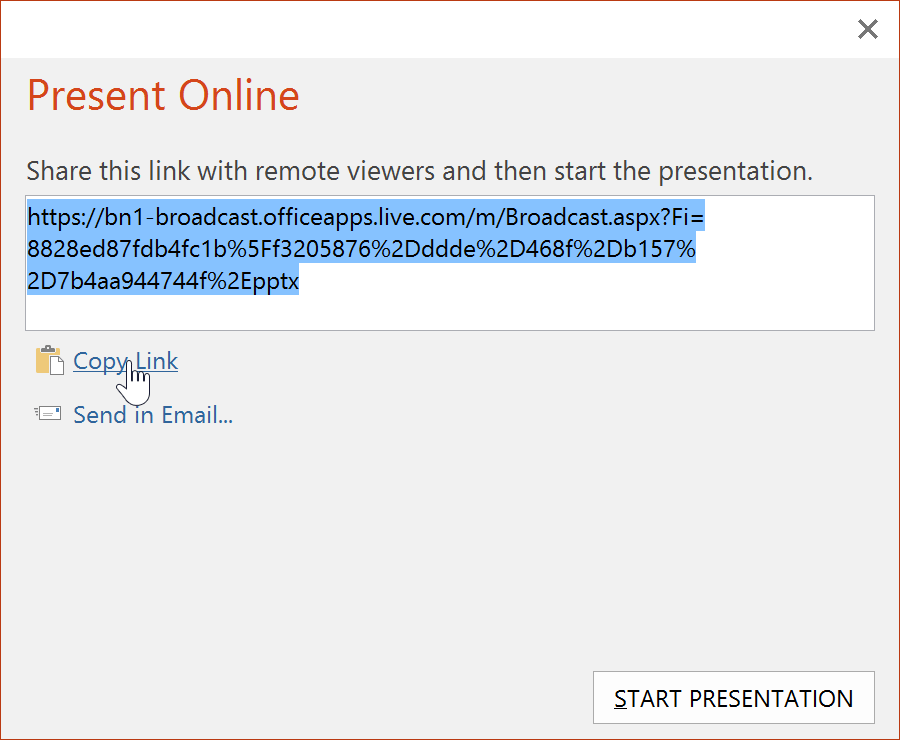
4. A link will appear. If it's not already selected, click the link.
5. Click Copy Link to create a copy of the link that you can paste anywhere – including Facebook, your blog, or email. You just need to make sure each of your viewers receives a copy of the link before starting the presentation.
6. Click Start Presentation.
7. Present the slideshow as you normally would, using your mouse or keyboard to preview the slides.
8. When you're finished, click End Online Presentation .
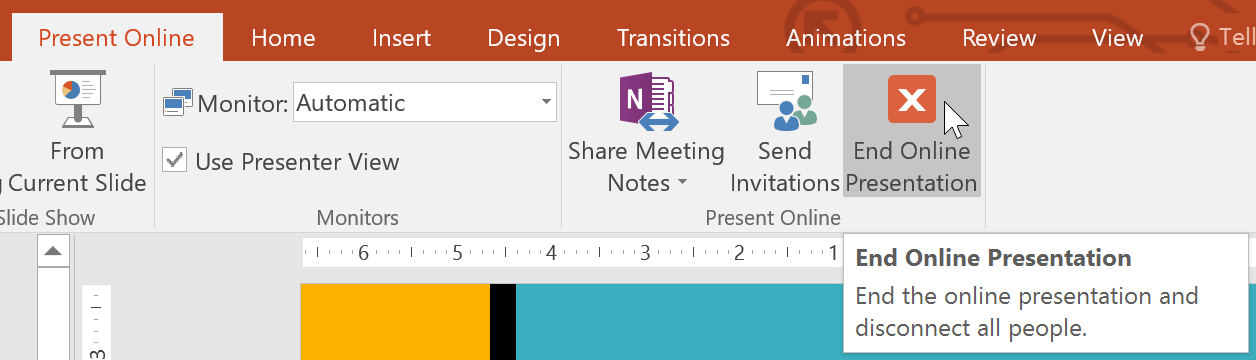
9. A dialog box will appear to confirm that you want to end the presentation. Click End Online Presentation .
Final Thoughts
Understanding powerpoint 2019 (part 32) makes it easier to evaluate the information and apply the most relevant recommendations. Focus on the key points above and verify details that may change over time.
FAQ
What is powerpoint 2019 (part 32)?
Explore powerpoint 2019 (part 32).
What key points does this article cover?
The article focuses on Export your presentation as a video, How to create a video, Presenting a slideshow online, with practical explanations and examples.
How can you use this information in practice?
Use the explanations to compare options, verify important details, and make a more informed decision. Apply the recommendations that best match your goals and situation.
Related Articles
 Share PowerPoint 2016 Presentations Online5 minutes read
 PowerPoint 2016: Sharing Presentations Online6 minutes read
 PowerPoint 2019 (Part 1): Getting Started with PowerPoint: Explained7 minutes read
 PowerPoint 2019 (Part 10): Printing Your Presentation: Explained4 minutes read
 10 Useful Tips for You When Presenting with Powerpoint15 minutes read
 PowerPoint 2019 (Part 11): Presenting Slideshows: Explained9 minutes read
Reader Comments 0
Sign in with email or Google to join the discussion.