List of settings to check after updating Windows 10
Instead of releasing a new operating system every few years, Windows now releases major feature updates once or twice a year. However, these updates usually mean that your settings and preferences are changed to whatever Microsoft wants.
This is why you need a checklist to go through some of the most common settings Windows Updates tend to change.
1. Display settings
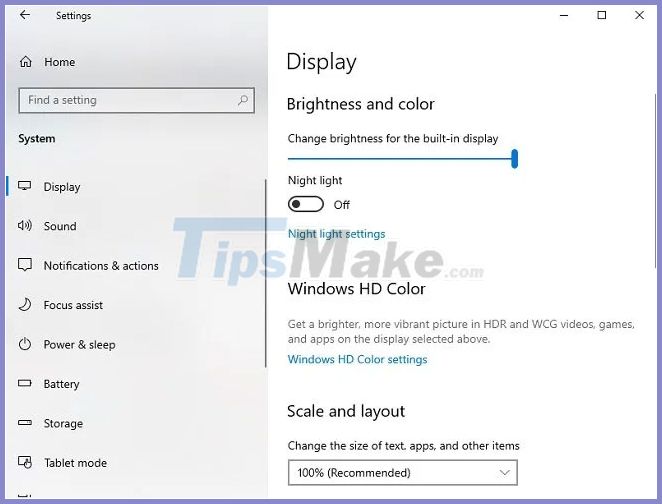
Have you recently installed a major feature update and discovered the brightness has changed or the desktop icons have a different size? The biggest advantage of the display settings is that you may notice something goes wrong right away. You can usually edit them in two setting groups.
First, go to Start> Settings> System> Display .

These settings are mainly related to brightness, resolution, and other display settings. If you have a second monitor and it is not recognized or is not working correctly, the update may have changed your driver.
There is another area to check for is Start> Settings> Personalization .
From here you can change the background image (something Windows updates always change), font size, lock screen settings, etc. This is also where you will make changes to Start menu, which Microsoft wants to revamp in major updates.
2. Driver problem
Another thing to add to the Windows 10 update checklist is the driver. Take a moment to make sure all your hardware and peripherals are working properly. While you probably already have the best driver, Microsoft sometimes thinks you need something different, even if it's completely incompatible. Incorrect drivers can also cause problems with the overall performance of the system.
Before you think your device is suddenly not working with the new update, check to see if the Windows update changed your drivers. Although there are more detailed instructions on how to check for updated drivers, you can see which drivers Windows has installed by going to Start> Settings> Update & Security> Windows Update .
Select View update history on the right. Expand Driver Updates . This shows which driver was updated and on what date.

You can recover the faulty driver by right-clicking the Start menu and choosing Device Manager . Select your device, right-click on it and choose Properties . Select the Driver tab and click on Roll back driver . You can also visit the manufacturer or developer's website to download the latest drivers.
For devices where Microsoft frequently changes drivers, you can use a trick that prevents Windows from automatically updating specific drivers.
3. Network settings and updates
Microsoft wants to keep your computer more secure by making sure you always get the latest updates. This means any settings you have set to restrict updates can be removed after a major feature update. Usually, smaller security updates don't affect this.
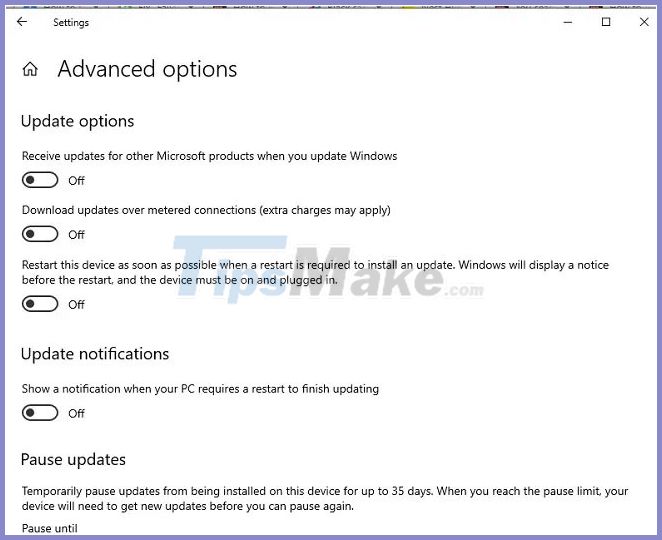
The first step is to check the Update settings. Go to Start> Settings> Update & Security . Go to Windows Update and scroll until you see the option to pause updates. Also, select Advanced options , if you have changed any of these options in the past, such as receiving other Microsoft product updates.

If you have set a Metered Connection to prevent updates until you are ready, double-check that setting. Go to Settings> Network & Internet> Wi-Fi . Click Manage known networks on the right side. Select the network (s), and then click Properties.
You can also change whether the computer automatically connects and whether the PC can be detected on the network via this screen.
4. Windows Apps Return
Obviously, Microsoft knows which application and software users need more than the user. Of course, that applies to almost every technology developer. However, as with most devices, you want the bloatware to go away. For example, many users don't want the XBox on their Windows 10 machine. While Microsoft has made it very difficult to remove this application, you can remove almost any trace of it.
Check your installed apps to see if anything is coming back. If removing them is not easy, use this bloatware removal guide for Windows 10.
5. Default application
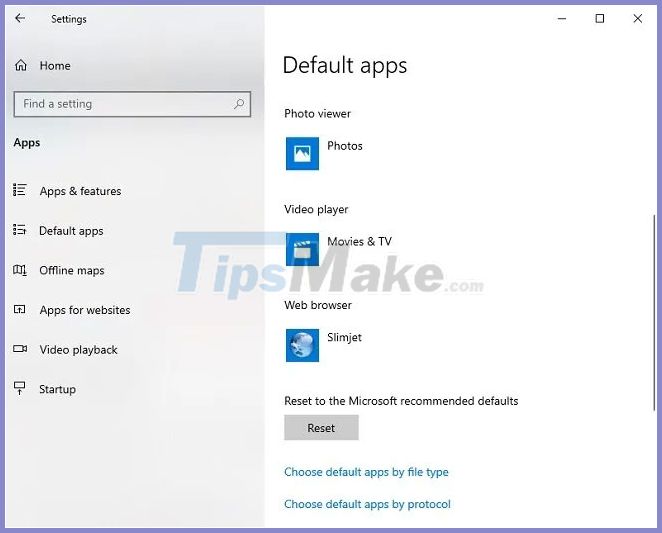
If you want an app other than the default Windows apps to open certain files, then a major Windows 10 update can revert you back to the original defaults. A quick test ensures you are using the correct application when opening the file.
Go to Settings> Apps> Default Apps . Click any category to change the current default option.
