Table of Contents
Bootstrap 5 utility classes apply focused CSS properties directly in HTML. They are useful for small, predictable adjustments such as spacing, borders, sizing, visibility, and color. Use them consistently; when a component needs many repeated utilities or complex state-dependent rules, a named custom class is usually easier to maintain.
Add and remove borders
Use border to add a border on every side. Side-specific classes include border-top, border-end, border-bottom, and border-start. Add -0 to remove one:
<div class="border p-3">Border on every side</div>
<div class="border border-top-0 p-3">No top border</div>
<div class="border-start border-4 p-3">Emphasized start border</div>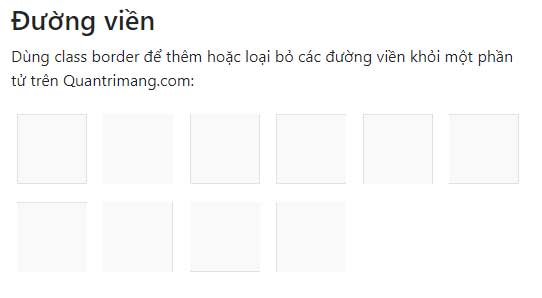
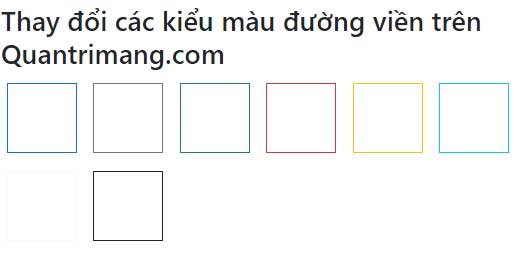
Border width and color
Combine border-1 through border-5 with a contextual border color:
<div class="border border-1 border-primary p-3">Thin primary border</div>
<div class="border border-3 border-success p-3">Medium success border</div>
<div class="border border-5 border-danger p-3">Thick danger border</div>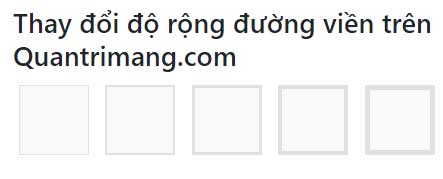
Round corners
Use rounded, side-specific variants, shape helpers, and radius sizes:
<div class="rounded p-3 border">Rounded corners</div>
<div class="rounded-pill px-4 py-2 border">Pill shape</div>
<img class="rounded-circle" src="avatar.jpg" alt="Profile portrait">
<div class="rounded-4 p-3 border">Larger radius</div>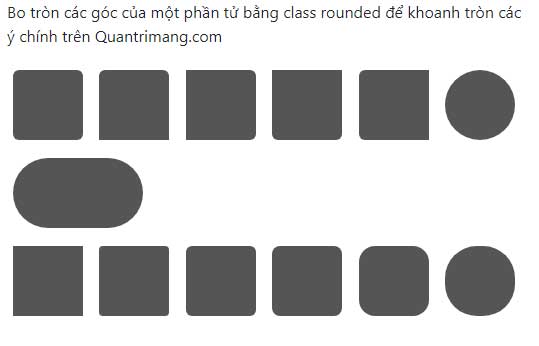
Use floats and clearfix
float-start and float-end use logical directions that adapt to left-to-right and right-to-left documents. Add clearfix to the containing element when floated content must remain inside it:
<div class="clearfix border p-3">
  <span class="float-start">Start</span>
  <span class="float-end">End</span>
</div>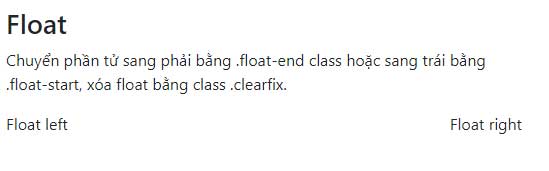
Responsive forms such as float-md-end take effect at a minimum breakpoint width. Use float-none or a responsive float-*-none to reset a float. For modern component layout, flex or grid is often clearer than floats.
Center a fixed-width block
mx-auto applies automatic inline margins. The element also needs a width smaller than its container:
<div class="w-50 mx-auto p-3 text-center border">
  Centered block
</div>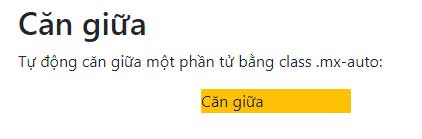
Set width and height
Width utilities include w-25, w-50, w-75, w-100, w-auto, and mw-100:
<div class="w-25 p-2 bg-primary text-white">25%</div>
<div class="w-50 p-2 bg-primary text-white">50%</div>
<div class="w-75 p-2 bg-primary text-white">75%</div>
<div class="w-100 p-2 bg-primary text-white">100%</div>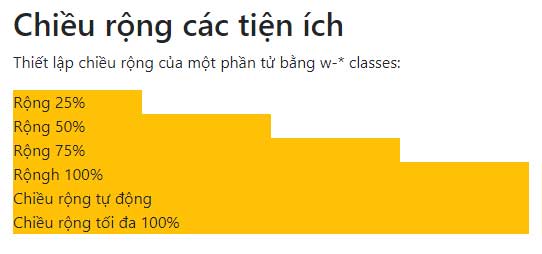
Height utilities follow the same pattern: h-25, h-50, h-75, h-100, h-auto, and mh-100. Percentage heights work only when the containing block has a definite height.
<div style="height: 12rem;" class="border">
  <div class="h-50 bg-secondary text-white">50% height</div>
</div>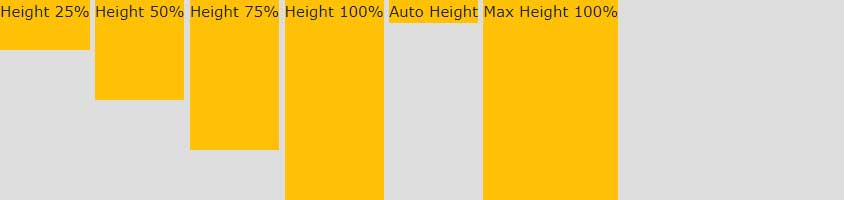
Use margin and padding utilities
Spacing classes follow the pattern {property}{side}-{breakpoint}-{size}. Omit the breakpoint segment when the value should apply at every width.
| Segment | Values | Meaning |
|---|---|---|
| Property | m, p | Margin or padding |
| Side | t, b, s, e, x, y, or blank | Top, bottom, inline start, inline end, horizontal, vertical, or all sides |
| Breakpoint | sm, md, lg, xl, xxl, or omitted | Minimum viewport tier |
| Size | 0 through 5 | Value from the Bootstrap spacing scale |
| Automatic margin | auto | Available for margin utilities |
<section class="p-3 p-lg-5">Responsive padding</section>
<div class="mt-4 mb-2">Top and bottom margins</div>
<div class="px-3 py-2">Horizontal and vertical padding</div>
<div class="ms-auto">Automatic inline-start margin</div>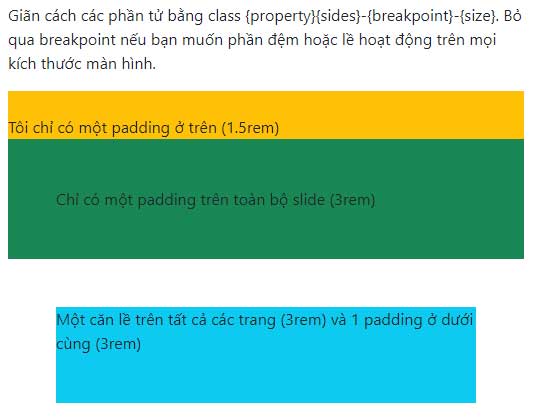
| Pattern | Applies to |
|---|---|
m-# / p-# | All sides |
mt-# / pt-# | Top |
mb-# / pb-# | Bottom |
ms-# / ps-# | Inline start |
me-# / pe-# | Inline end |
mx-# / px-# | Inline start and end |
my-# / py-# | Top and bottom |
The default Sass scale maps sizes 1 through 5 to .25rem, .5rem, 1rem, 1.5rem, and 3rem. A project can customize that scale, so classes express design tokens rather than guaranteed universal pixel values.
Add shadows
Choose shadow-none, shadow-sm, shadow, or shadow-lg:
<div class="shadow-none p-4">No shadow</div>
<div class="shadow-sm p-4">Small shadow</div>
<div class="shadow p-4">Default shadow</div>
<div class="shadow-lg p-4">Large shadow</div>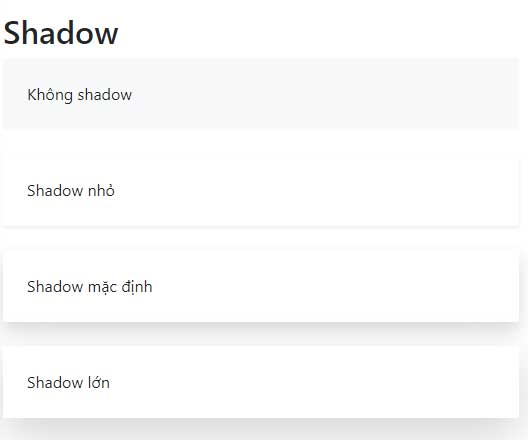
Shadows can suggest elevation, but they do not replace borders, headings, or other structural cues.
Align inline and table-cell content vertically
Vertical-alignment utilities work with inline, inline-block, inline-table, and table-cell elements. They do not align arbitrary block elements inside a container:
<span class="align-baseline">baseline</span>
<span class="align-top">top</span>
<span class="align-middle">middle</span>
<span class="align-bottom">bottom</span>
<span class="align-text-top">text-top</span>
<span class="align-text-bottom">text-bottom</span>
Use Flexbox utilities such as align-items-center for block-level component alignment.
Keep embedded media responsive
Wrap a video, iframe, or other embedded element in ratio plus an aspect-ratio helper. The child fills the wrapper:
<div class="ratio ratio-16x9">
  <iframe
    src="https://www.youtube.com/embed/jkJUjjYa7JM"
    title="Video guide"
    allowfullscreen></iframe>
</div>
Built-in ratios are ratio-1x1, ratio-4x3, ratio-16x9, and ratio-21x9. The example above is encoded markup, not a live embed.

Control display and visibility
Display utilities such as d-none, d-block, d-flex, and responsive forms like d-md-block change whether an element participates in layout. In contrast, invisible applies visibility: hidden: the element is hidden but its space remains reserved.
<div class="d-none d-md-block">Visible from the medium breakpoint</div>
<div class="invisible">Hidden while retaining layout space</div>
Do not hide essential content from one device class without providing an equivalent way to reach it.
Use visually hidden text
visually-hidden removes text from visual layout while keeping it available to screen readers. It is useful for an icon-only control, but a visible label is preferable when space allows:
<button class="btn btn-primary" type="button">
  <svg aria-hidden="true" width="16" height="16">...</svg>
  <span class="visually-hidden">Save changes</span>
</button>
Use visually-hidden-focusable for content such as a skip link that should become visible when focused.
Use the close button class
btn-close creates a standard close control. It still needs an accessible name and the component-specific dismiss attribute when applicable:
<button type="button" class="btn-close"
  data-bs-dismiss="alert" aria-label="Close"></button>
Apply contextual text colors
Common text utilities include text-primary, text-secondary, text-success, text-danger, text-warning, text-info, text-body, and muted/emphasis variants.
<p class="text-primary">Primary information</p>
<p class="text-success">Operation completed</p>
<p class="text-danger">Action failed</p>
<p class="text-body-secondary">Supporting information</p>
Color alone should not communicate status. Include meaningful words, icons with accessible names where appropriate, and sufficient contrast.
Apply background and combined text-background colors
Background utilities include contextual forms such as bg-primary, bg-success, bg-warning, and bg-danger:
<div class="bg-primary text-white p-3">Primary</div>
<div class="bg-warning text-dark p-3">Warning</div>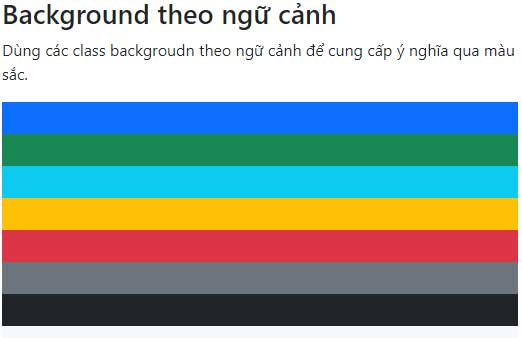
The text-bg-* helpers set both background and a contrasting foreground color:
<div class="text-bg-primary p-3">Primary information</div>
<div class="text-bg-success p-3">Success message</div>
<div class="text-bg-warning p-3">Warning message</div>
<div class="text-bg-danger p-3">Error message</div>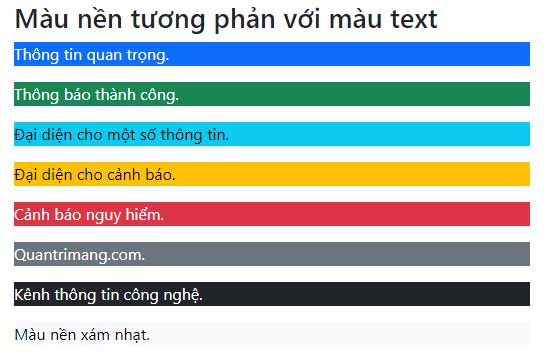
When to use utilities
- Use utilities for one-off adjustments that match Bootstrap's design scale.
- Use responsive variants when the design changes at a documented breakpoint.
- Use component classes or custom CSS when the same long utility sequence repeats.
- Avoid scattering contradictory visibility or order utilities across related controls.
- Test color modes, keyboard focus, zoom, and narrow viewports.
The Bootstrap utilities API explains how Sass projects can modify or generate utilities. Compare Bootstrap with other CSS frameworks, and use a capable HTML editor to inspect the class-heavy markup.
Related Articles
 Lesson 42: Large Grid in Bootstrap 54 minutes read
 Lesson 38: Grid Systems from Stacked to Horizontal in Bootstrap 54 minutes read
 Lesson 30: Flexing in Bootstrap 59 minutes read
 Lesson 15: Pagination in Bootstrap 54 minutes read
 Lesson 4: Typography in Bootstrap 512 minutes read
 Lesson 39: Ultra-Small Grid Styles in Bootstrap 54 minutes read
Reader Comments 0
Sign in with email or Google to join the discussion.