Table of Contents
A “Windows error” is not one diagnosis. A frozen app, blue screen, black display, boot loop, script error, and slow laptop have different causes. Record the exact symptom and error code, note what changed immediately before it began, and use the least destructive repair that matches the problem.
Do not start by reinstalling Windows. First back up accessible files, disconnect unnecessary hardware, restart, test Safe Mode, remove the most recent change, scan for malware, and use Windows repair tools. A reset or clean installation belongs near the end of the process.
Match the symptom to the next step
| Symptom | First evidence to collect | Best first path |
|---|---|---|
| One app freezes or shows an error | App name, message, recent update, affected file | Restart the app, update or repair it, test another file |
| Windows freezes randomly | Time, workload, temperature, Event Viewer entry, recent driver | Disconnect devices, update, Safe Mode or clean boot |
| Blue screen | STOP code and any driver filename | Record the code, undo the latest driver or hardware change |
| Black screen after sign-in | Whether the pointer appears and an external display works | Reset the graphics driver, check display output, use Safe Mode |
| Windows will not start | Exact boot message, whether the drive is detected, recent update | Windows Recovery Environment and Startup Repair |
| Laptop is only slow | CPU, memory, disk use, free storage, startup apps | Task Manager, storage cleanup, malware scan, hardware health |
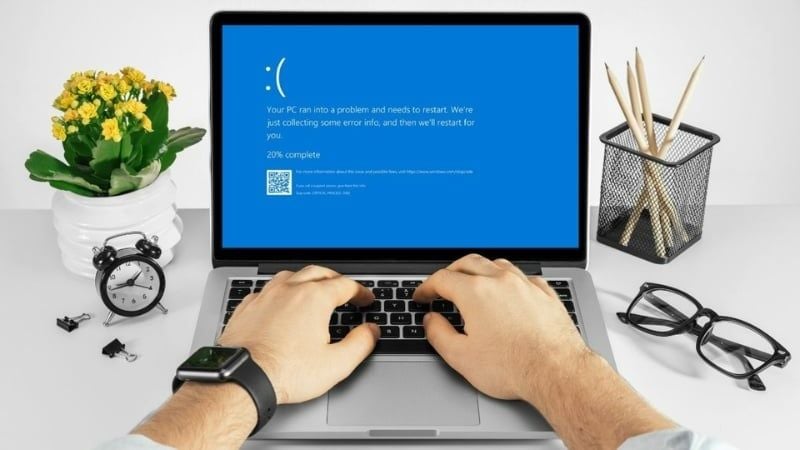
For a blue screen, use the Windows BSOD code table or BSOD Code Lookup rather than applying a generic fix to every STOP code.
Before changing anything
- Photograph the full error screen and write down the code.
- Note the last successful startup and the most recent app, driver, update, peripheral, or hardware change.
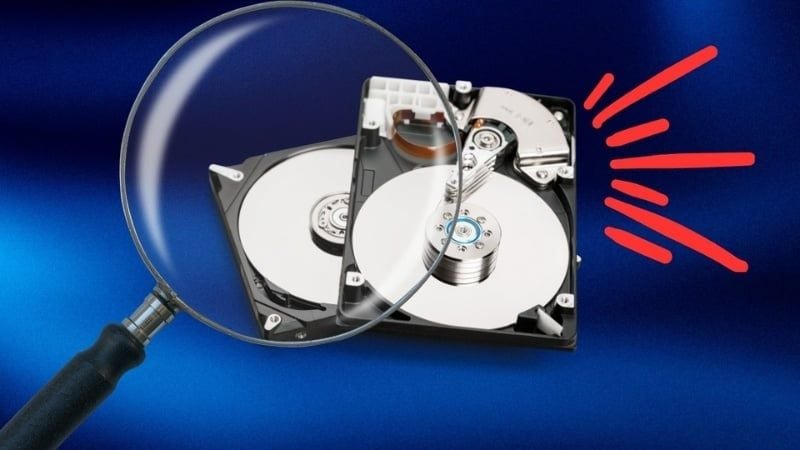
- Back up files while Windows is still accessible. If a drive is clicking, disappearing, or extremely slow, stop stressing it and seek data-recovery advice.
- Make sure the laptop is connected to reliable power before updates or recovery.
- Find the BitLocker recovery key before entering recovery tools on an encrypted device.
- Do not download replacement DLL files, registry cleaners, driver boosters, or “one-click repair” programs from unknown sites.
Common software and hardware causes
Software causes include a faulty update, incompatible driver, damaged system file, startup program conflict, malware, nearly full system drive, or an application that cannot open a particular file. A repeated error immediately after a change is a stronger clue than a general statement that Windows is “broken.”
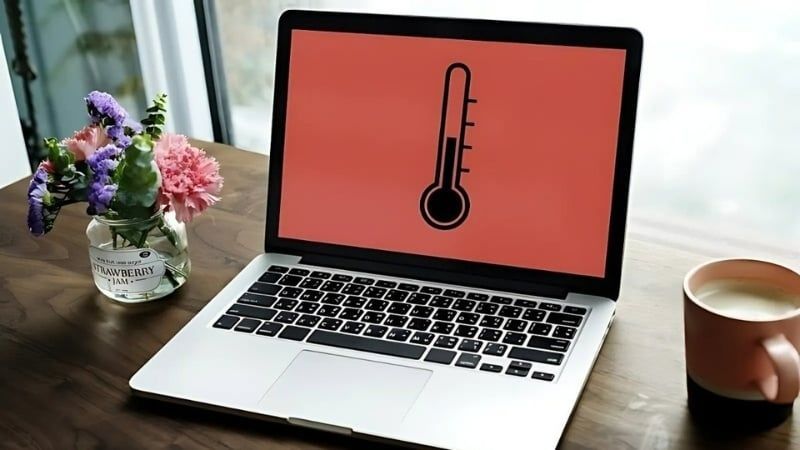
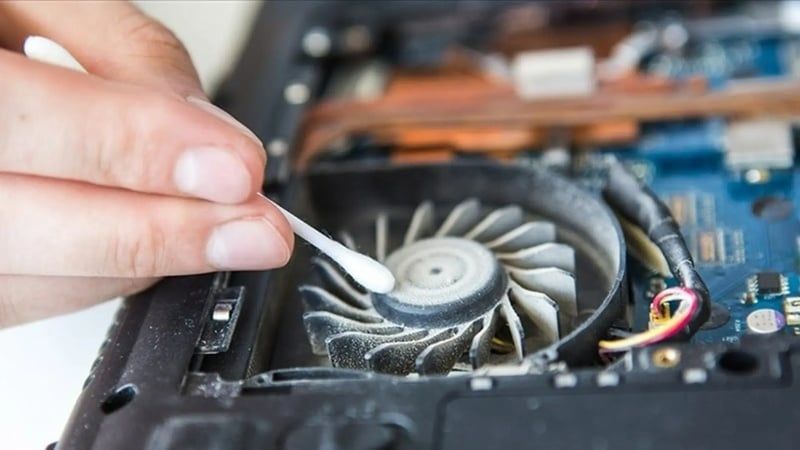
Hardware causes include failing storage, unstable memory, overheating, power faults, a damaged motherboard, or an incompatible newly installed component. Hardware becomes more likely when the same failure occurs in Safe Mode, Windows Recovery Environment, or a hardware diagnostic, or when the laptop shows physical warning signs.
1. Restart and disconnect unnecessary hardware
Save work when possible, then use Start > Power > Restart. A restart clears temporary processes and completes pending servicing more reliably than closing the lid.
If the computer is completely unresponsive, hold the power button only as a last resort. Forced power-off can lose unsaved work and, during an update or disk write, can damage data.
- Disconnect docks, USB drives, printers, game controllers, external displays, and nonessential accessories.
- Leave power connected and test with only the built-in keyboard, touchpad, and display.
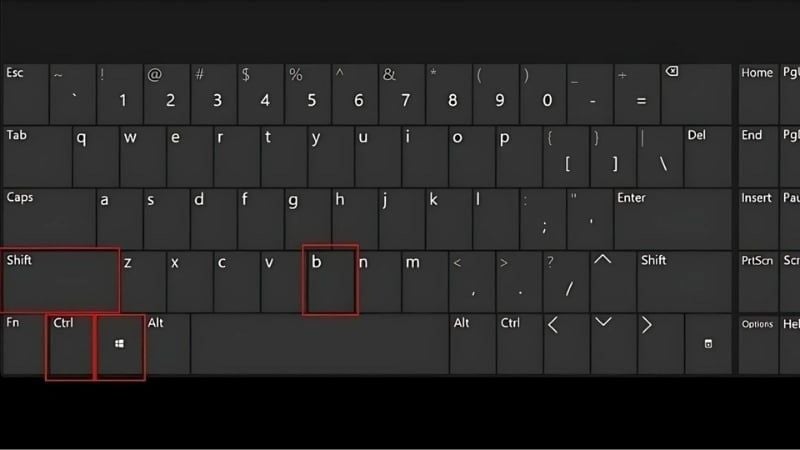
- For a black or corrupted display while Windows is responsive, press Windows + Ctrl + Shift + B once to reset the graphics driver.
2. Install safe updates and undo the latest change
If Windows starts normally, open Settings > Windows Update, install ordinary updates, restart, and test. Obtain firmware and critical laptop drivers from the manufacturer’s support page for the exact model.
If the failure began immediately after an update, app, or driver, undo that specific change instead of updating everything at once. In Device Manager, a driver’s Properties page may offer Roll Back Driver. In Windows Update history, supported recovery options may allow an update to be uninstalled.
3. Use Safe Mode to isolate software conflicts
Safe Mode loads a minimal set of Windows components. If the error disappears there, a third-party driver, service, startup app, or software layer is more likely than a fundamental hardware failure.
On current Windows 11, F8 and Shift+F8 usually are not reliable startup methods. Use one of these routes:
- From the sign-in screen, hold Shift while selecting Power > Restart.
- From Windows, open Settings > System > Recovery > Advanced startup > Restart now.
- If Windows repeatedly fails to boot, it may enter Windows Recovery Environment automatically.
In Windows Recovery Environment, select Troubleshoot > Advanced options > Startup Settings > Restart, then choose Safe Mode or Safe Mode with Networking.
The image below shows an older Advanced Boot Options screen. It is useful for recognizing legacy systems, but it is not the normal Windows 11 route.
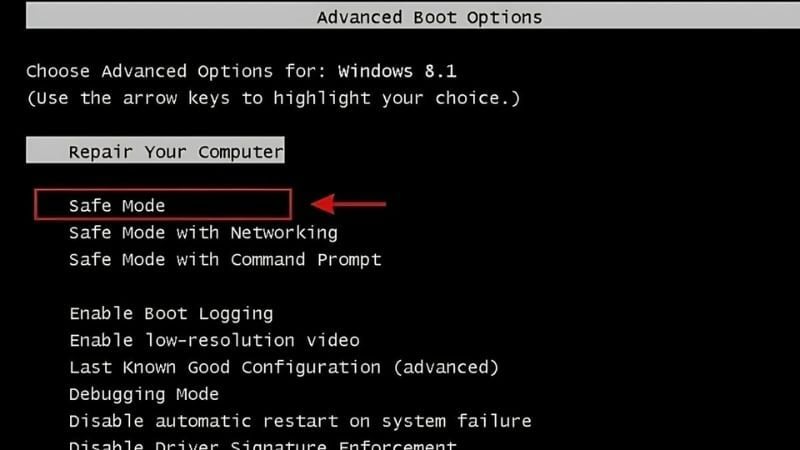
Microsoft’s current Windows Startup Settings guide lists the available Safe Mode options.
4. Remove a recent app and disable startup conflicts
If a problem began after installing software, uninstall only that application first:
- Open Settings > Apps > Installed apps, locate the program, and select Uninstall.
- For older desktop software, Control Panel > Programs > Programs and Features may still be needed.
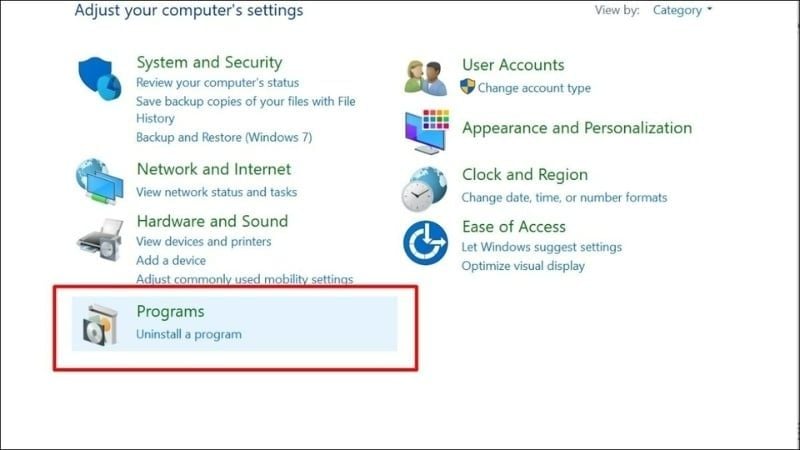
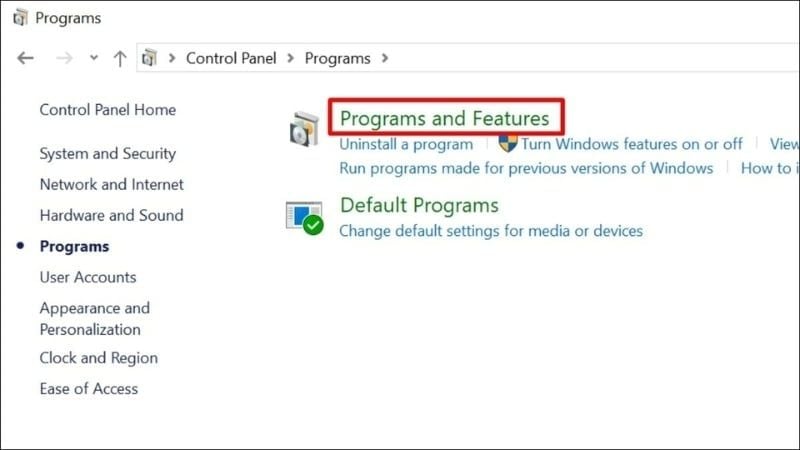
To test startup conflicts, open Task Manager, select Startup apps, and disable recent or nonessential entries one at a time. For a deeper test, use Microsoft’s documented clean boot procedure. Keep a record of every service and startup item you disable so you can restore the original configuration.
5. Scan for malware with Windows Security
- Open Windows Security > Virus & threat protection.
- Run a Quick scan first.
- If symptoms persist or exposure is likely, open Scan options and run a Full scan.
- Use Microsoft Defender Offline scan for persistent malware that may hide while Windows is running. Save work first because the PC restarts.
- Review Protection history and do not restore an item unless you have verified that it is safe.

The current scan types and their purposes are listed in Microsoft’s Virus and threat protection guide.
6. Repair the Windows component store and system files
Use these commands only from an administrator Command Prompt or Terminal when Windows instability suggests damaged system files. Install available Windows updates and restart first.
Run DISM before System File Checker, as Microsoft recommends:
DISM.exe /Online /Cleanup-image /RestorehealthWait for DISM to finish, then run:
sfc /scannowDo not close the window before the scan reaches completion. Record the final message. If SFC reports files it could not repair, use Microsoft’s DISM and System File Checker guide rather than downloading individual system files from the web.
7. Use Startup Repair when Windows will not boot
Enter Windows Recovery Environment, then select Troubleshoot > Advanced options > Startup Repair > Restart. This tool targets common startup problems; it is more appropriate than a clean installation when Windows fails before sign-in.
If Startup Repair fails, record its message. Other Advanced options may include uninstalling a recent update, Startup Settings, System Restore, Command Prompt, or Quick Machine Recovery, depending on the device and Windows version.
8. Use System Restore for a recent software change
System Restore returns system files, registry settings, drivers, and installed programs to a restore point. It is most useful when a failure began after an app, driver, or update. Personal files are not the target of System Restore, but applications and drivers installed after the selected point can be removed.
From Windows, search for Create a restore point and select System Restore. From Windows Recovery Environment, choose Troubleshoot > Advanced options > System Restore. Encrypted devices may require the BitLocker recovery key.
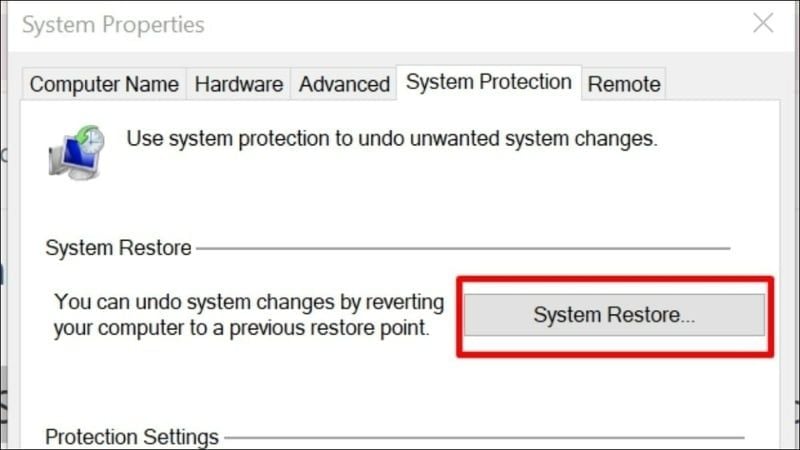
Back up important files before recovery and review the programs affected by the chosen point. Microsoft documents both routes in its System Restore guide.
9. Check a recent RAM or storage upgrade carefully
If failures started immediately after a RAM or SSD upgrade, shut down, disconnect power, and consult the laptop’s service manual. Confirm the component is compatible and correctly seated. Do not open a device when doing so could violate a warranty or when the battery cannot be safely disconnected.
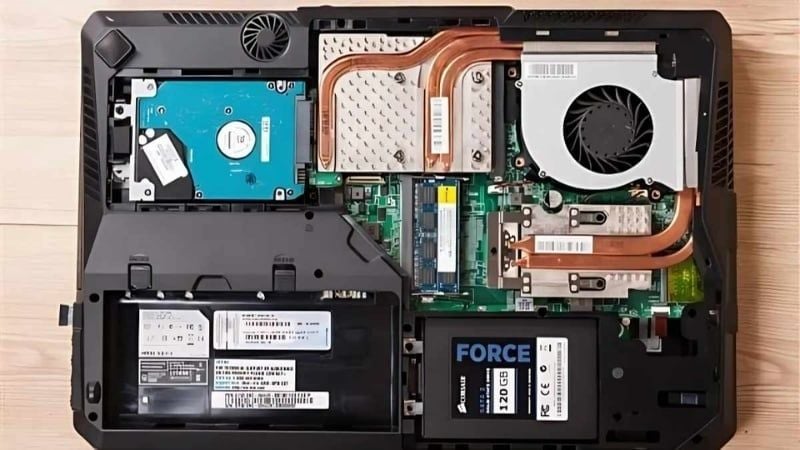
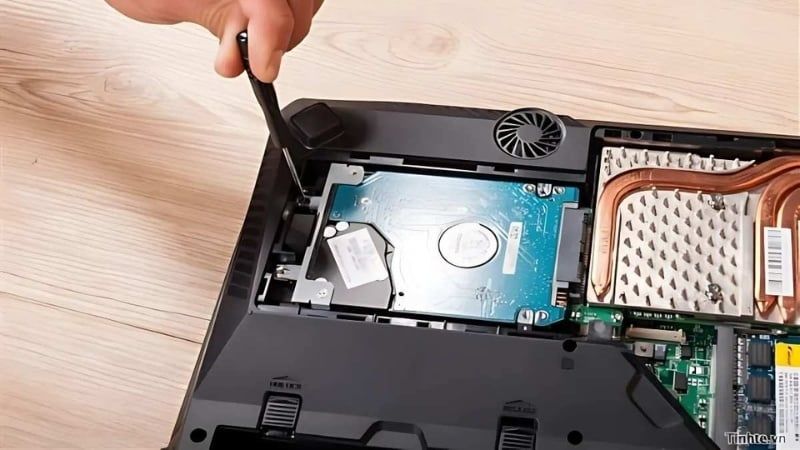
Only reseat or remove a part you installed if you understand electrostatic precautions, connector locks, battery isolation, and the correct reassembly procedure. Otherwise, ask the installer or an authorized technician to check it. Do not repeatedly power a laptop whose storage drive is clicking, burning hot, or disappearing from firmware.
10. Choose the least destructive Windows recovery
Microsoft’s Windows recovery options differ in what they preserve:
| Option | What it does | Use it when |
|---|---|---|
| Fix problems using Windows Update | Reinstalls the current Windows version while preserving apps, files, and settings where supported | System components are damaged but Windows still starts |
| System Restore | Returns system state to a restore point | The issue followed a recent system change |
| Reset this PC: Keep my files | Reinstalls Windows, keeps personal files, removes apps and resets settings | Less destructive repairs failed |
| Reset this PC: Remove everything | Reinstalls Windows and removes personal files, apps, and settings | You have a verified backup and intentionally want a fresh reset |
| Clean installation from media | Repartitions or replaces the installation depending on choices | Recovery failed, malware is severe, or a completely clean start is required |
Back up files, record installed applications and license information, verify the BitLocker key, and confirm which disk and Windows edition belong to the laptop before proceeding.
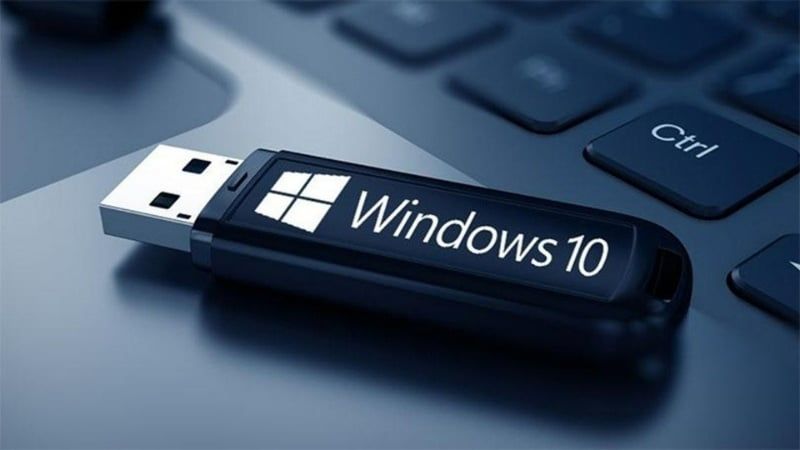
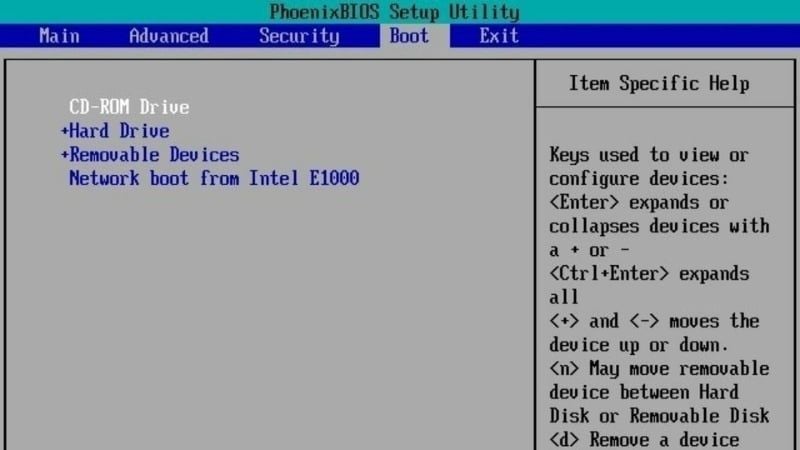
Installation media should come from Microsoft. Entering UEFI settings or changing boot order is device-specific, and selecting the wrong partition can erase data.
When to stop and get technical help
- The storage drive clicks, vanishes intermittently, reports critical health warnings, or contains the only copy of important data.
- The laptop shows liquid damage, a burning smell, swelling, sparks, or extreme heat.
- Windows Recovery Environment and the firmware cannot see the system drive.
- Blue screens continue with the same code after the related software and driver changes are reversed.
- Memory or manufacturer diagnostics report a hardware failure.
- The error began after a hardware upgrade and safe access requires opening the laptop.
- You cannot verify a backup, BitLocker key, installation target, or account recovery before reset or reinstall.
Reduce future Windows errors
- Keep at least one current backup separate from the laptop.
- Install Windows, firmware, and drivers from official sources.
- Avoid cracked software, registry cleaners, and unknown optimization tools.
- Maintain free space on the system drive.
- Keep vents unobstructed and use the laptop on a firm surface.
- Create a restore point before a risky manual driver or system change.
- Change one variable at a time and record the result.
The safest troubleshooting sequence is evidence first, reversible changes second, Windows recovery tools third, and reset or reinstall last. If the symptom points to failing storage, unstable memory, or physical damage, protect the data and stop treating it as a generic Windows problem.
Related Articles
 Boot on Laptop: Ways to Fix Computer Laptop Failures17 minutes read
 Why Does My Laptop Have Windows Errors? 5 Common Ways to Fix It8 minutes read
 Compare Windows 10 Home and Windows 10 Pro7 minutes read
 Effective Ways to Fix a Laptop That Won't Boot to the Home Screen14 minutes read
 Summary of Common Laptop Errors and Simple Fixes5 minutes read
 List of Errors on Lenovo Laptop After Windows 10 2004 Update and How to Fix4 minutes read
Reader Comments 0
Sign in with email or Google to join the discussion.