Table of Contents
To speed up internet connection on their phones, many people have changed their DNS to 1.1. 1.1 using various methods. Users can change the DNS to 1.1.
1. What is DNS 1.1.1.1?
DNS 1.1.1.1 is CloudFlare's domain name resolution service designed to speed up internet access and enhance security.
2. How to change DNS to 1.1.1.1 on Android
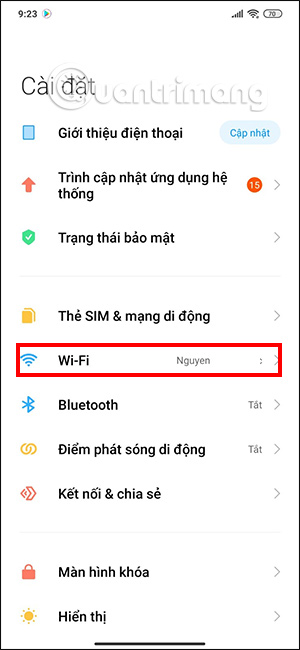
Step 1:
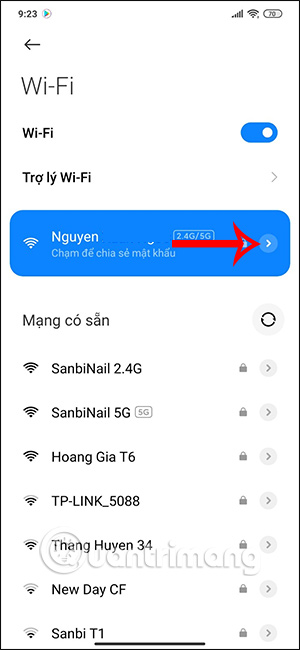
First, connect to Wi-Fi on your phone, then go to Settings , and then tap the currently connected Wi-Fi. Next, tap the arrow icon next to the name of the connected Wi-Fi to change the settings.
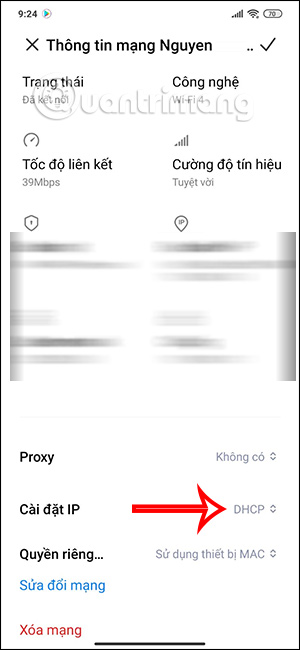
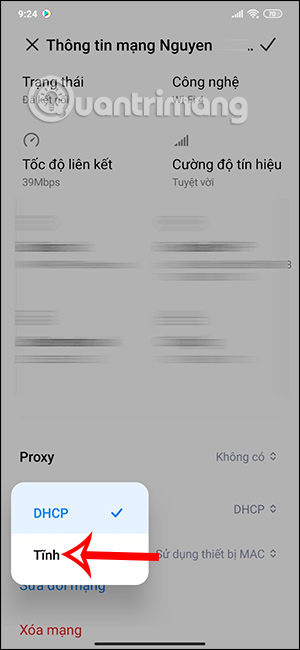
Step 2:
Here you will see network status information; scroll down to the IP settings and change it to Static .
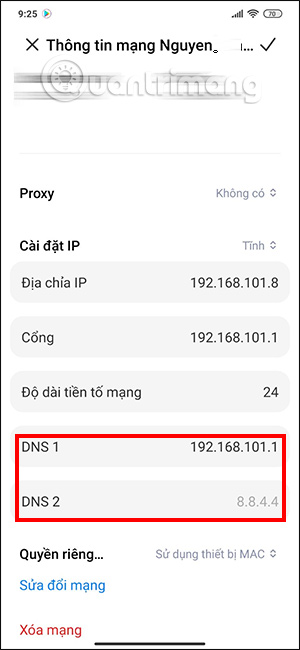
Step 3:
Switch to the DNS change interface. Here you will change DNS 1 and DNS 2 to the following sequence of numbers.
- DNS 1: 1.1.1.1
- DNS 2: 1.0.0.1
After filling in the information, click the checkmark in the upper right corner to save it .
3. Instructions on changing DNS to 1.1.1.1 on iPhone
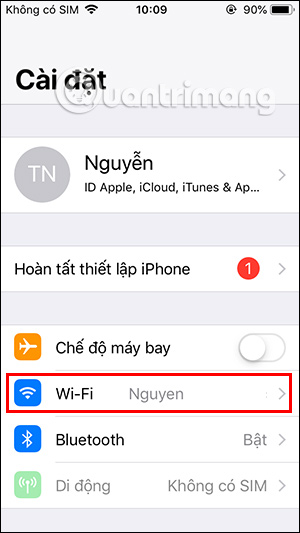
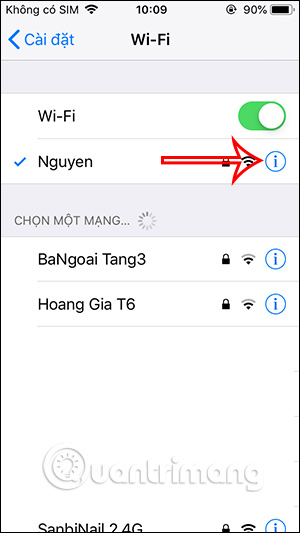
Step 1:
On the iPhone Settings interface, tap the name of the network you are connected to , then tap the "i" to access the setup section .
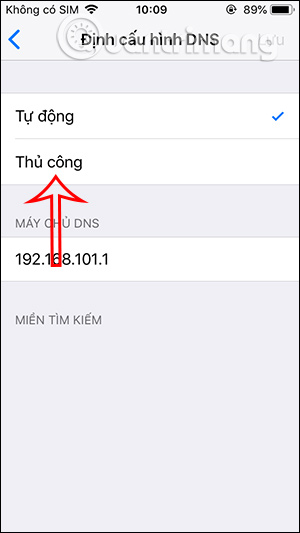
Step 2:
Then scroll down to the section on DNS configuration and click to continue. click Manual to change the DNS settings.

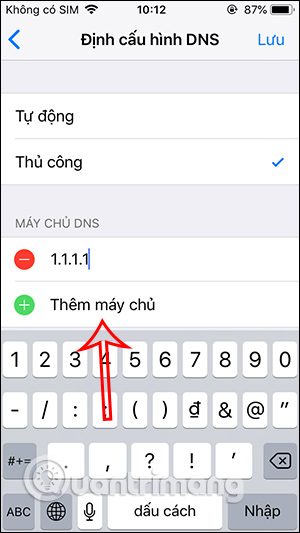
Step 3:
Next, click Add server to enter the DNS. Here, enter the DNS 1.1.1.1 and 1.0.0.1 , then save.
4. How to change DNS on your phone using the 1.1.1.1 app
Cloudflare offers a free 1.1.1.1 DNS switching app for both iOS and Android. You can download and try it out by clicking the link below.
With the 1.1.1.1 app on iPhone and Android (WARP+), you can quickly change your phone's DNS to 1.1.1.1 with a simple operation, instead of having to manually perform the rather complicated and time-consuming steps.
- Download 1.1.1.1: Faster Internet for iPhone
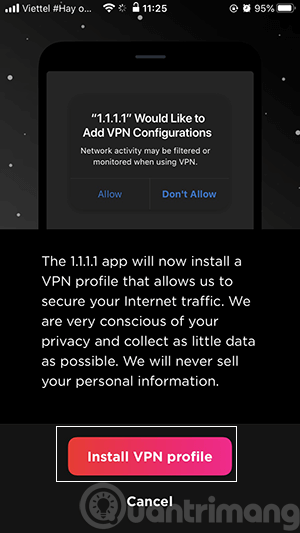
After downloading and installing 1.1.1.1 on your iPhone, you'll essentially only agree to the app's default settings.
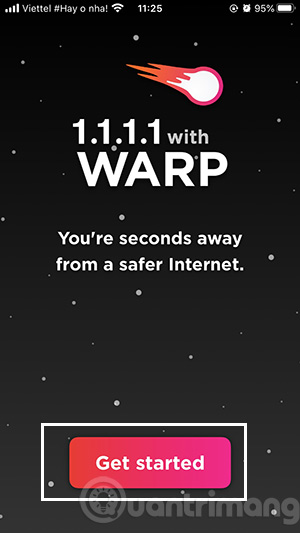
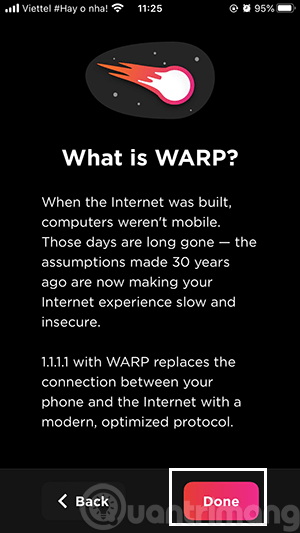
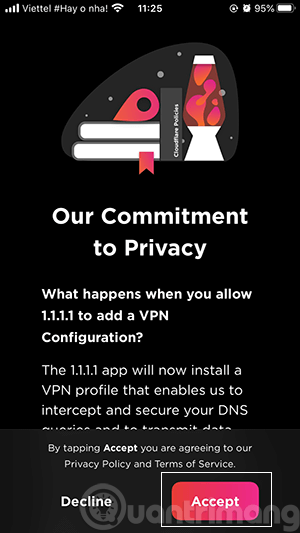
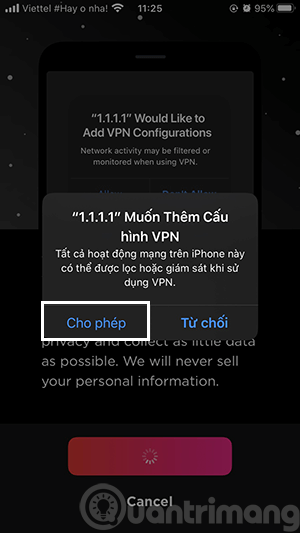
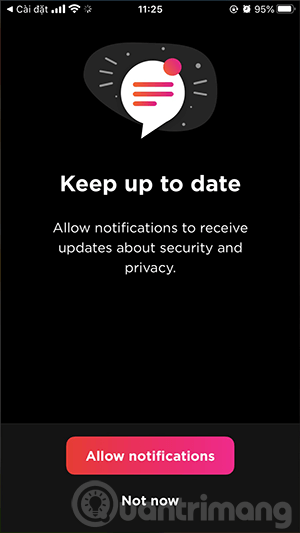
You agree to allow 1.1.1.1 to change your VPN settings on your device and choose whether or not to receive notifications from the app.
Once you see the "Disconnect" screen, swipe right to connect to the network via Cloudflare's DNS.

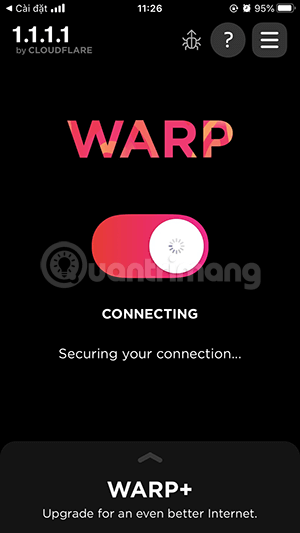
I tried several websites that wouldn't load normally, and now they load perfectly and very quickly.
Change DNS to 1.1.1.1 on Android
- Download 1.1.1.1: Faster & Safer Internet for Android
The process is almost the same as on an iPhone; you need to agree to the default settings and tap the buttons as shown in the image:
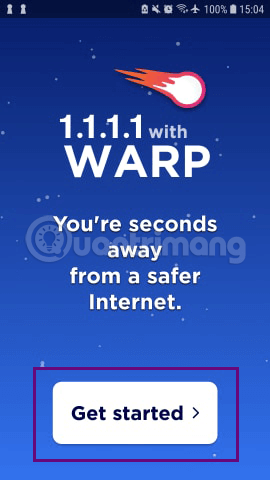
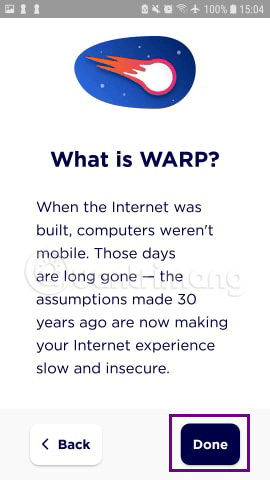
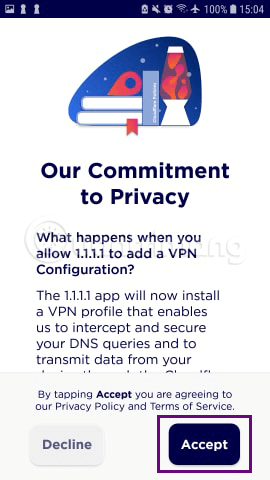
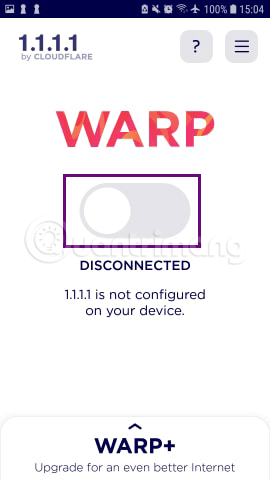
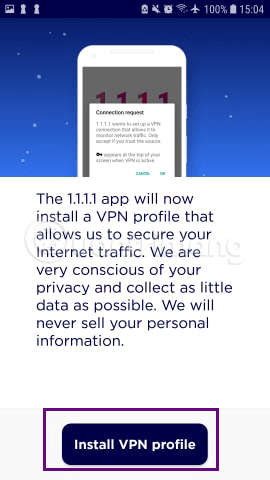
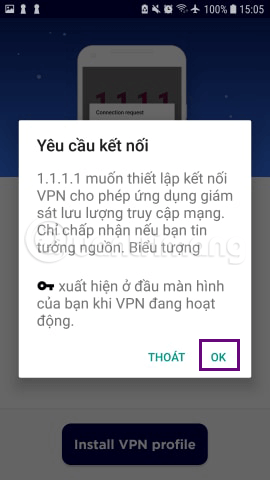
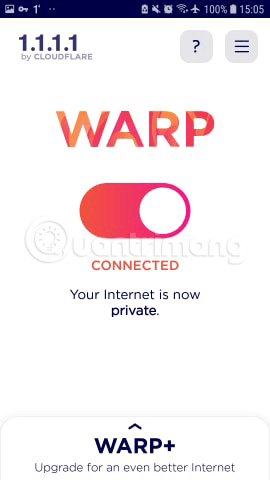
When you reach the Disconnected screen, slide the button to the right to proceed with setting up the VPN profile for your device and press OK to agree to connect.
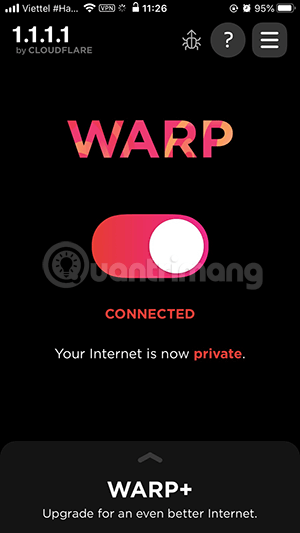
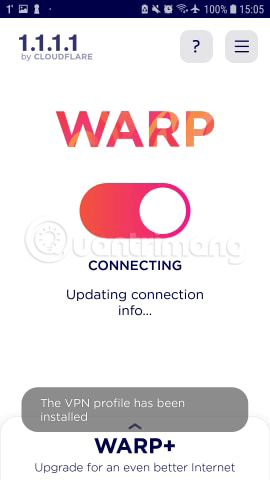
Once the installation is complete, you will be taken to the following two screens. When the word "Connected" appears, you have successfully established a private connection via Cloudflare's DNS.
Besides VPN software for phones or manually changing DNS on your phone, you can also use WARP+ if you want to stick with Cloudflare's 1.1.1.1 DNS, or on Android, you can use the Opera browser with its built-in VPN to bypass web censorship.
Frequently Asked Questions
What should you know about changing your dns to 1.1.1.1 on android and iphone is very simple?
To speed up internet connection on their phones, many people have changed their DNS to 1.1. 1.1 using various methods. Users can change the DNS to 1.1.
What is DNS 1.1.1.1?
DNS 1.1. 1.1 is CloudFlare's domain name resolution service designed to speed up internet access and enhance security.
How can you change DNS to 1.1.1.1 on Android?
Step 1: First, connect to Wi-Fi on your phone, then go to Settings, and then tap the currently connected Wi-Fi.
Was this article helpful?
Your feedback helps us improve.
Related Articles
 Instructions to Block Others from Changing iPhone Password3 minutes read
 Simple Way to Transfer Data from Android to iPhone9 minutes read
 Is It True That Android Costs More RAM Than iOS?12 minutes read
 How to View the Emoji Emoticons of iPhone on Android6 minutes read
 Change DNS Iphone: How to Change DNS on Iphone, Android Phones3 minutes read
Reader Comments 0
Sign in with email or Google to join the discussion.