iRedOS-0.6.0: Open source Mail Server system
iRedMail is a shell script that can help you deploy an open source Mail Server solution system quickly, within 2 minutes
TipsMake.com - iRedMail is a shell script that can help you deploy an open source Mail Server solution system quickly, within 2 minutes .
- Support Red Hat (R) Enterprise Linux and CentOS 5.x, Debian 5.0.x, Ubuntu 8.04 / 9.04, FreeBSD 7.x / 8.x, and support both i386 and x86_64 platforms.
- Most of the components used in iRedMail are officially provided by Linux, which means that iRedMail users will receive support for software and technology according to the product lifecycle.
- Support OpenLDAP and MySQL as a backend for storing domain and virtual users.
- Provide control panel via web interface. iRedOS is an edited product of CentOS 5.5, where unnecessary packages are removed, and it comes with the latest version of iRedMail (iredmail0.6.0).
- The main components are applied in the following solution
- Forum discuss here
- Home of the project: http://code.google.com/p/iredmail/
Basic condition
You need to have the following components: iRedOS-0.6.0-CentOS-5.5.i386.iso or iRedOS-0.6.0-CentOS-5.5.x86_64.iso, download here.
Preliminary note
In this article we will use hostname values: mail.example.com , IP address: 192.168.1.10 , LDAP suffix: dc = example, dc = com and virtual domain: example.com .
Basic system installation and iRedMail 0.6.0
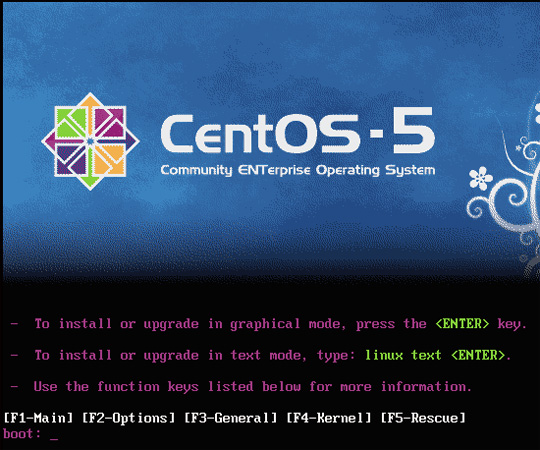
First, boot from iredos, press Enter from the boot screen:
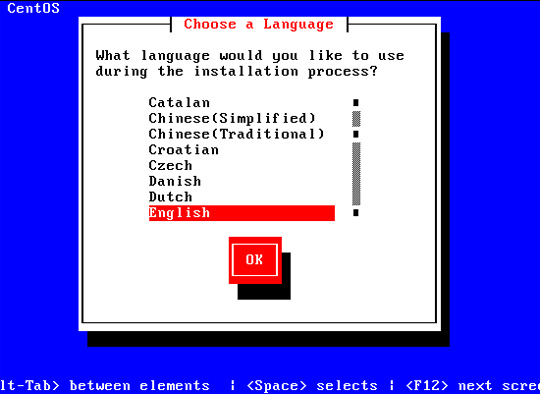
Select language:
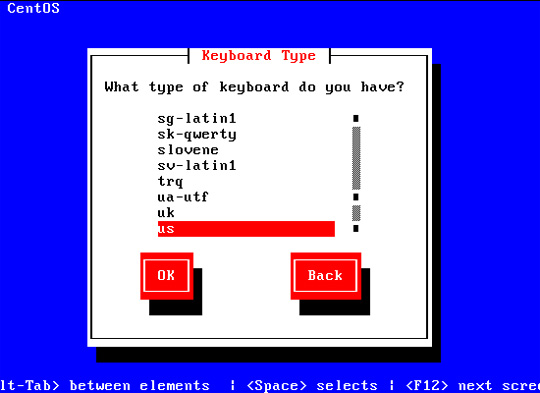
Next, standard keyboard:
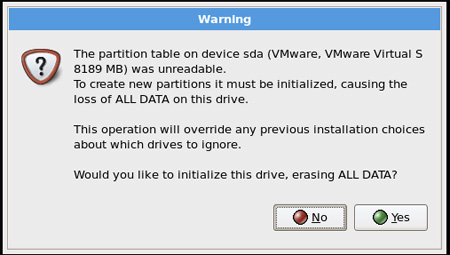
At this test, we proceed to install CentOS 5.5 system completely new and clean, so select Yes when receiving the question Would you like to initialize this drive, erasing ALL DATA?
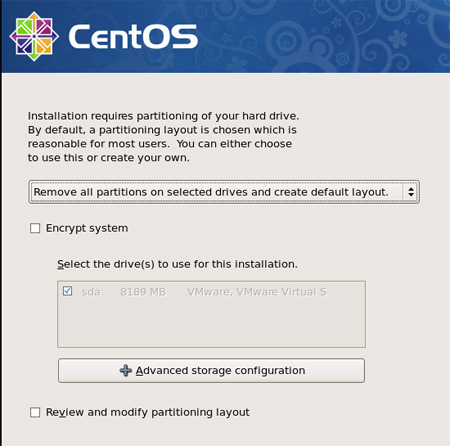
Now, we have to choose the sample partition to install. To simplify this process, select Remove all partitions on selected drives and create default layout:
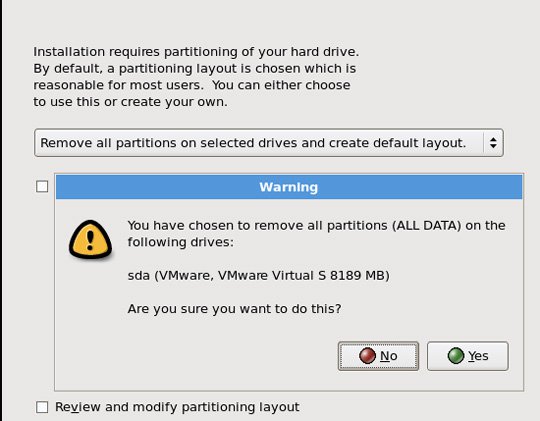
Click Yes with the question Are you sure you want to do this?
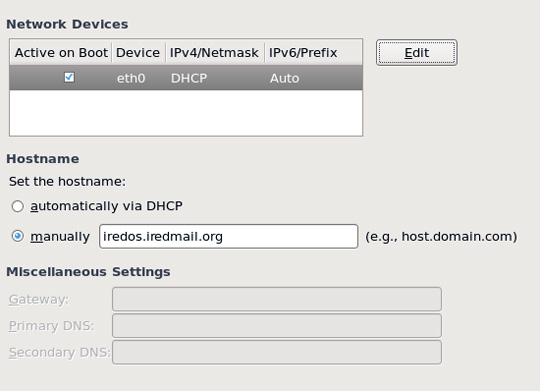
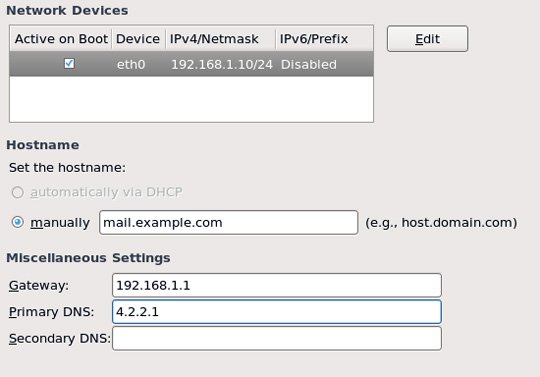
On the network settings section, the default specifications here are available with DHCP enabled, but here we need to interact with the server, so a static IP address is not a bad idea. . Click the Edit button on the upper right:
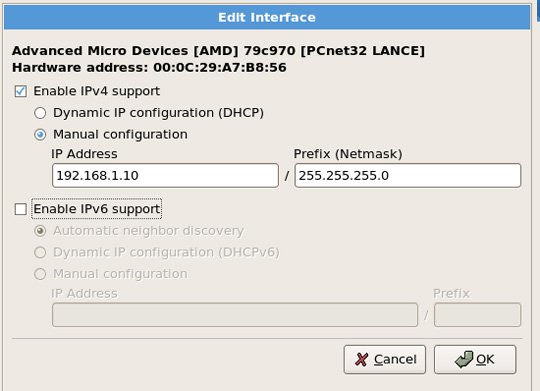
The popup window appears, uncheck the check box in the Use dynamic IP configuration (DHCP) and Enable IPv6 support, and set the IP address for the network card (in this article we use 192.168.1.10 ) and the netmask address ( 255.255 .255.0 ):
Set hostname (eg mail.example.com ), gateway address ( 192.168.1.1 ) and 1 any DNS server parameter ( 4.2.2.1 ):
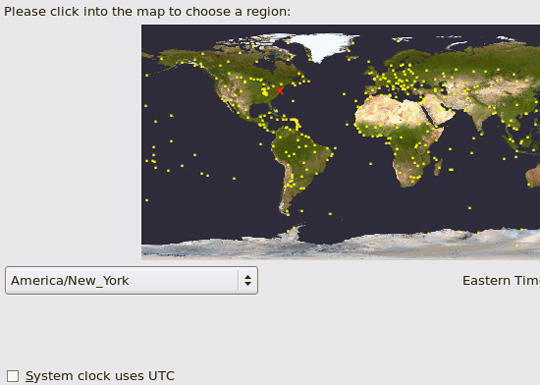
Choose the appropriate time zone, do not select System clock uses UTC:
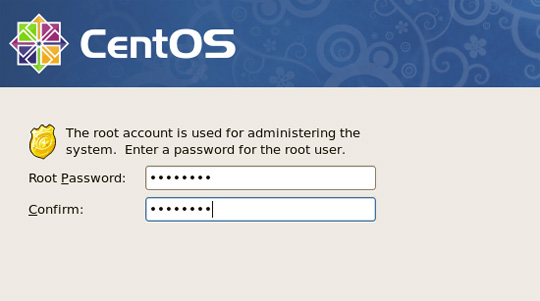
Set root password:
And the installation process will begin, this phase only takes a few minutes:

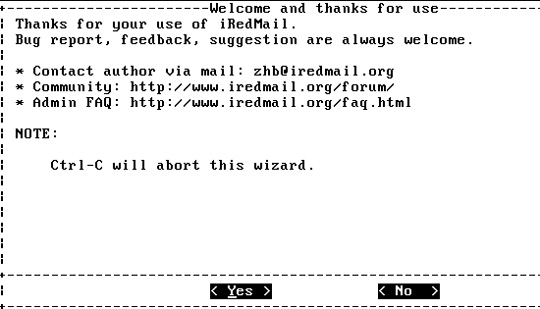
At the end of the process, we will switch to iredmail installation, if you choose No, the system will restart and will not continue installing iredmail anymore:
Select the directory to store user's mailbox:

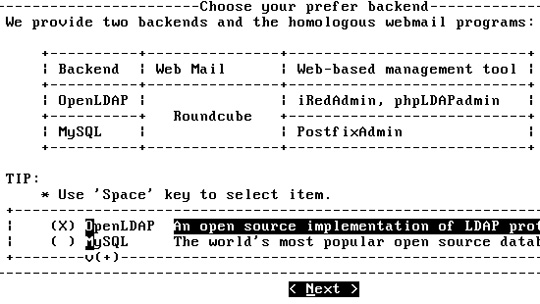
Select the backend to host domain and virtual users. Here we use OpenLDAP:
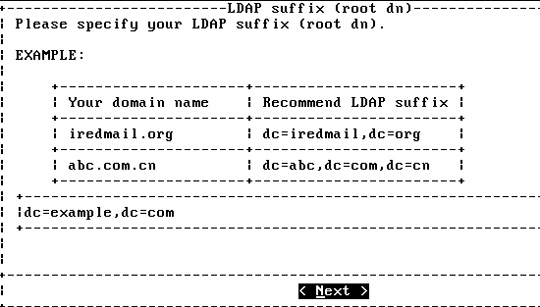
Select the LDAP suffix value, usually the domain name, eg dc = example, dc = com :
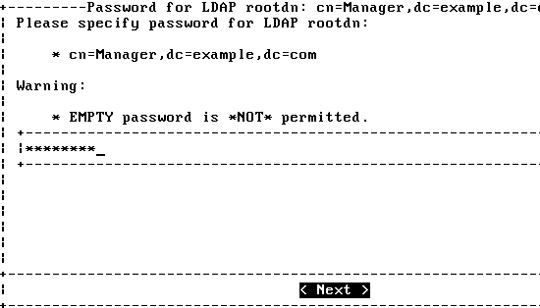
Set password for LDAP server admin: cn = Manager, dc = example, dc = com :
Continue to set the password for MySQL root:

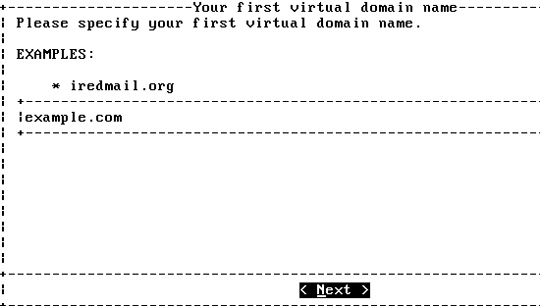
And create virtual domain:
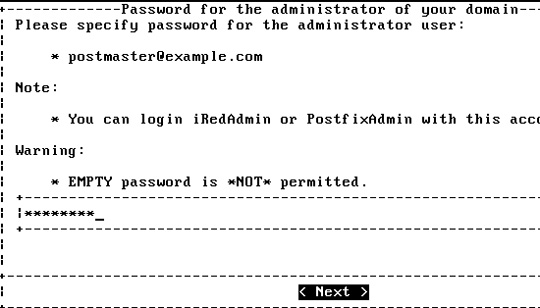
And set the password for the virtual admin domain: postmaster@example.com , you can log in to iRedadmin and Awstats with this account:
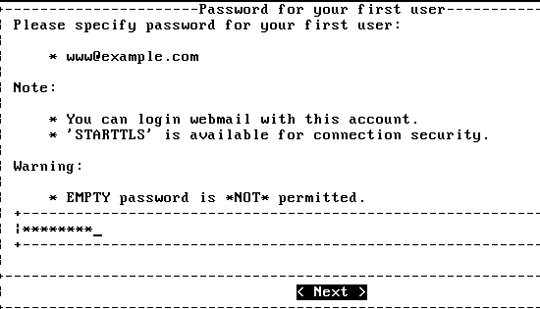
Next, set the password for the first user www@example.com for this first virtual domain:
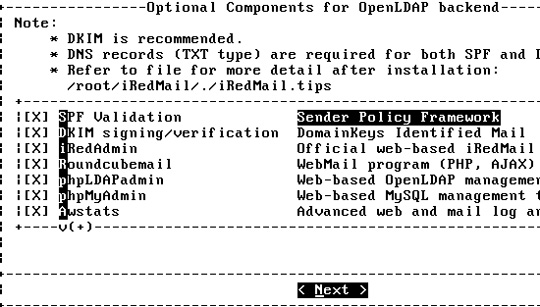
Select the accompanying support components:
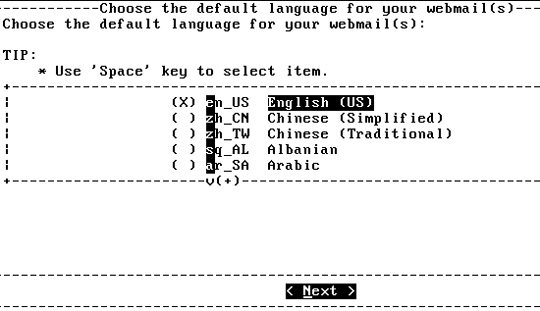
Select the default language for webmail application:
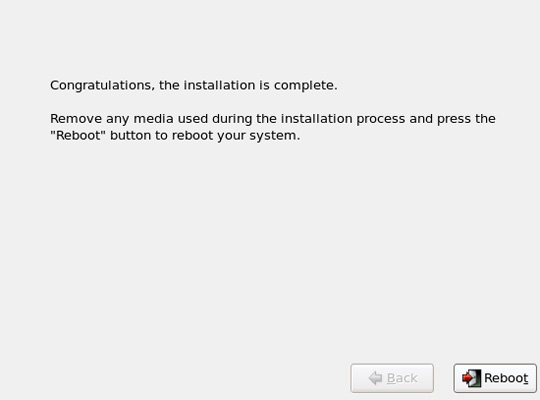
When the installation process is finished, restart the system:
Check mail system
Webmail RoundCube system
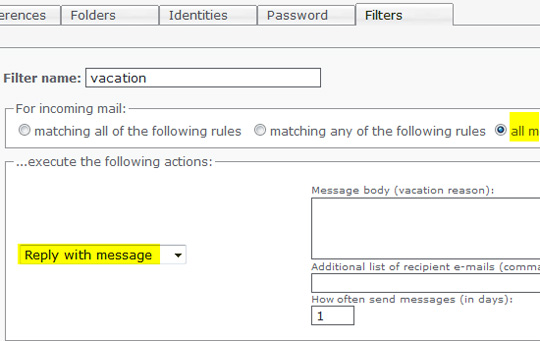
Since RoundCube 0.31 version has added plugin support features. By default, iRedMail has already enabled two plugins that are password and managesieve, so you can change the password and set up an automatic reply box if you want. Or you can choose and use other plugins as needed.
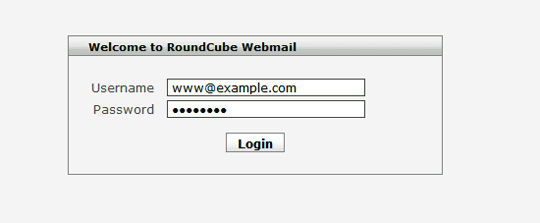
Log in to RoundCube using the first account www@example.com :
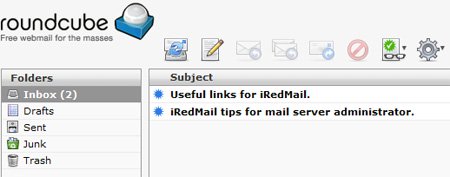
This account has received 2 emails, please read it carefully. Since the account www@exmaple.com is root alias, the system email is received:
Set up autoresponder feature:
Open source iRedAdmin version:
iRedAdmin is an open source version, a form of iRedMail control mechanism with a web interface, through which you can add, remove, delete or customize domain accounts, users and domain admin. If you need more features, you can refer and use the full version here.
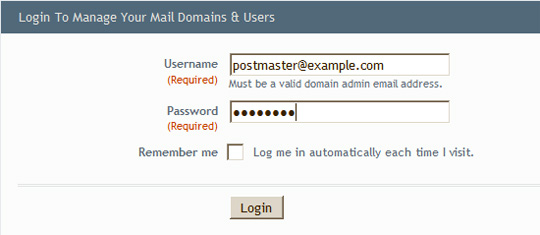
Login to iRedAdmin: postmaster@example.com :
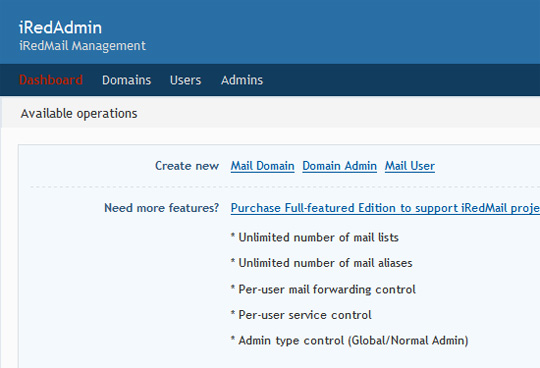
Main panel interface:
Mail domain control panel:

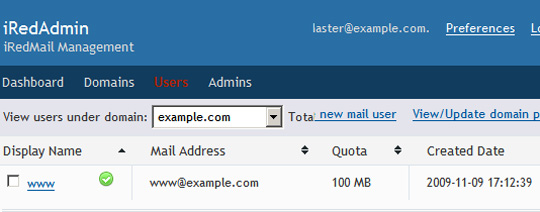
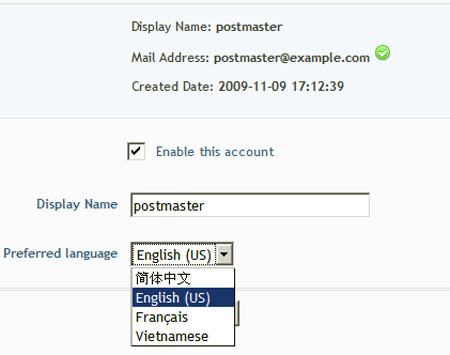
Mail user control panel:
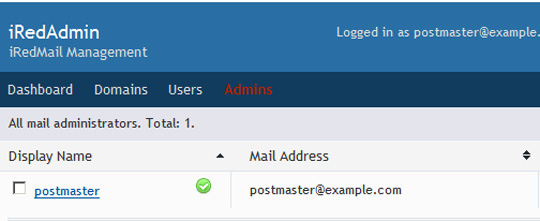
Mail admin dashboard:
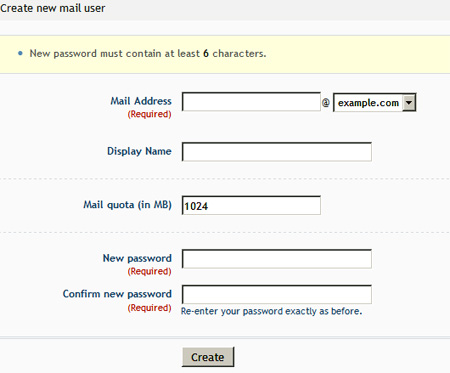
New account creation process:
Select language:
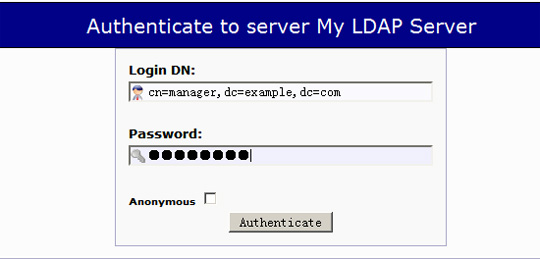
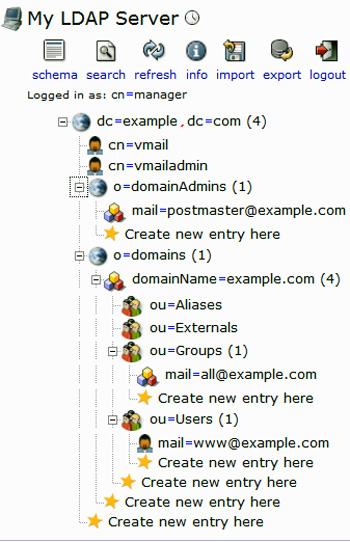
phpLDAPAdmin:
Login to phpLDAPAdmin: cn = manager, dc = example, dc = com :
Managing mail accounts:
With Awstats:
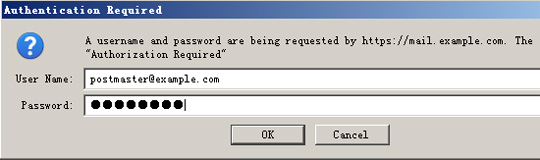
Log in to Awstats: postmaster@example.com :
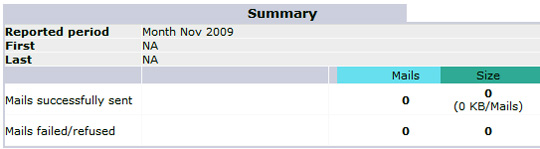
Check the statistics:
Things to know after installation
Read the file /root/iRedMail/iRedMail.tips first, in this file contains data related to: default password and important information, the location of the mail related to the configuration file and Other technical parameters.
Set up DNS records for SPF, create DNS for DKIM and instruct iRedMail Admin.
Frequently asked questions
- Why do users often receive emails with a certain delay? That's because iRedMail provides greylisting features that come with Policyd (v1.8.x). Greylisting proved particularly effective with many spamming tools by spammers not setting up and handling emails that are in temporary error condition. In addition, this feature can reduce email traffic by up to 50%, but also makes the first email delayed. You can use the following way to enable or disable greylisting. With RHEL / CentOS, the configuration file /etc/postfix-policyd.conf:
# 1 = on 0 = off
GREYLISTING = 1
Restart Policyd and download Postfix.
- How to update iRedMail to the latest version? Users can use YUM to update support packages, refer here.
- How to enable disclaimers for outgoing mail? Navigate to the following line in /etc/amavisd.conf:
# ------------ Disclaimer Setting ---------------
# Uncomment this line to enable singing disclaimer in outgoing mails.
# $ defang_maps_by_ccat {+ CC_CATCHALL} = ['disclaimer'];
Uncomment and restart the amavis / amavisd service, and don't forget to read the @disclaimer_options_bysender_maps file in /etc/amavisd.conf to learn more about these settings.
- Create a series of user accounts like? To do this, you must first edit the create_mail_user_OpenLDAP.sh code first, change the ldap suffix, bind dn and bind password:
# cd / path / to / iRedMail-xyz / tools /
# sh create_mail_user_OpenLDAP.sh domain.ltd user01 user02 user03
- With Anti-Virus and Anti-Spam applications . How to turn off or turn on the program? iRedMail uses Amavisd-new as a bridge between MTA and MDA, it will 'call' SpamAssassin for anti-spam and ClamAV for anti-virus. You can set the on or off state in /etc/amavisd.conf:
# @bypass_virus_checks_maps = (1); # controls running of anti-virus code
# @bypass_spam_checks_maps = (1); # controls running of anti-spam code
# $ bypass_decode_parts = 1; # controls running of decoders & dearchivers
In default mode, both are active, when the caption is removed to turn it off. Value 1 means off.
- How to create SSL key yourself? If you want to create SSL yourself, you need to download the system:
# wget http://iredmail.googlecode.com/hg/iRedMail/tools/generate_ssl_keys.sh
Edit the relevant information in that code:
# SSL key.
export SSL_CERT_FILE = "$ {ROOTDIR} /certs/iRedMail_CA.pem"
export SSL_KEY_FILE = "$ {ROOTDIR} /private/iRedMail.key"
export TLS_COUNTRY = 'CN'
export TLS_STATE = 'GuangDong'
export TLS_CITY = 'ShenZhen'
export TLS_COMPANY = "$ {HOSTNAME}"
export TLS_DEPARTMENT = 'IT'
export TLS_HOSTNAME = "$ {HOSTNAME}"
export TLS_ADMIN = "root @ $ {HOSTNAME}"
Then rerun that code:
# bash generate_ssl_keys.sh
SSL keys đã tạo:
- /root/certs/iRedMail_CA.pem
- /root/private/iRedMail.key
Back up the old ssl_key file and the new file to the following location:
/etc/pki/tls/certs/iRedMail_CA.pem
/etc/pki/tls/private/iRedMail.key
Good luck!
Was this article helpful?
Your feedback helps us improve.
Related Articles
 Use and manage Database Mail13 minutes read
 Instructions for installing MDaemon Mail Server6 minutes read
 Setting up Mail Server on the Debian platform5 minutes read
 Cisco Linksys WRT160NL - 'toy' specifically for open source people5 minutes read
 How to set up your own email server on Windows PC6 minutes read
 Set up a CentOS 5.7 server and install ISPConfig 3.32 minutes read
Reader Comments 0
Sign in with email or Google to join the discussion.