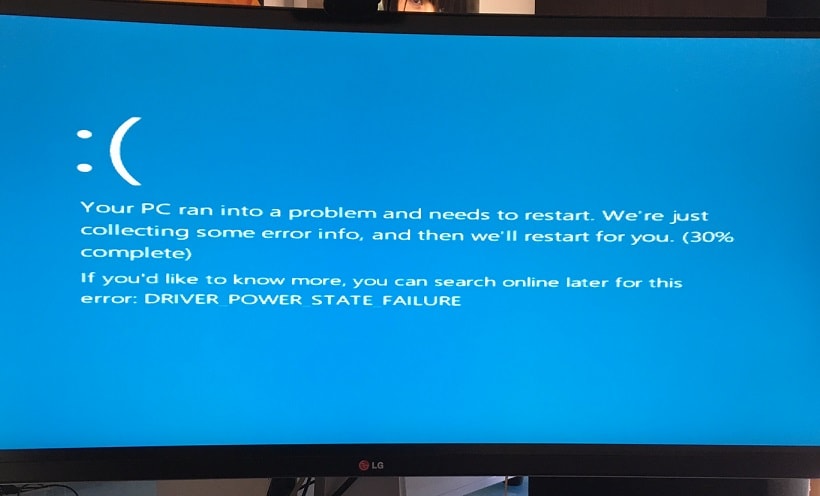
Instructions to fix Driver Power State Failure on Windows
The Driver Power State Failure error is one of the most common errors that occurs when you upgrade your Windows operating system. The cause of the error is mostly due to an expired driver error or an incompatible driver.
So how to fix this error, please refer to the following article of Network Administrator.

1. Use Driver Verifier to find the Driver error
To fix the hole i DRIVER_POWER_STATE_FAILURE , you can use the Driver Verifier feature built into Windows operating system (from Windows XP to Windows 10), find and detect driver errors on your Windows computer.
To open Driver Verifier, first click on the Start => Run icon and enter cmd.exe in the Run command window and press Enter.
Next on the Command Prompt window, enter verifier and press Enter.

At this time, the screen of Driver Verifier Manager will appear. Here you select Create standard settings and then click Next .

Next select Automatically select all drivers installed on this computer and then click Finish .

At this time, a message asking you to restart your computer will appear. Your task is to restart your computer so that Driver Verifier starts running. The process takes about a few minutes. After completion on the screen will display the results. Here you can find the driver error and proceed to fix those errors.
2. Automatically update Driver
Windows Update is one of the most useful features built into the Windows operating system. This feature allows users to install the latest updated versions to fix errors and improve the system.
In addition, Windows Update also supports updating the latest driver versions to fix any driver related errors.
If Windows Update is disabled, you should reactivate Windows Update to start updating your Windows operating system on your computer, including new Windows features and drivers.
3. Uninstall or reinstall the Driver in Safe Mode
The best way to completely remove the driver on your computer is to boot the Windows operating system into Safe Mode. After accessing Windows through Safe Mode, go to Control Panel and open Device Manager .
In the Device Manager window, find the cause of the blue screen error, then proceed to remove the Driver.
To remove a device-specific driver, in the Device Manager window, right-click the device and select Properties .
Select the Driver tab and then click Uninstall .

If you still cannot fix the Driver error, you can remove all Drivers, then access the homepage to download the latest Driver version to your computer and install.
After removing all drivers, you can exit Safe Mode and restart Windows operating system in normal mode and install new drivers.
Refer to some of the following articles:
- Instructions for activating and using Remote Desktop on Windows 10 computers
- When and how to defragment hard drives on Windows 10?
- Fix Windows 10 error with just one click with FixWin
Good luck!
You should read it
- ★ Summary of driver error codes on Windows and how to fix them (Part 1)
- ★ Summary of driver error codes on Windows and how to fix (Last part)
- ★ How to fix AMD Driver Timeout (TDR) error on Windows
- ★ Fix Install Realtek HD Audio Driver Failure, Error OxC0000374 on Windows 10
- ★ How to fix computer errors without completely turning off the power