How to use Driver Verifier on Windows 10
Driver Verifier is a tool to check drivers on your computer, helping users detect errors related to the driver.
Table of Contents
The blue screen of death or the Blue Screen of death error (BSOD) is an extremely annoying error on Windows, so the computer will not automatically recover or continue. There are many blue screen error codes, including Driver Power State Failure error on Windows.
This error will relate to drivers on the computer, when the driver expires or use incompatible drivers. To fix driver errors we will use the Driver Verifier tool. This tool will check the drivers on your computer, or 3rd party drivers. Outdated, incompatible drives will be detected by the tool and will be fixed. The following article will guide turning on Driver Verifier tool on Windows.
- 2 ways to fix Display Driver Failed To Start error on Windows 10
- How to fix the screen error of Windows 7/8 / 8.1 / 10 is black
- How to root out old Windows 10 drivers?
Instructions for using Driver Verifier on Windows
1. How to turn on Driver Verifier
There are many different ways for us to turn on Driver Verifier on the computer.
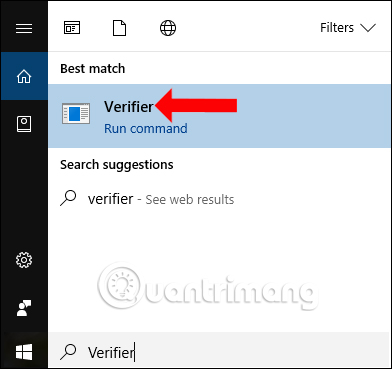
Method 1:
You can click Verifier on the search bar and then click Verifier Run command to open Driver Verifier.
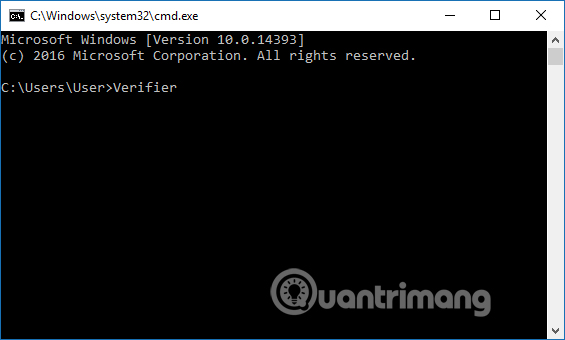
Method 2:
Or you can open CMD and enter Verifier keyword into it then press Enter to open Driver Verifier.
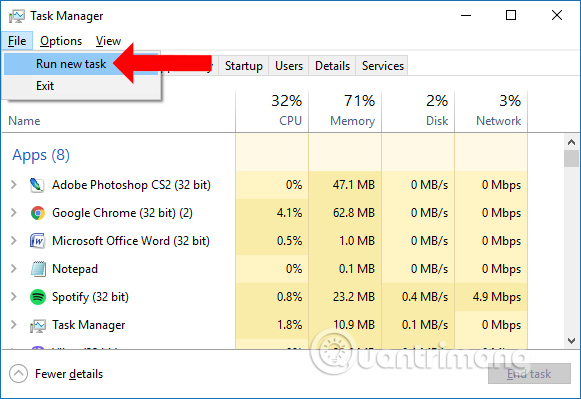
Method 3:
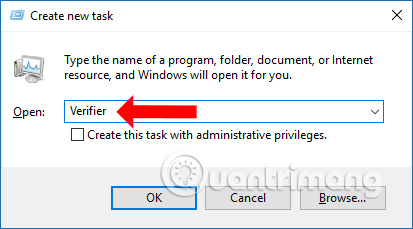
Alternatively, open Task Manager on Windows 10, click on File then select Run new task .
In the new dialog box enter the Verifier keyword to open Driver Verifier on the computer.
2. How to set up Driver Verifier
Step 1:
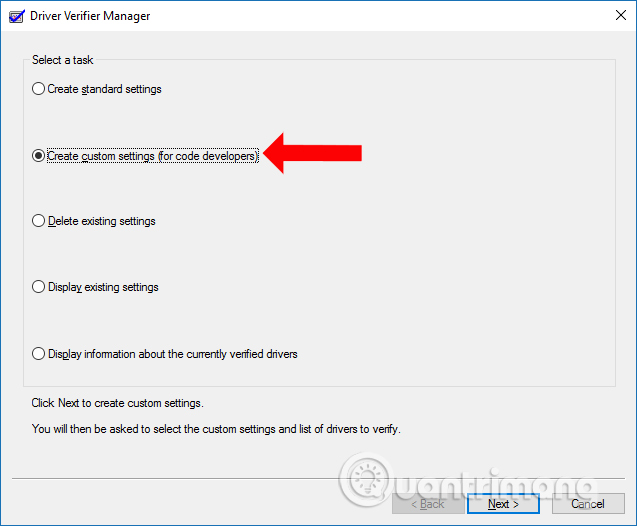
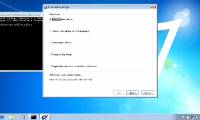
In the first interface when Driver Verifier is opened, we select the Create custom settings (for code developers) and then click the Next button below.
Step 2:
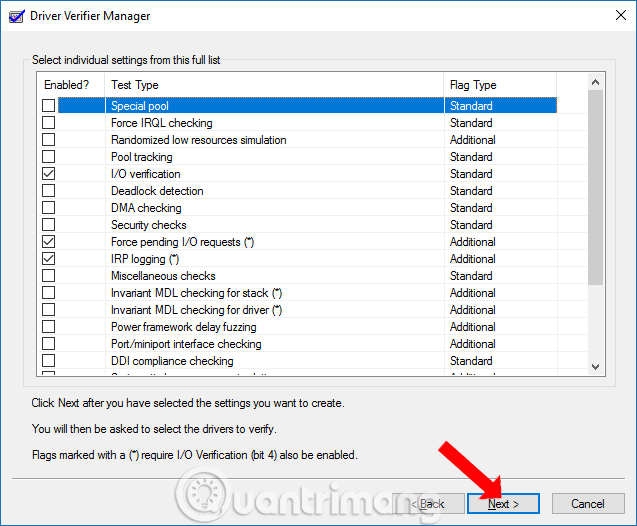
In this interface we will be selecting the test drivers in the list. In this list, select on I / O verification , Force pending I / O requests , IRP Logging and select the Next button below.
Step 3:
Next, click on Select driver names from a list and click Next below. We wait for the tool to load all the data.

Step 4:
In the new interface, select the non-Microsoft drivers in the display list. Provider column will provide full manufacturer for each driver so you can easily check.
Finally, click Finish in the interface to perform driver testing.

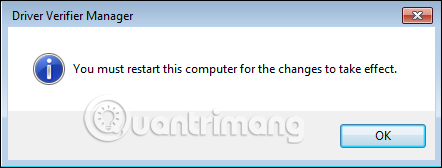
Next you will be asked to restart the computer so that the tool can work, conduct driver error checking on the computer.
3. How to turn off Driver Verifier on Windows
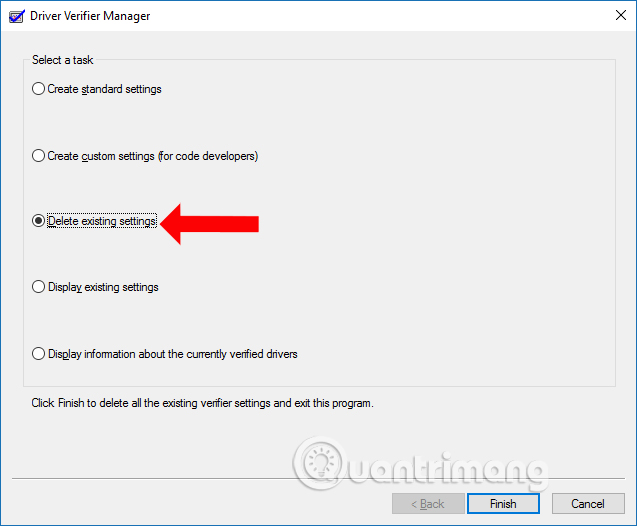
To turn off the Driver Verifier tool on the computer, we also restart Driver Verifier. Then in the Select a task interface select Delete existing settings and click Finish below to perform the Driver Verifier off on the computer.
Driver Verifier will solve all the problems related to the driver on the computer, as well as fix the error code of blue screen death driver. Driver Verifier is available on Windows XP to Windows 10 and the above procedure applies to all Windows versions. To limit driver related issues, users should update the driver to the latest version to be compatible with the operating system.
See more:
- How to install the driver has not been Signed on Windows 10
- How to automatically update drivers on Windows using SnailDriver
- Instructions for fixing blue screen error PAGE FAULT IN NONPAGED AREA or STOP 0x00000050
I wish you all success!
Was this article helpful?
Your feedback helps us improve.
Related Articles
 Learn about Driver Verifier in Windows 109 minutes read
 Instructions to enable/disable Driver Verifier to avoid system errors3 minutes read
 Android System Key Verifier protects you from scammers and impersonators without you even knowing it.9 minutes read
 3 Way How To Install Driver Windows 105 minutes read
 How to install the driver has not been Signed on Windows 105 minutes read
 The best driver update software for computers9 minutes read
Reader Comments 0
Sign in with email or Google to join the discussion.