Instructions for using Shutterstock to edit photos online
The Shutterstock website, famous for its reputable source of copyrighted images, has added online photo editing and online image design features. Accordingly, you have the settings to change the image, set up designs with standard sizes such as Facebook cover photos, Facebook Story post photos,. The article below will guide you on how to use Shutterstock. online photo editing.
How to use Shutterstock to edit photos online
Step 1:
First, users access the Shutterstock website by following the link below.
https://www.shutterstock.com/vi/editor/image/Step 2:
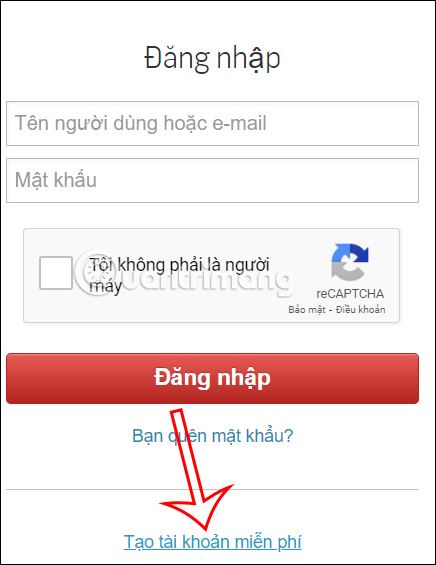
At the website interface, users click on the humanoid icon and then click Create free account to create an account.
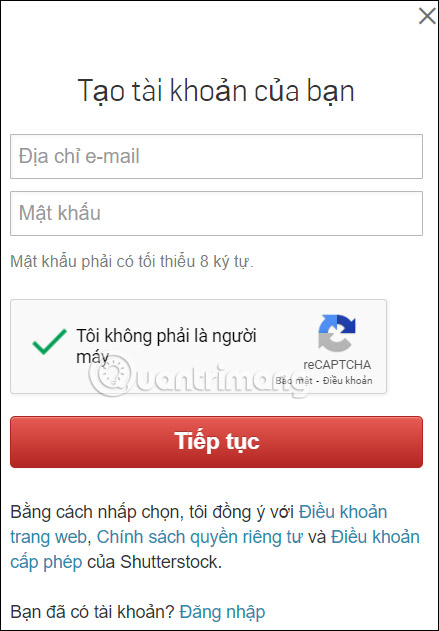
Now you fill in all the information to create the required Shutterstock account.
Step 3:
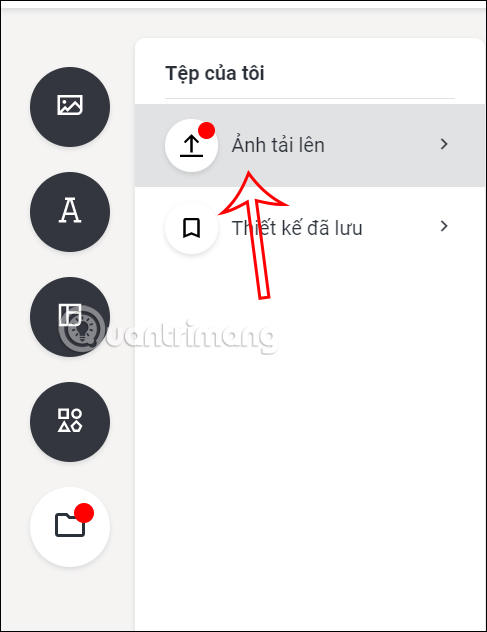
In the image customization interface, click on the folder icon then click Upload photo to upload the photo you want to edit, maximum capacity 25MB in PNG, JPG format.
Step 4:
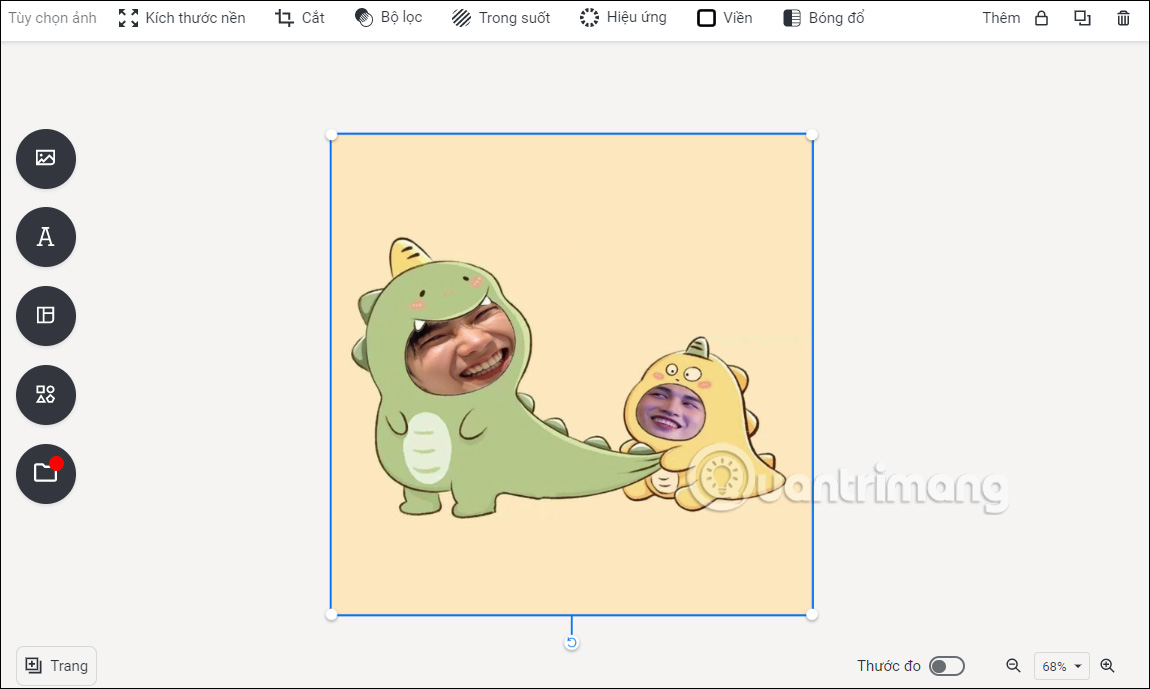
Below is the image editing interface on the Shutterstock website when we click on the image to change.
Step 5:
Click on the tool to proceed with image editing. In general, Shutterstock's editing tools are relatively simple.
For example, if you want to write text on a photo , click on the letter A icon and then choose a text style with available designs, or choose a line to add a title, subtitle or text.

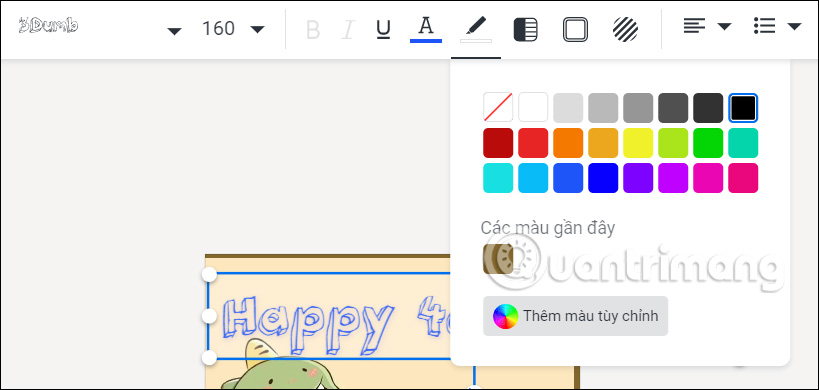
After importing text into the image, you also have editing options such as adjusting the font, font size, choosing text color, text background, and border color style.
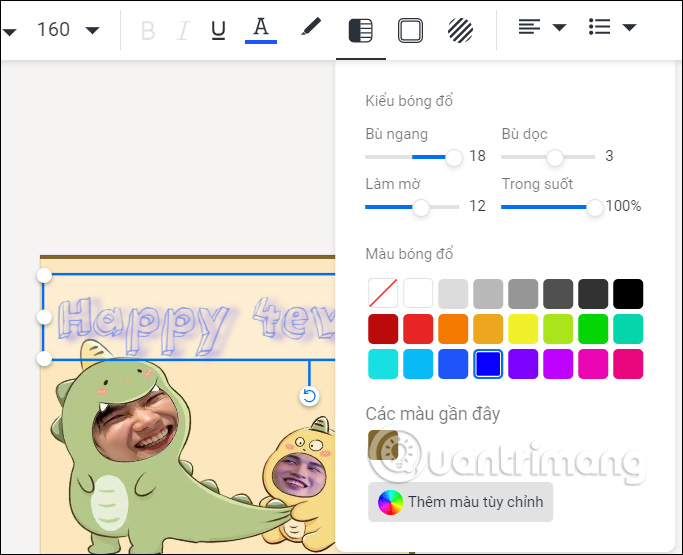
In addition, you also have the option to adjust the shadow effect for writing, adjust the vertical shadow effect,.
Step 6:
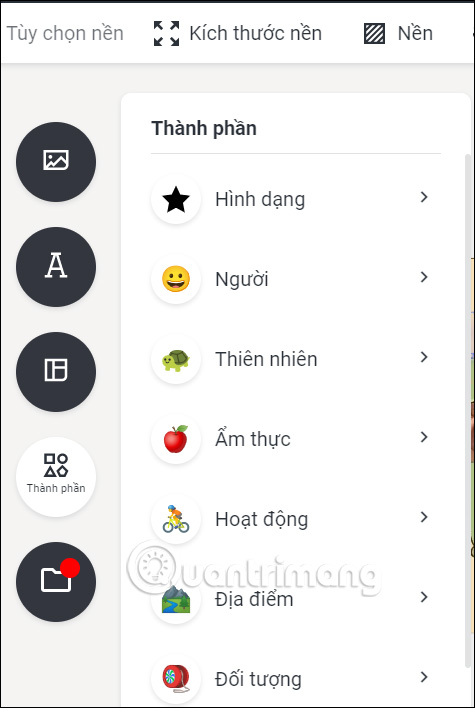
In the Composition section, you can choose stickers with many different themes to paste onto the photo.
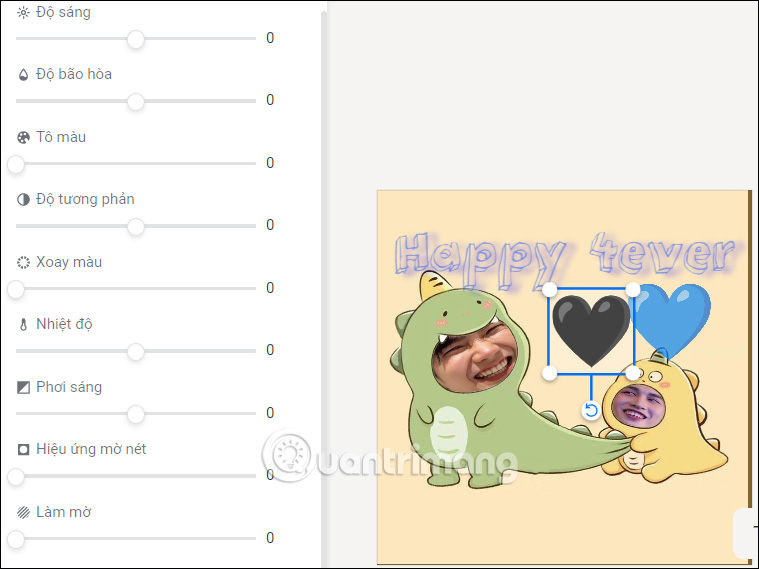
When the sticker is inserted into the image, click on Effects to add a section to edit the sticker as shown.
Step 7:
The website has a mode to remove image backgrounds. You download the photo you want to remove the background and then click Effects . Then the user clicks on Delete background .
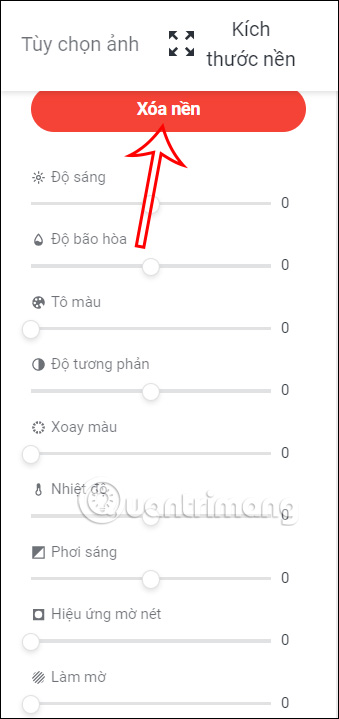
Step 8:
At this point we will switch to the manual background removal interface. To erase the image area , click Erase background and then adjust the brush size . You should choose a small size for easy zoning.
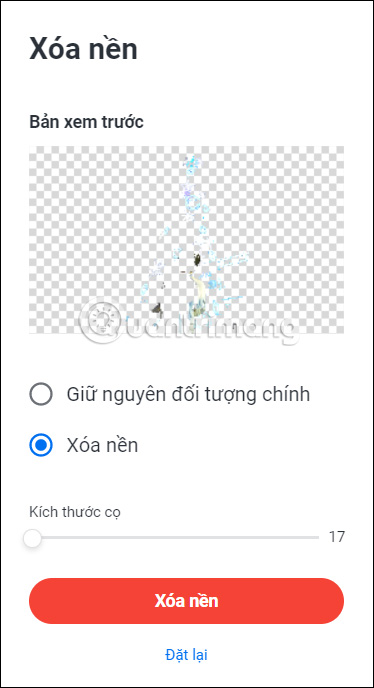
To choose to keep the subject , click Keep main object intact and then also select the subject. After editing, click Delete background below. The photo with the background removed will be displayed in the photo for you to continue editing.
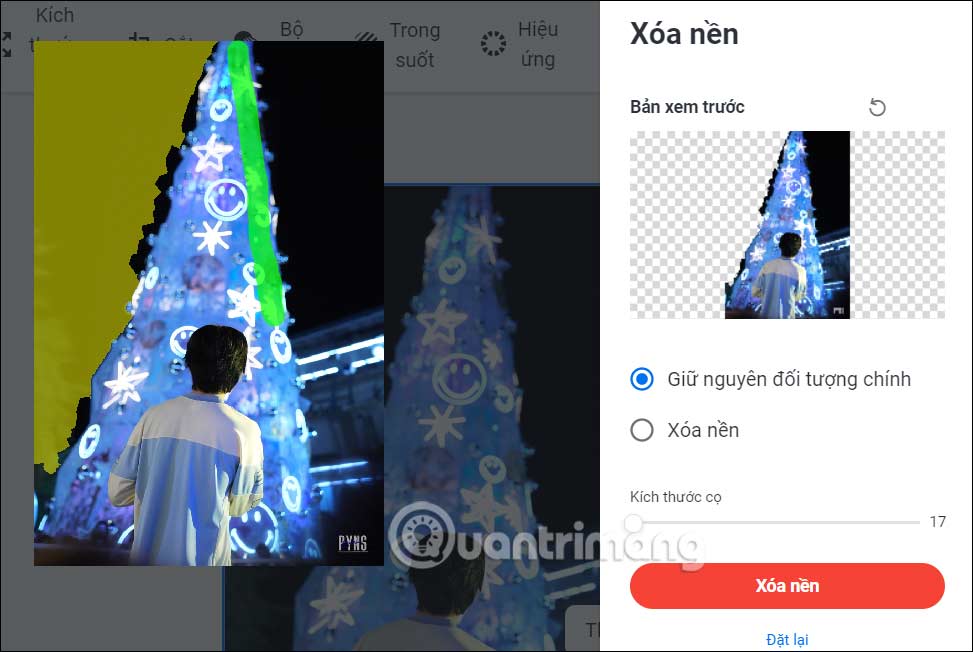
Shutterstock's background removal tool compared to other tools is not really professional and does not remove the background in detail.
You should read it
- ★ 28+ photos prove the world has changed 'rapidly' over the years
- ★ It takes only 5 - 10 minutes to practice every day to improve yourself
- ★ How to read XML files with iTaxViewer software
- ★ Windows and Windows Phone software repositories will merge
- ★ Please download VnDoc's Exercises app to make learning easier