Instructions for using OneDrive on iOS devices
Microsoft OneDrive is a cloud storage service similar to Dropbox. After registering an account, you will receive 15GB of free storage. With OneDrive, you can store multimedia files, documents, etc., so you can easily manage and share files on many different platforms.
Table of Contents
Microsoft OneDrive is a cloud storage service similar to Dropbox. After registering an account, you will receive 15GB of free storage. With OneDrive, you can store multimedia files, documents, etc., so you can easily manage and share files on many different platforms.
OneDrive can be used on different mobile operating systems, including iOS. In the article below, Network Administrator will show you how to use OneDrive on iPhone.
Part 1: Sign in to OneDrive
Step 1:
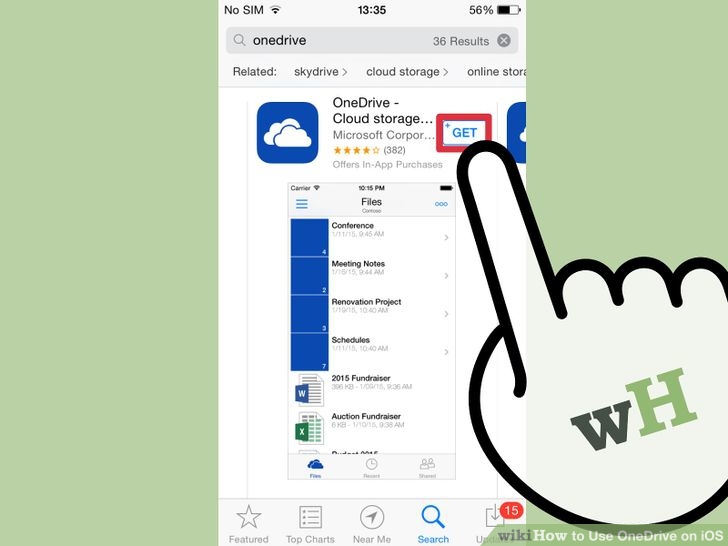
Download the OneDrive app to your device and install it.
Open the iTunes app store on your iOS device and then search and download the OneDrive app to your device.
Note : You must enter Apple ID and password.
Step 2:

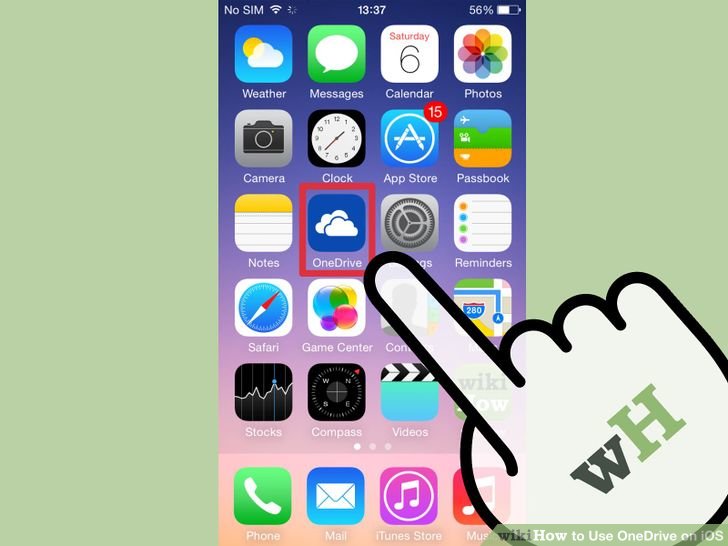
Click the OneDrive app icon to open the application.
Step 3:
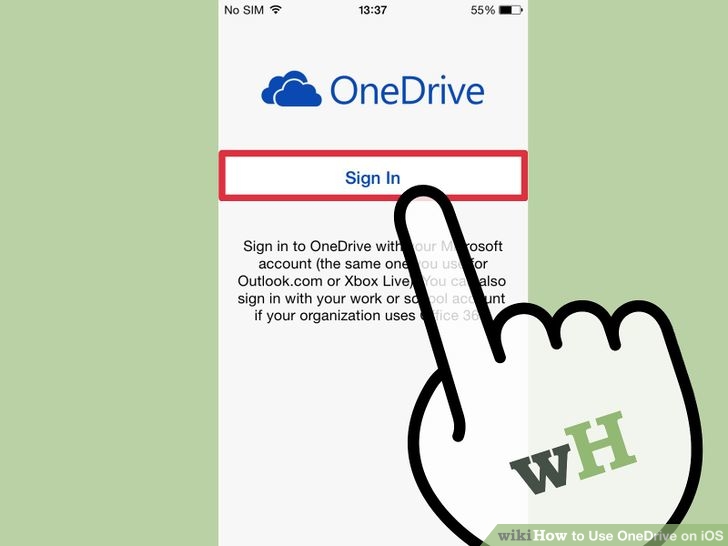
Log in to your account.
Part 2: View any file on the OneDrive app
Step 1: View the folders
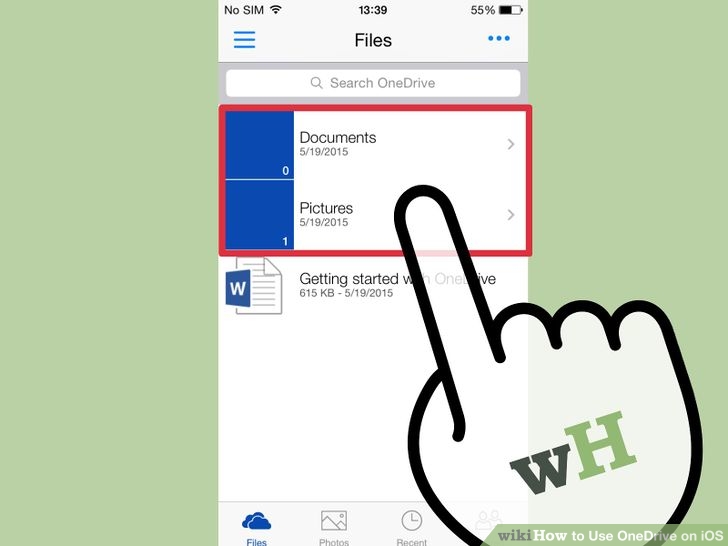
After you sign in, the OneDrive home page will display all the folders in your account.
Step 2: View the files in the directory

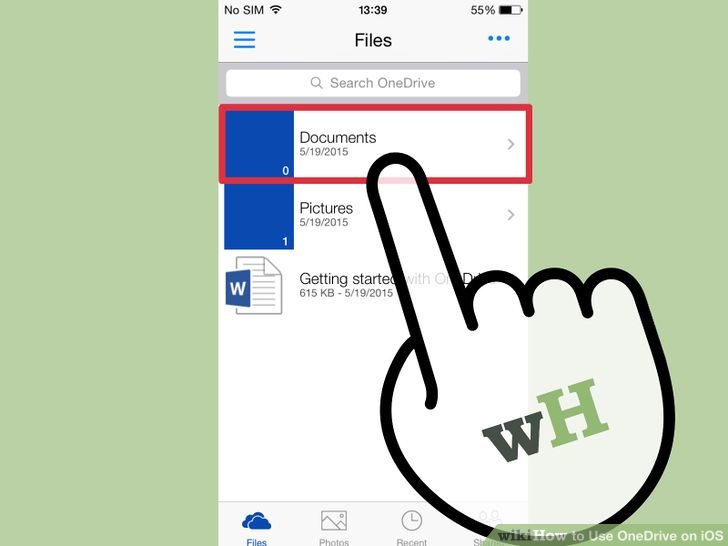
Select the folder containing the file you want to view and then click on that folder.
Step 3:
You browse files in the same folder as you would browse them on your computer.
Step 4:
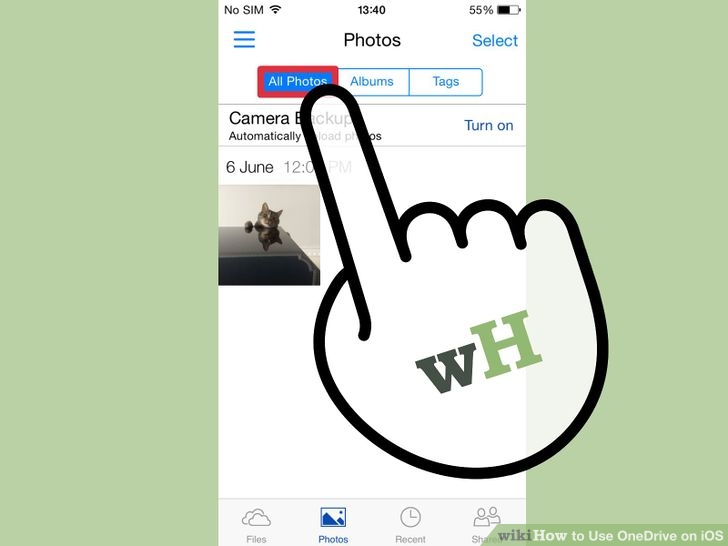
Files that can be viewed from OneDrive include: images, audio, video, text, Excel spreadsheets, PowerPoint presentations, Word documents, and PDF.
Part 3: Create a new folder
Step 1:

Open the OneDrive app.
Step 2:

Log in to your OneDrive account.
Step 3:
Go to the root directory - where you want to create a new folder.
Step 4: Create a new folder
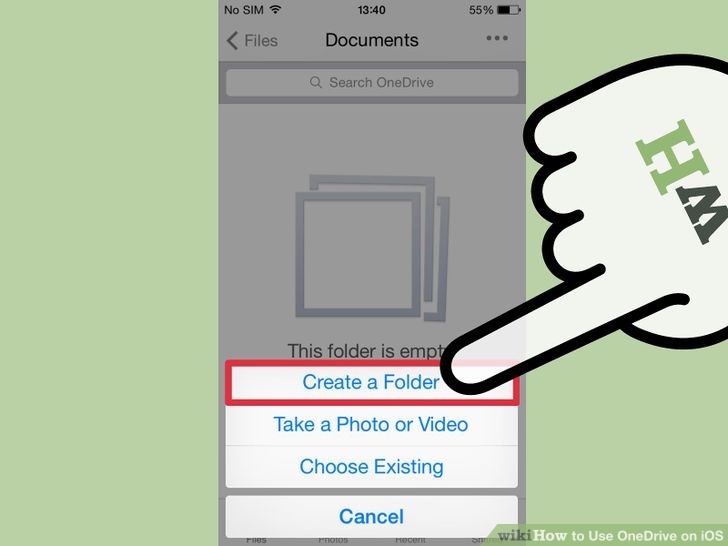
Click the three small circle icon in the upper right corner of the app screen. Tap on Add Items , then click Create a Folder .
Step 5:
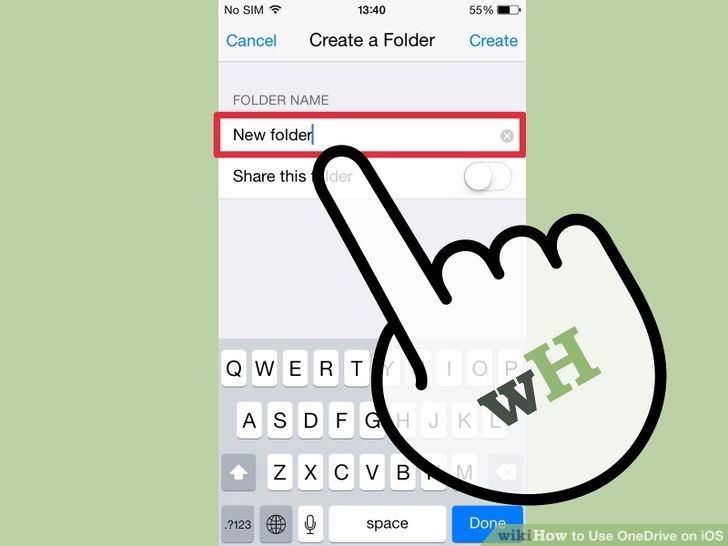
Name the folder you just created.
Part 4: Add files to the directory
Step 1:
Open the OneDrive app.
Step 2:

Log in to your account.
Step 3:

Go to the folder where you want to add or download files. You can only upload images and videos from the iPhone OneDrive app, and other files you must upload from your computer or upload directly with the OneDrive website.
Step 4: Take a picture or shoot a new video to upload to OneDrive
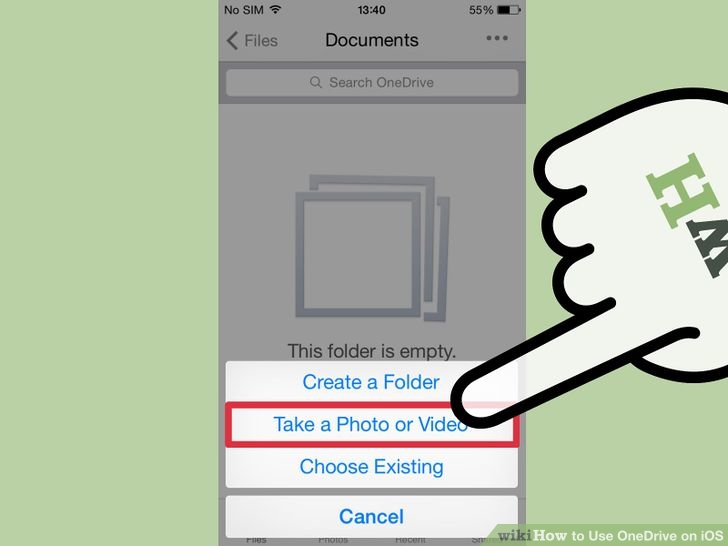
Click on the 3 small circles icon in the upper right corner. Then click Add Items => Take a Photo or Video. Then, OneDrive will launch the camera app on the iPhone and you can take photos and record videos.
After shooting a movie or taking a picture, OneDrive will automatically upload it to the folder.
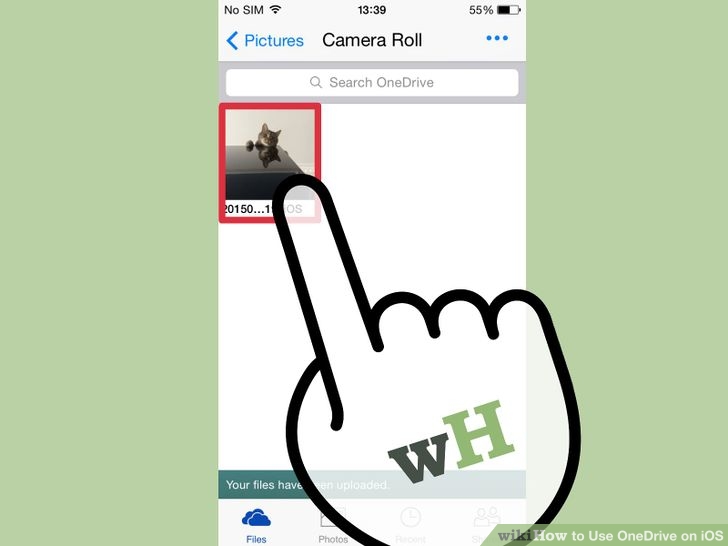
Step 5: Download images or videos available
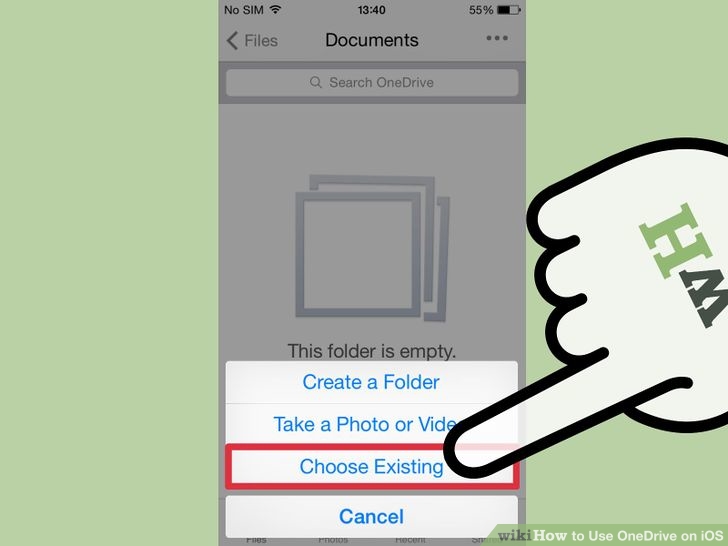
Click the small circle icon in the upper right corner, then click Add Items => Choose Existing . Then, OneDrive will show up a folder, you select the image files to the video you want to upload.
Part 5: Rename or delete a file or folder
Step 1:

Open the OneDrive app.
Step 2:

Log in to your account.
Step 3:

Find the file or folder you want to rename or delete.
Step 4: Rename the file or folder
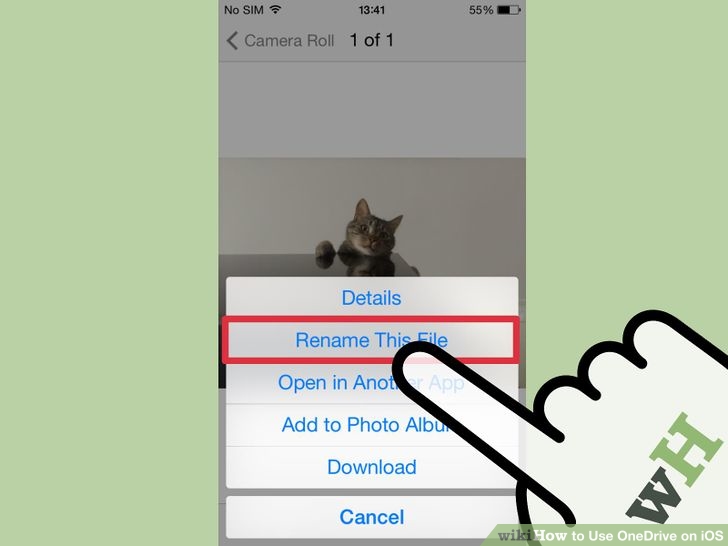
Click on the 3 small circles icon in the upper right corner. Select Rename This File or Rename This Folder and edit the name you want to set.
Finally click Done .
Step 6: Delete a file

Open the file you want to delete and then click the trash can icon in the bottom corner.
Click OK to confirm the file deletion.
Step 7: Delete a folder
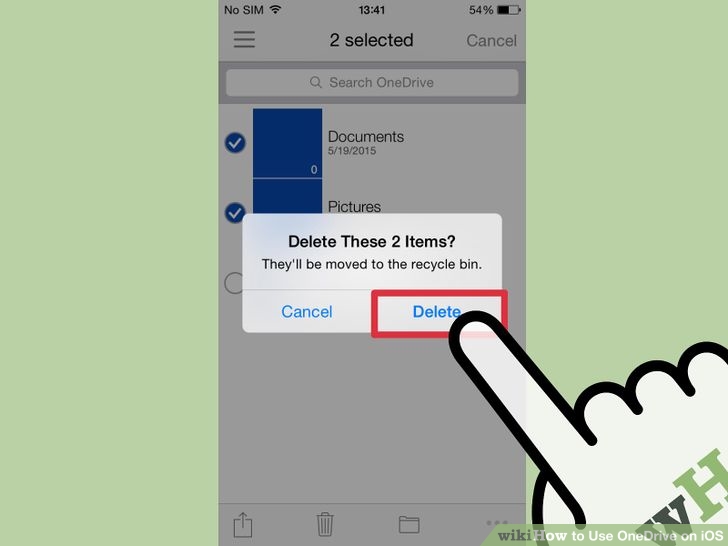
Click on the 3 small circles icon in the upper right corner and click Select Items . Select the folder you want to delete, then click the trash can icon at the bottom, click OK to confirm.
Refer to some of the following articles:
-
How to share photos from the OS X Photo application to OneDrive
-
Instructions for completely removing Onedrive application on Windows 10
-
5 ways to share files and folders from OneDrive in Windows 10
Good luck!
Was this article helpful?
Your feedback helps us improve.
Related Articles
 8 super useful things you can do with Microsoft OneDrive on Android7 minutes read
 Get 100GB OneDrive for free from Samsung phones3 minutes read
 Fix the error that OneDrive files or folders could not be deleted6 minutes read
 How to prevent Windows from saving files to OneDrive5 minutes read
 How to fix OneDrive error when processing changes3 minutes read
 OneDrive launches file protection for Windows 10 users3 minutes read
Reader Comments 0
Sign in with email or Google to join the discussion.