Table of Contents
You can start an n8n workflow from a template or import its JSON into the editor. The imported nodes provide a starting structure, but you still need to review their logic, connect the correct credentials and replace example values before running the workflow.
A template's presence in a library is not proof that it has been thoroughly tested or is safe for your data. In particular, inspect nodes that send messages, change records, execute code or call external URLs.
Import a template from the library
1. Find a relevant workflow
Open the template library available from your n8n interface and search by the applications or task you need. Interface labels can differ between versions; the screenshots below show the earlier workflow used in this guide.
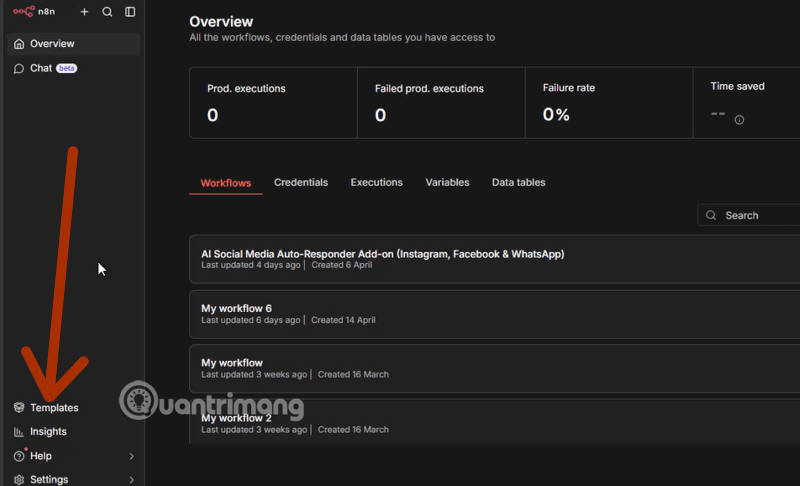
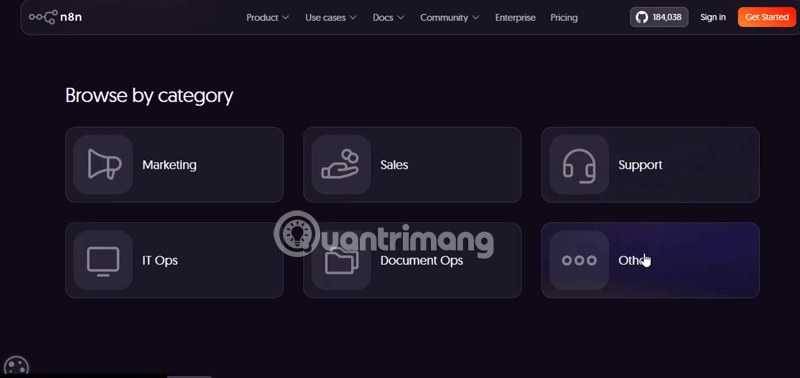
Read the template's description, required services, setup notes and any community-node dependencies. Confirm that its input and output match your intended process.
2. Open the template in your instance
Select the template and use its available import option. The example interface shows Use for free and Import template to your workspace. Follow the prompt for the n8n instance and project you intend to use.
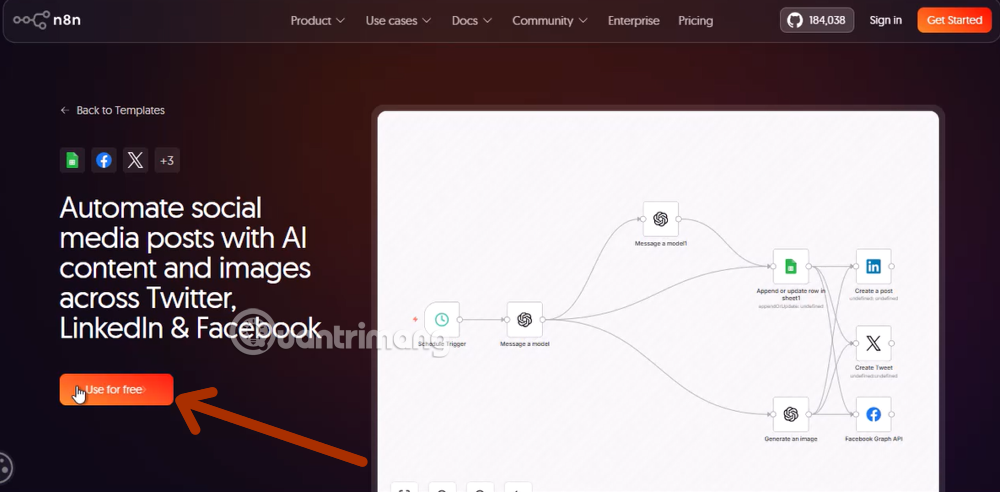
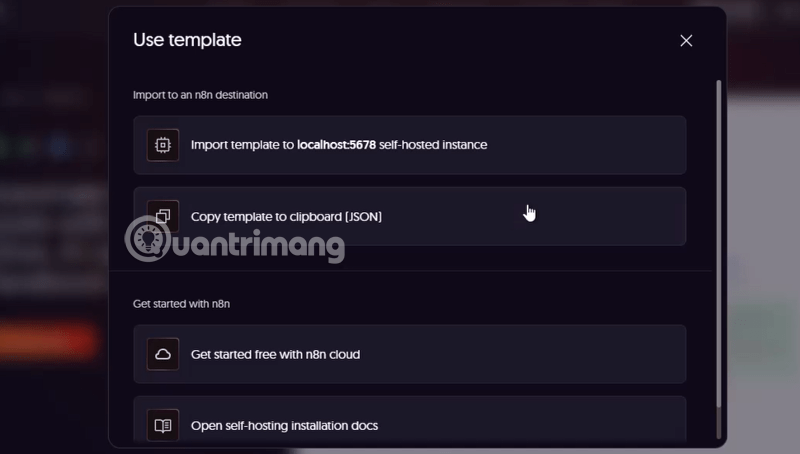
Using a free template does not make connected APIs, an n8n Cloud account or third-party services free. Check those costs separately.
3. Review the imported workflow
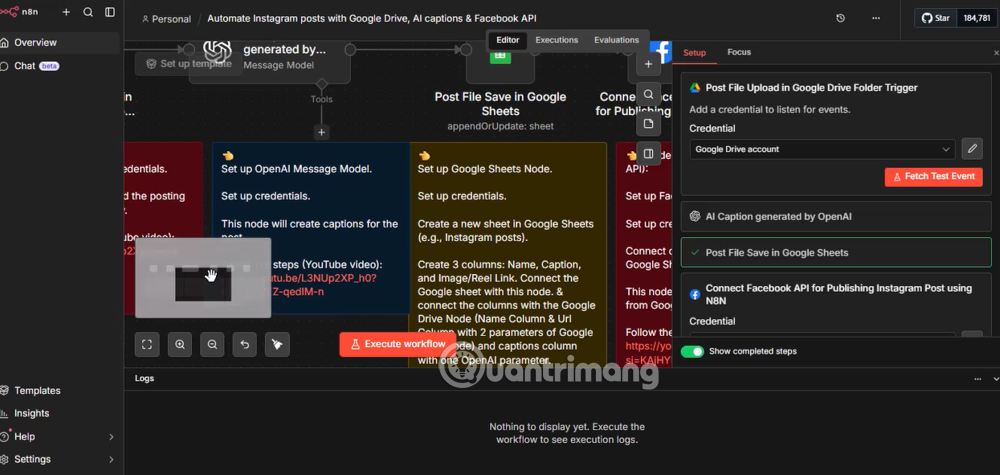
Inspect every node and read the author's setup notes, but do not execute instructions blindly. Red warnings can reveal missing configuration, while a node without a warning may still point to the wrong spreadsheet, recipient or endpoint.
Use n8n's template documentation if the available import flow differs from the screenshots.
Import workflow JSON instead
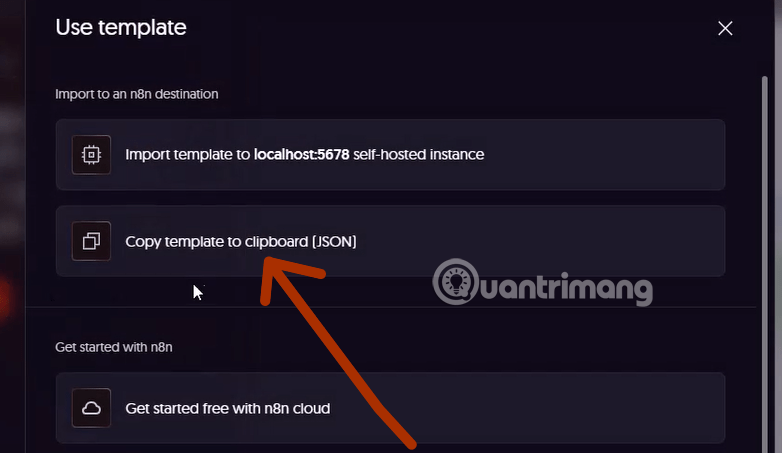
If a template provides Copy template to clipboard (JSON), copy the complete workflow data.
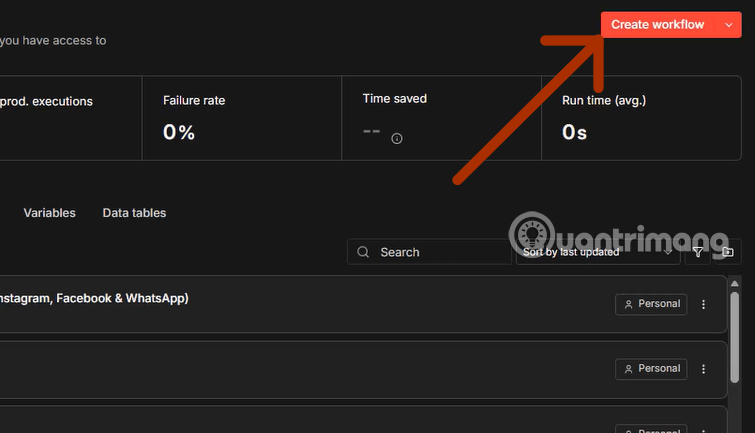
Create a new workflow rather than pasting over work you want to keep.
Focus the workflow canvas and paste using Ctrl+V on Windows/Linux or Cmd+V on macOS. If you have a JSON file, use the editor menu's Import from File option.
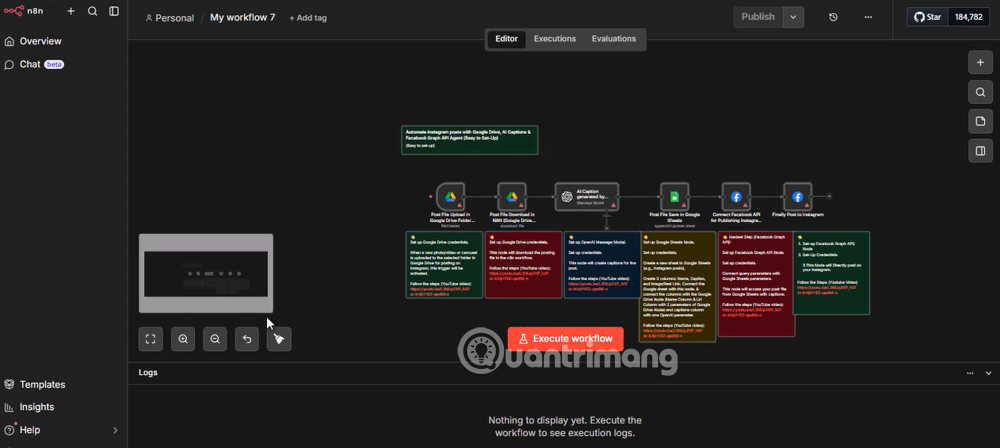
Check that the expected nodes and connections appear. Missing nodes may indicate an unsupported node version or an unavailable dependency, not a failed clipboard shortcut. The export and import guide describes supported methods. Do not assume an older “Import from URL” option is present: n8n's version 3.0 migration notes remove that editor method.
Replace credentials and example values
- Credentials: select the intended account for each service. Use the least access that meets the task.
- Destinations: replace sample email addresses, channel IDs, spreadsheet IDs, folder paths and database targets.
- Expressions: check that node references and field names match the data your trigger actually produces.
- Code and HTTP requests: inspect scripts, URLs, headers and payloads before execution.
- Schedules: verify the cadence and time zone.
If you are configuring Google's OAuth connection, this Google client ID and client secret guide explains the credential setup context. Keep those secrets in the appropriate credential mechanism, not embedded in shared workflow text.
Exported workflow JSON can include credential names and IDs, and values typed directly into node parameters can expose sensitive information. n8n specifically warns that HTTP Request nodes imported from cURL may contain authentication headers. Inspect JSON before sharing it; do not assume all exports are secret-free.
Test without affecting production
Keep the workflow unpublished or inactive while configuring it. Use a test account, sample records and controlled destinations. Disable or isolate nodes that send, delete, charge or overwrite data until you have verified the earlier steps.
A manual Execute Workflow run is not a universal simulation: enabled nodes can still perform real actions. Inspect each node's input and output, then test the full intended path, including an empty result, invalid input and a service failure.
For webhooks, n8n distinguishes test and production URLs. Use the appropriate URL during development, and update the external service when moving to production. The Webhook node documentation explains when those endpoints are registered.
Publish and monitor
When the reviewed workflow behaves as expected, use the publish or activation control appropriate to your version. Confirm the first production execution and watch for duplicate events, unexpected recipients and errors.
Keep a record of the template source and your changes so future updates can be reviewed. For ideas to adapt after the basics work, see these n8n AI automation workflows. Importing a diagram is the start of configuration, not proof that the workflow is ready to run unattended.
Related Articles
 TOP best AI Workspace platforms16 minutes read
 How to Work with Workspace in GNOME5 minutes read
 How to Create and Use Email Templates in Outlook4 minutes read
 12 Stunning HTML5 Templates That Web Designers Should Not Ignore7 minutes read
 How to Disable Automatic Workspace in GNOME4 minutes read
 The Best Microsoft Onenote Download Sites: Onenote Templates7 minutes read
Reader Comments 0
Sign in with email or Google to join the discussion.