How to Use AutoFill on iPhone
With iOS AutoFill, you don't have to waste time entering the same information over and over again – it does it for you!
Table of Contents
Whenever you come across a registration page or form, you're asked to add personal information like your name, address, email, phone number, etc. If you do it often, it can quickly become a pain in the ass. With iOS's AutoFill feature, you don't have to waste time entering the same information over and over again – it does it for you! Learn how to enable and use AutoFill on your iPhone or iPad!
Turn on AutoFill on iPhone
To get started, you'll first need to enable AutoFill in iOS settings. This guide is using an iPhone running iOS 18.4.
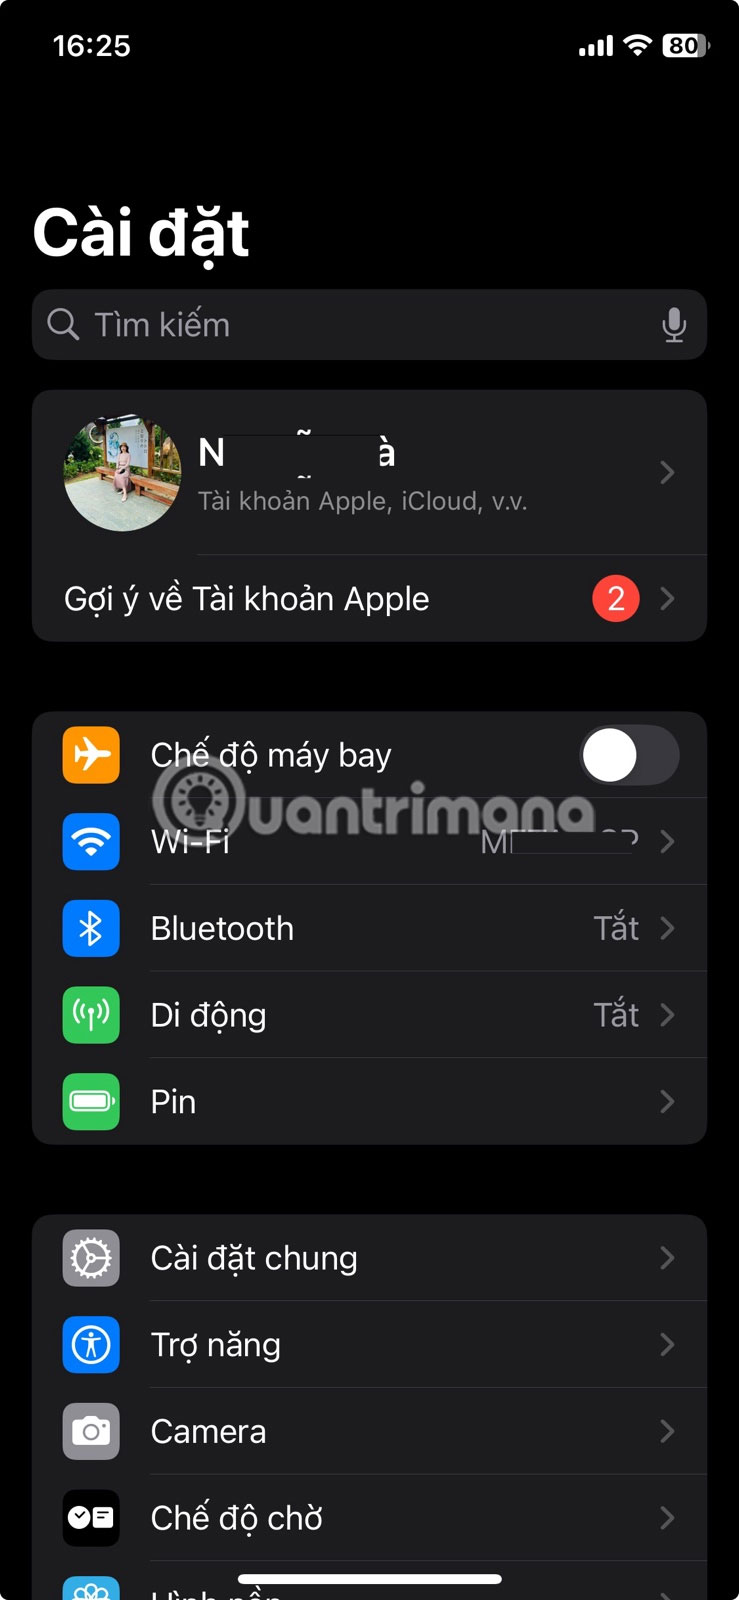
Open the Settings app on your device and go to Apps .

Select Safari from there. On older versions of iOS, you can go directly to Safari at the bottom.

Click Autofill under General Settings .

Make sure the Use contact info toggle is active.

To make sure your AutoFill information is correct, tap My Info below and select your contact name from the list, which is the name you're attached to. Note that it's important that your contact information contains everything you need for AutoFill.
Add or update personal information
If the contact only contains your name and phone number, you may need to add additional information.
To do this, open the Contacts app on your phone. Find your contact's name, open it, then tap Edit.

Go through all the available options and make sure everything you want autofilled is listed correctly. This will include your email, phone number, full name, address, date of birth, the company you work for, etc. You can, of course, add multiple addresses and phone numbers.

Once you've included everything you might want for AutoFill, tap Done and exit your contacts.

Add credit card information
While you might think of AutoFill primarily as being about names and home addresses, you can also add credit card information.
In the Settings app on your iPhone, go to Safari -> AutoFill and turn on the Credit Cards option .

If you want to add a card for the first time or edit an existing card, select Saved Credit Cards and access this menu by entering your device passcode or enabling Face ID.

Once in the saved credit cards menu, go ahead and make any changes, including updated card numbers, expiration dates, security codes, etc. You can also add descriptions in case you have multiple cards for different shopping needs.

Enable AutoFill for the Passwords app
In the same way you can autofill your name, address, and credit cards, you can do the same with passwords. Whether you use iCloud Keychain or a third-party password manager like 1Password or LastPass , AutoFill can work.
If you use iCloud Keychain, make sure it's enabled before continuing.
Open the Settings app and tap your Apple account at the top.
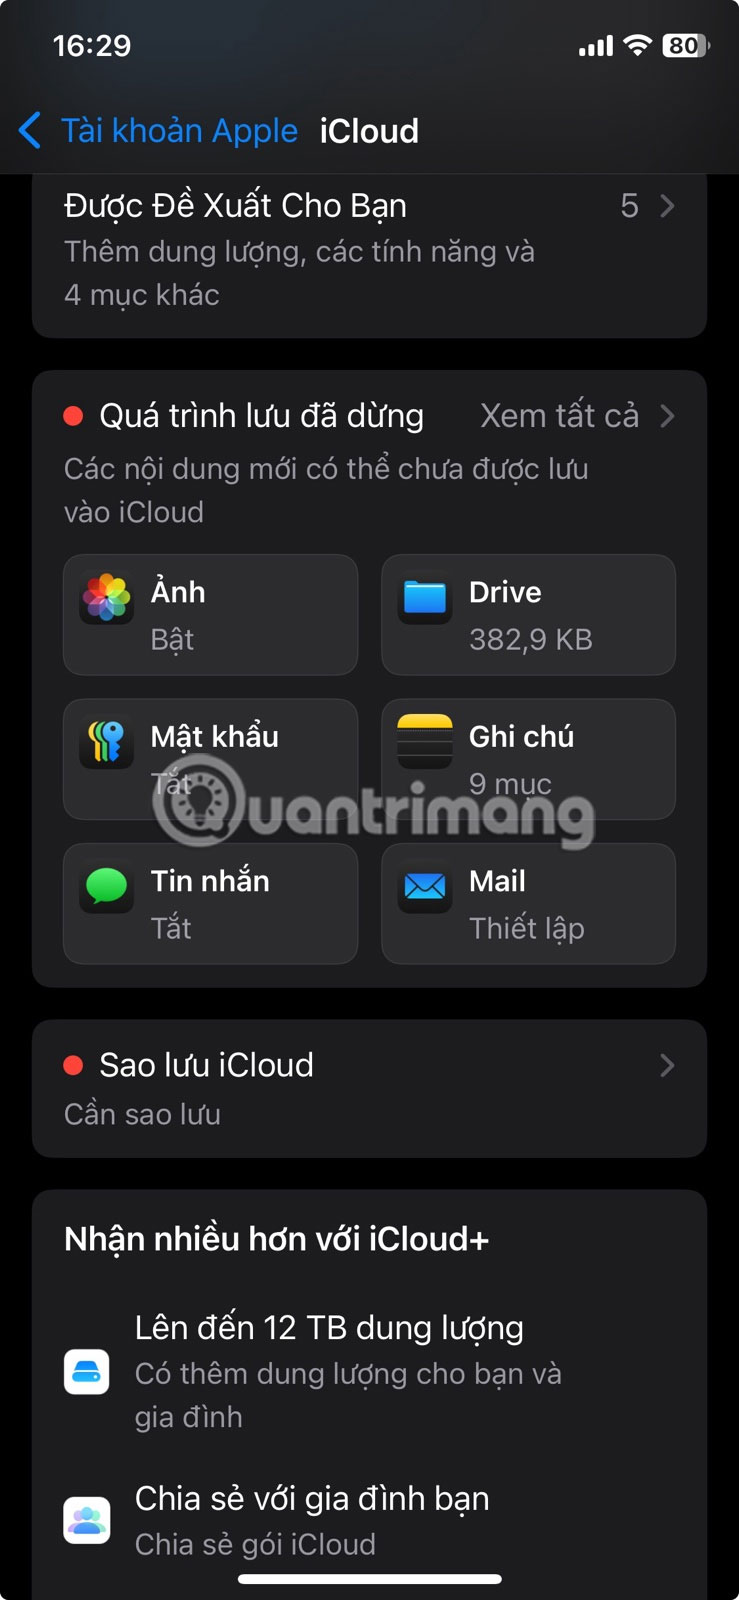
Select iCloud.
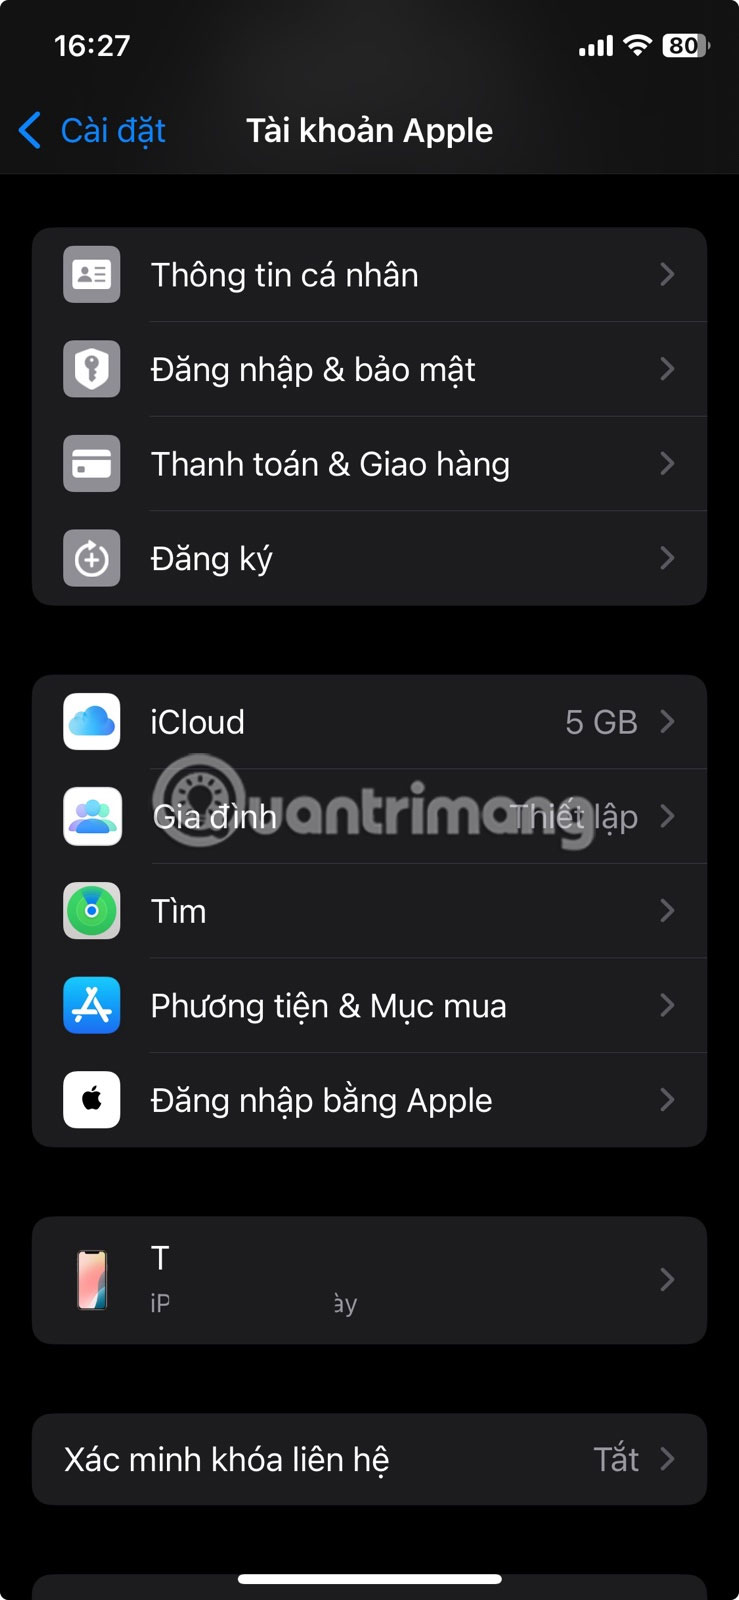
On the next screen, tap Password .
Make sure the Sync This iPhone switch is turned on.

Next, go back to the Settings screen and navigate to Apps -> Passwords .
Tap View Autofill settings at the bottom.

Make sure the AutoFill Passwords and Passcodes toggle is turned on at the top.
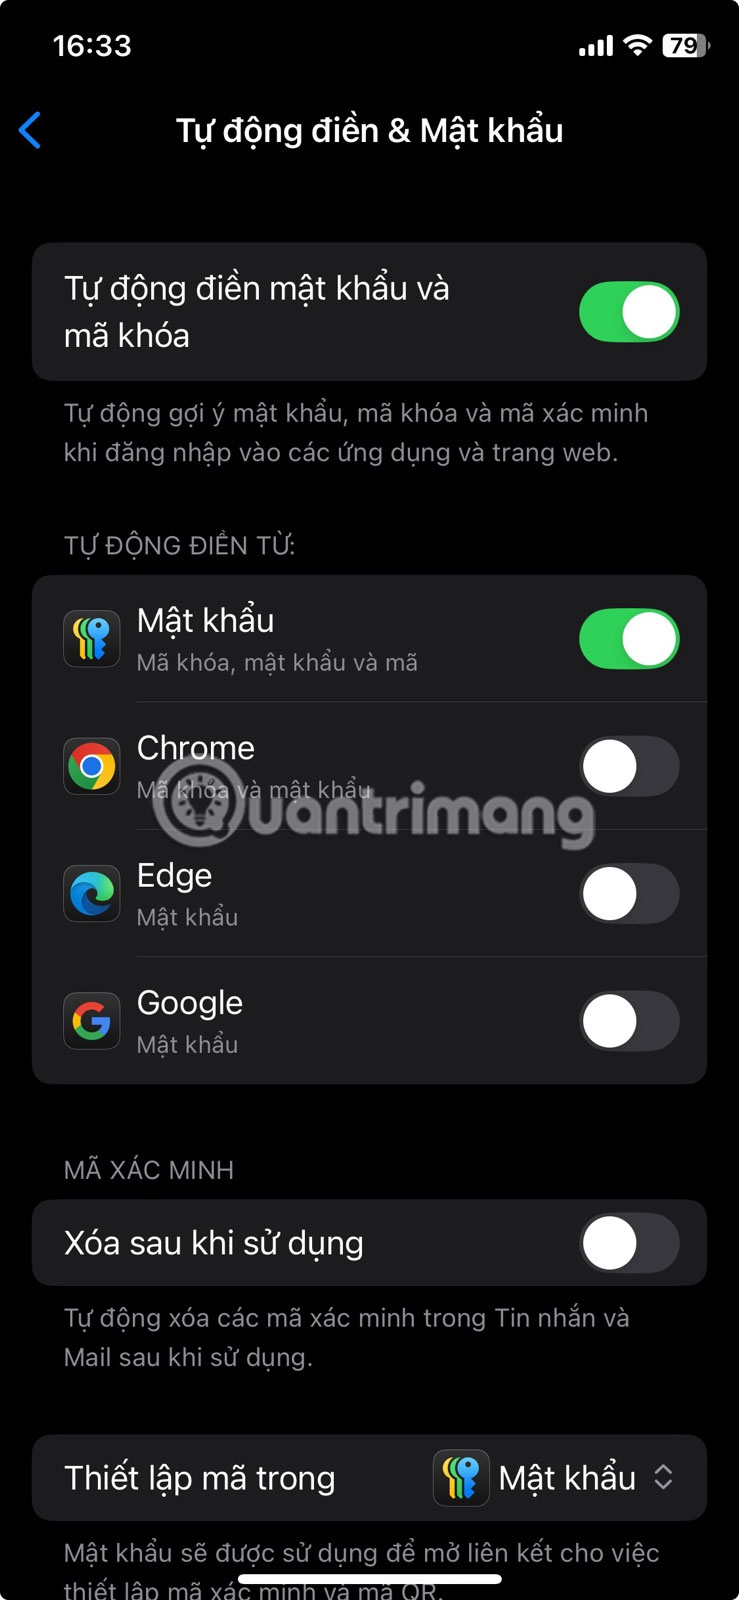
Under Autofill from , Passwords should be turned on. If you're using a third-party app to manage your passwords, now's the time to turn on the app-specific toggle from the section below. Autofill can also use information stored in your browser.
Note : In older versions of iOS, you can also go to Settings -> Safari -> Passwords & AutoFill and turn on Always Allow . This feature allows iOS to remember passwords even if the website asks not to.
Edit saved autofill passwords
If you need to edit the password on your iPhone, here's what you need to do.
Go to Settings -> Apps -> Passwords , as described above. At the bottom, tap Open Passwords .

This will open the Passwords app. Here, select the All option to view your passwords.

Select one of your accounts.
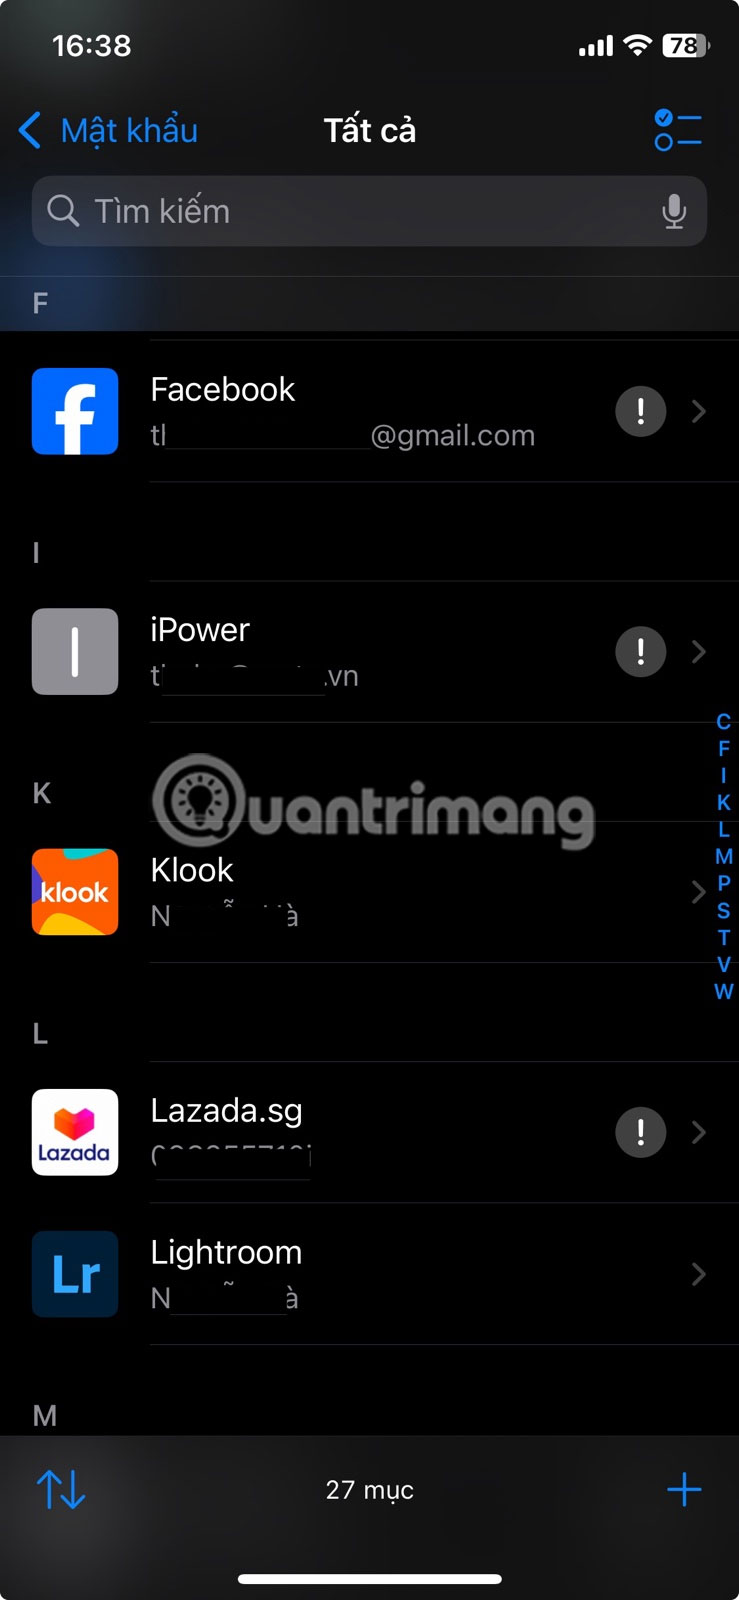
Tap Edit in the upper right corner.

Select Change Password . Follow the instructions from there to change your password.

Finally, click Save.
Use AutoFill in Safari and other apps
Once AutoFill is set up on your iPhone (or iPad), filling out sign-up forms becomes a breeze.
Once on the page asking for your details, click on the respective field and press the Autofill Contacts button that appears at the bottom.
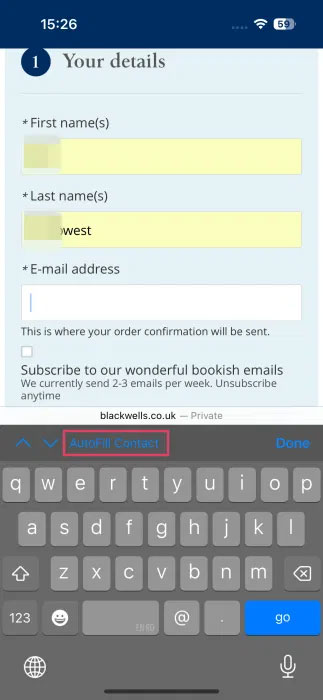
Select the first option that appears in the pop-up window. Then, tap the down arrow to move to the next field and tap AutoFill again.
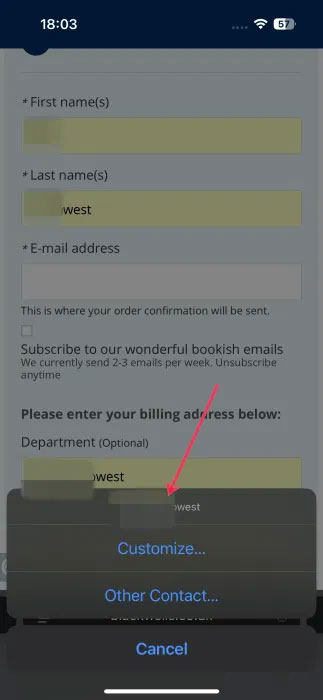
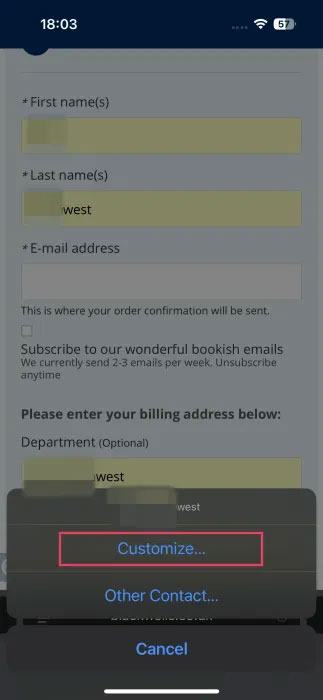
For example, if you have multiple addresses saved, tap Autofill then Custom at the bottom to select the correct address.
Also, remember to always set strong passwords to protect yourself from any potential attacks on your accounts. Knowing the methods hackers use to crack passwords can help you strengthen your defenses against cyber threats.
Was this article helpful?
Your feedback helps us improve.
Related Articles
 Google Chrome upgrades Autofill: smarter, deeply integrated with many payment services3 minutes read
 How to enable or disable AI for Autofill on Microsoft Edge4 minutes read
 Why is browser autofill a security risk?5 minutes read
 How to turn off password autofill on Microsoft Edge2 minutes read
 How to fix Autofill errors in Excel4 minutes read
 Instructions to enable password autofill on Edge2 minutes read
Reader Comments 0
Sign in with email or Google to join the discussion.