How to use Swifty to save personal account information
Swifty is software that stores all account information, passwords and is synchronized with individual Google Drive accounts..
Many people can't remember the credentials of individual accounts, so they often choose software that stores information to reopen it quickly whenever they need it. Swifty is a password management tool that has a very simple and easy to use interface. Users will save all personal account information, notes or even credit cards under AES-256 bit encryption to secure content.
Besides, the software also has a link mode with Google Drive account for users to log in the saved information whenever they need it. Swifty supports all computer operating systems. The following article will guide you how to use Swifty on your computer.
- The best password management software available today
- 5 websites generate the strongest random passwords
- PassBox: Free password manager and manager for Windows 10/8/7
- How to use LastPass to manage passwords professionally
Instructions to save information on Swifty
Step 1:
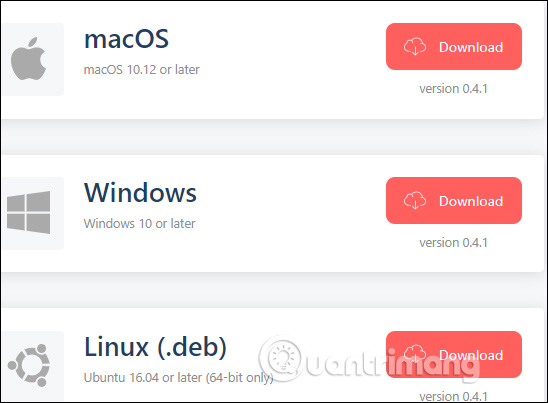
Swifty software supports a variety of operating systems, including Windows, macOS, and Linux. Read the link below to install the correct software for the operating system being used. After downloading, we click on the download file to install the software.
https://getswifty.pro/download.html
Step 2:
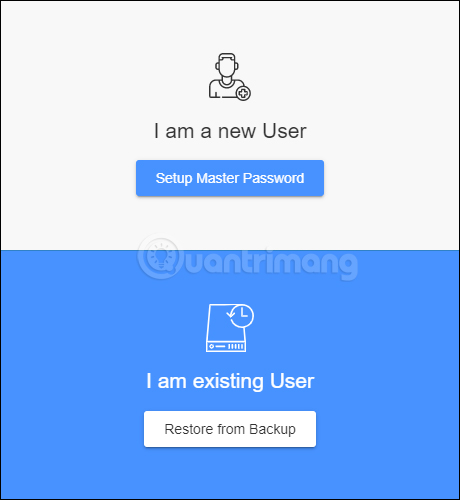
Showing the user interface for the first time, you will have 2 different options.
- Setup Master Password: Optional for new users to create a master password to protect archived information before access.
- Restore from Backup: Enter the password information through the extracted file if reinstalling the computer or using at someone else's computer.
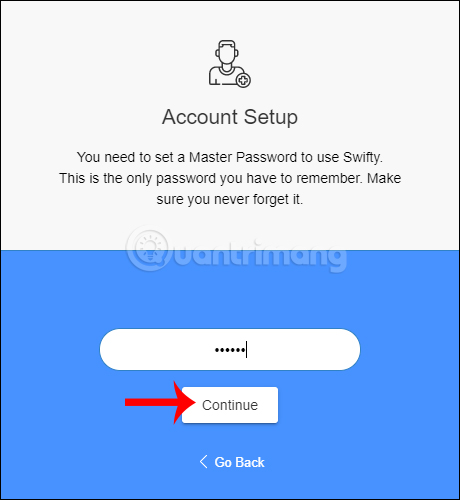
Clicking on the first option will display the security master password entry interface when accessing information stored in the software. Click Continue to continue.
Step 3:
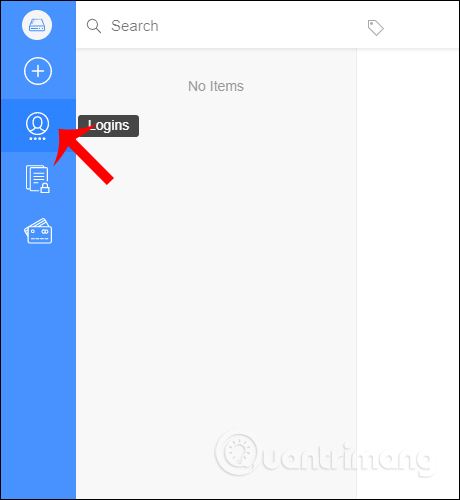
Right after that, you access the main interface of the software. Here we click on the humanoid icon to enter the personal account information you want to save.
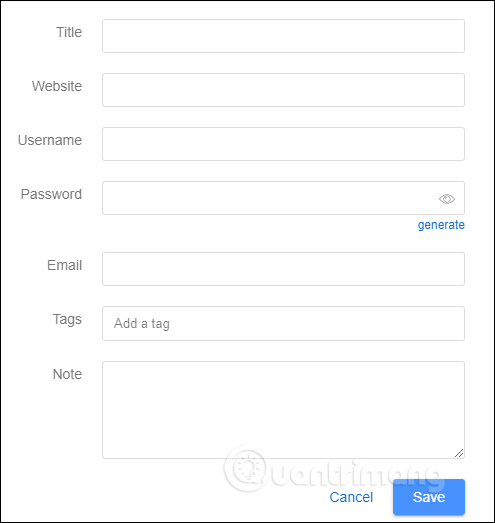
Then click the plus icon to display the information input interface. We fill out the required information. Swifty has the option to create a password for a new account when clicking Generate. Finally click Save to save.
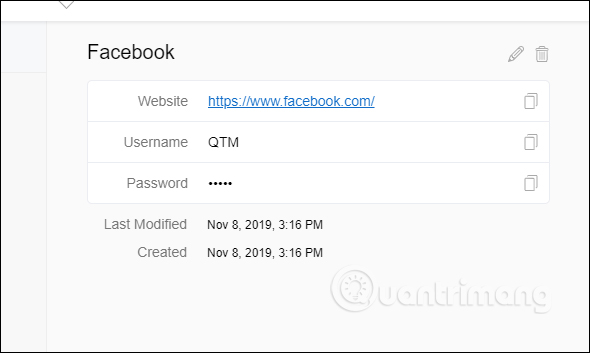
Then we will see information about the personal account created. If you want to edit, then click the pencil icon, if you want to delete, then click the trash icon.
We continue to perform the above operation to create other information items.
Step 4:
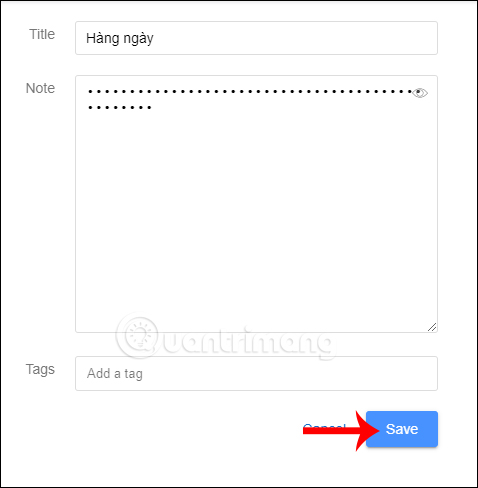
To save the notes you want to security on Swifty, we click the Secure Note icon in the leftmost bar. Also displays the note text input interface. The content of the note is encrypted with dots. If you want to see, click the eye icon to display the content of the note.
Click Save to save.
Step 5:
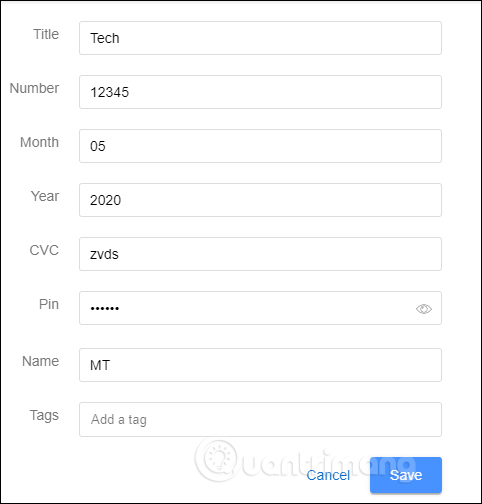
Finally, to save your bank card information, click on the Credit Card icon . Enter the account information displayed in the new interface and click Save to save.
Step 6:
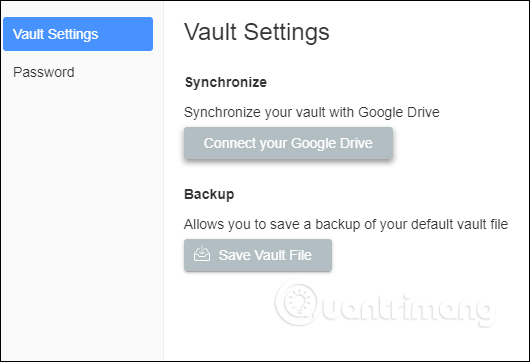
After saving all the information, users gear icon and then click on Vault Settings to back up the information.
In this section, you see there are 2 options for backup, including Synchronize to sync to Google Drive and Save Vault File to extract to your computer.
The extracted file is saved in SWFTX format and must be opened in Swifty for viewing.
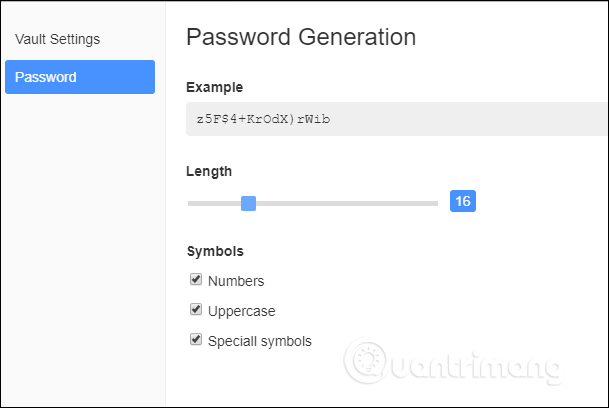
Step 7:
Also in this interface when clicking on the Password item, we will see the options to set the length and characters used for passwords created on Swifty.
Swifty has a simple interface, securing the information stored through the password you have set. If the user opens Swifty without using it, the software automatically locks the interface and must enter the correct password to reopen.
I wish you successful implementation!