How to update 3D printer firmware
Firmware is the brain of the machine and is usually stored on the printer's microcontroller, a small computer programmed to receive commands from the user..
3D printer firmware is system software that controls the movement and operation of motors, heaters, and other components. We can call the firmware the brain of the machine and is usually stored on the printer's microcontroller, a small computer programmed to receive commands from the user. Multiple 3D printer firmware options are available, such as Marlin, RepRap, and Klipper.
Follow the steps below to learn how to update the printer firmware easily.
Step 1: Download the firmware
Go to the Marlin website and click the Download Marlin button .
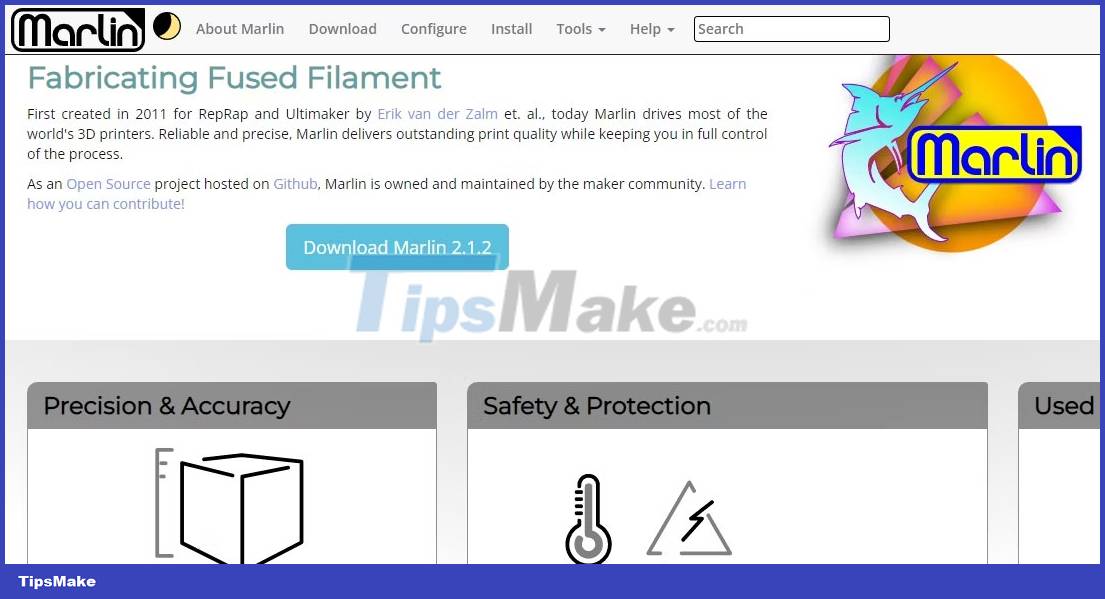
A new window will open, showing the different firmware versions. Select the latest version (at the top), version 2.1.2.1 at the time of writing; click the zip file for it, under Download . Once downloaded, extract the files and proceed to the next step.
Step 2: Get configuration for 3D printer
You can get your 3D printer-specific settings on the Marlin GitHub page, a repository where all the development is happening and you can choose your specific 3D printer. Once you're there, scroll down to Configurations and click on it.

Then go to the Code section and click Download Zip in the drop-down menu.

When you finish downloading the configuration archive, extract it to extract the files.
Step 3: Overwrite the configuration of the firmware
In the extracted configuration files, open the configuration folder, then for example; A range of 3D printers will be listed, as shown below.
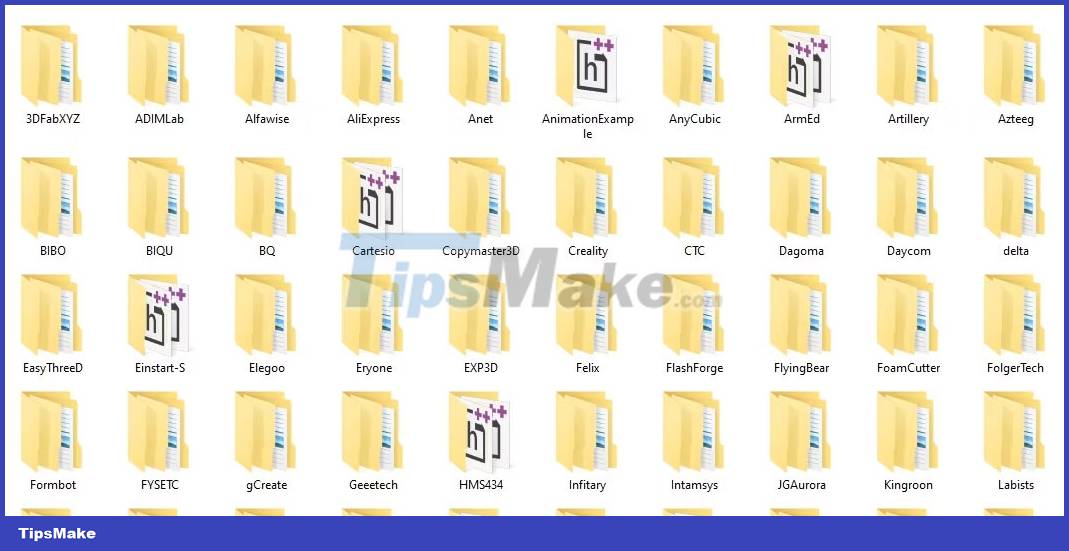
Select the folder for your specific 3D printer and copy the Configuration.h and Configuration_adv.h files. These two files contain all the necessary configurations for your 3D printer.
In the unzipped files of the Marlin firmware, go to the Marlin folder and open it, then paste the files you just copied there. You will see a prompt, as shown below.

Choose to replace files. Now that your firmware is configured for the 3D printer, it is ready to compile.
Step 4: Compile and upload the configured firmware
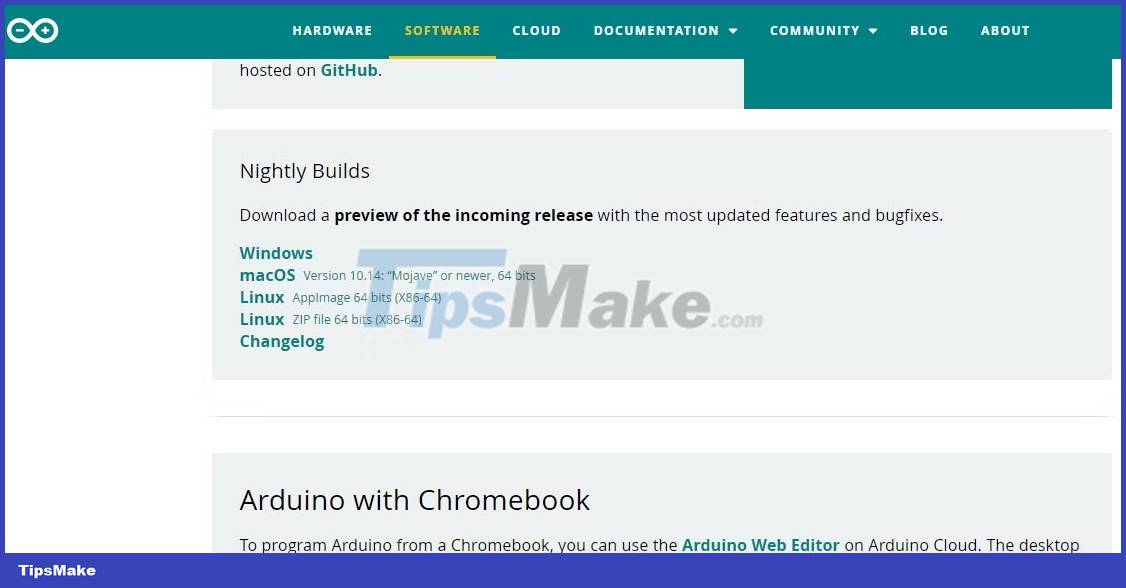
We will use the Arduino IDE with the Marlin software to compile the configured firmware. To do this, go to the Arduino software website and download the IDE version specific to your operating system.
Open the downloaded file and install the Arduino IDE application. Next, double-click the Marlin.ino file in the Marlin firmware folder; it will open in the Arduino IDE.

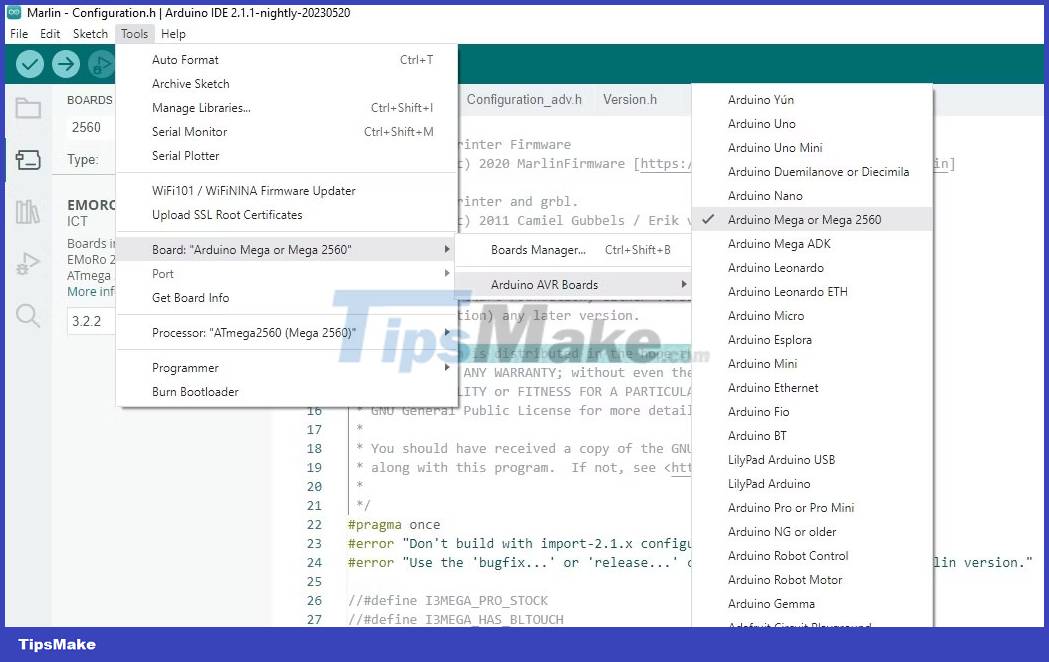
The next step is to select the microcontroller board. This will vary with different 3D printers; you should research which microcontroller your machine runs on and choose the right one. In this case, the example will choose the Arduino Mega. You choose from Tools > Board > Arduino AVR Boards and you'll see various boards listed there.
Step 5: Upload configured firmware
After selecting the board, click on the checkmark icon in the top left part to verify the details and the compilation will begin.

It will take a few seconds to complete the compilation; if there are errors, they will be displayed in the output (at the end of the IDE). You can connect your 3D printer to your computer with the appropriate USB cable and click the Upload button .

If everything is set correctly, you should update the firmware successfully.
Step 6: Install Bootloader (Optional)
When trying to flash and update the firmware, you may get an error during the process. This could be because your 3D printer doesn't have a bootloader, making it more difficult to update the firmware via the USB cable. To install the bootloader, you will need an Arduino board, a hexagonal screwdriver and an extension cable in addition to the firmware. Then follow the steps below.
1. Remove the 3D printer cover
You can use a screwdriver or hexagonal screwdriver to loosen the screws on the printer's electronics cover. After exploring all visible electronics, get a USB cable and connect one end to the laptop and the other end to the Arduino. Next, lift the lid and install the Arduino so that its ISCP header is facing the same direction as on the 3D printer board, as shown below.

2. Setting up the environment
In the Arduino IDE, go to File > Examples > 11.ArduinoISP > ArduinoISP .

A new window will launch. Go to Tools > Board > Sanguino(1284P Boards) . If you don't see that option, go to the Sanguino GitHub page and copy the add-on URL there.

In the Arduino IDE, go to Arduino IDE > Preferences and paste the URL you copied into the Additional boards manager URLs field . Then click OK and you will see the add-on being downloaded and installed.
When done, go back to Tools > Board > Boards Manager . In the search tab, search for Sanguino and you should see it listed there. Click Install and you will see the packages installed in the output window.

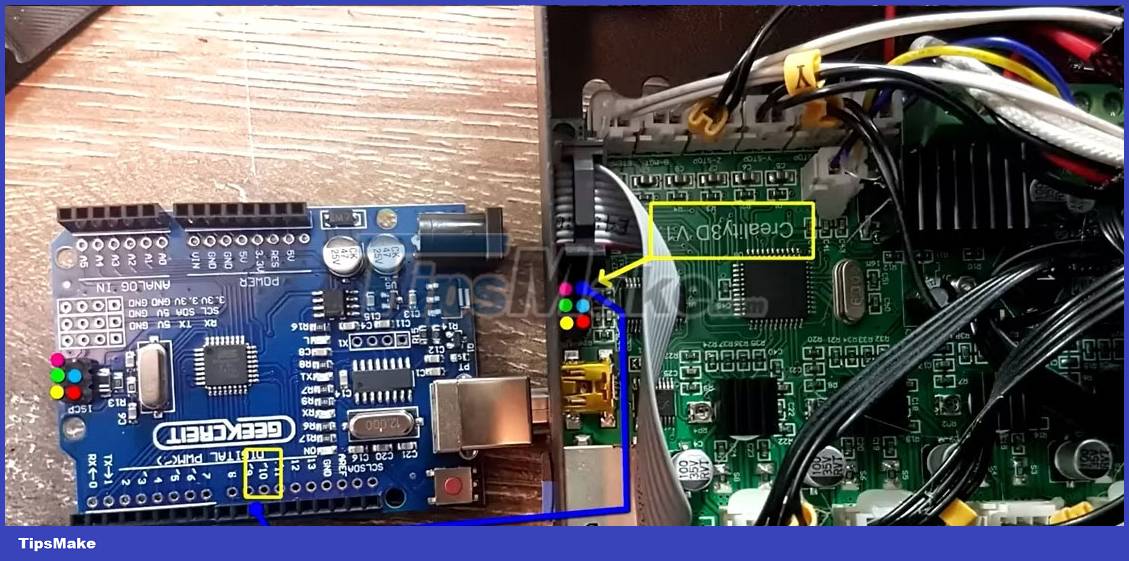
3. Connect the wires and install the Bootloader
Connect the 5-wire female-to-female to the Arduino and the 3D printer's board. Make sure the positions match the ISCP header. Then take a male-to-female wire and connect it to pin 10 of the Arduino and the top right port of the printer board, as shown below.
Now, in the Arduino IDE, go to Tools > Programmer and select Arduino as ISP .

Finally, to successfully install the bootloader, go to Tools > Burn Bootloader .

After a few seconds, you will see a message in the output stating that the process is complete. Remove the Arduino and its connected wires, plug in the USB cable and start uploading the firmware.