Table of Contents
Direct Transfer
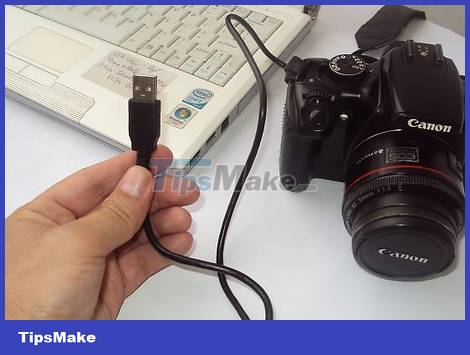
This practical guide explains how to transfer photos from camera to computer without software with clear steps and useful context. It also covers common requirements, potential problems, and the details that can help you get better results.
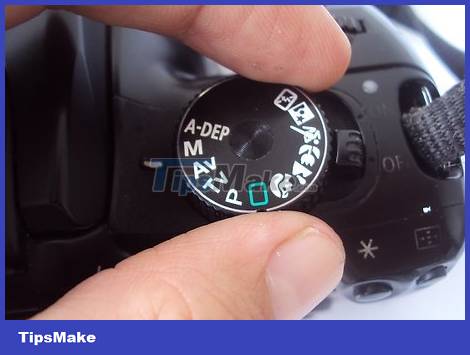
Power off the camera. When connecting and disconnecting electrical devices, especially sensitive ones like digital cameras, it's best to turn off the power first.
Connect a plug (usually a small plug) to the camera.
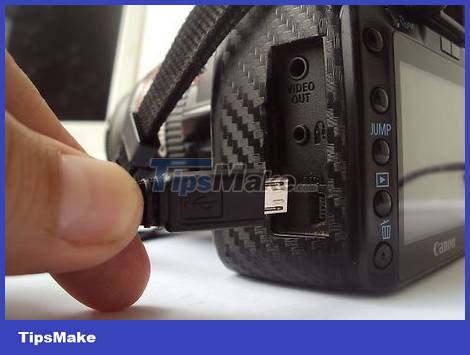
Connect the other end (usually the big one) to your computer's USB port).


Power on the camera. The camera will appear as a drive on the computer screen.
Use a Memory Card Reader
Prepare an SD card reader. The device is a small flat box that plugs into a USB port.

Plug the memory card reader into your computer's USB port. It can be plugged in directly or with an additional USB cable.
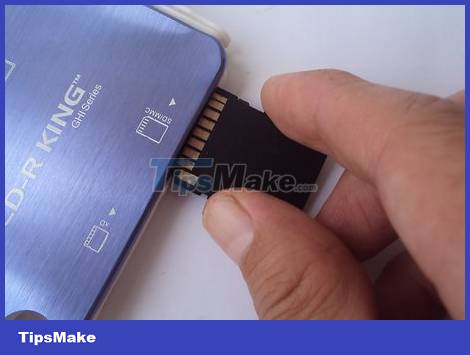
Insert the camera's SD card. The card will appear as a drive on the computer screen.
Drag photos from the card to your computer and you're done.
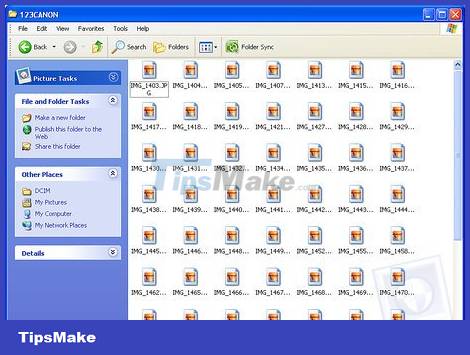
Send by Email
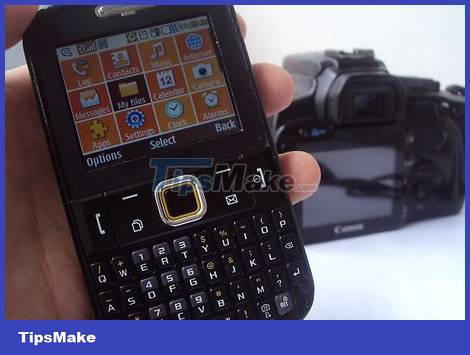
Take a photo with your phone's camera. Although not a Canon EOS 7D camera, the quality is still good enough to produce good photos.
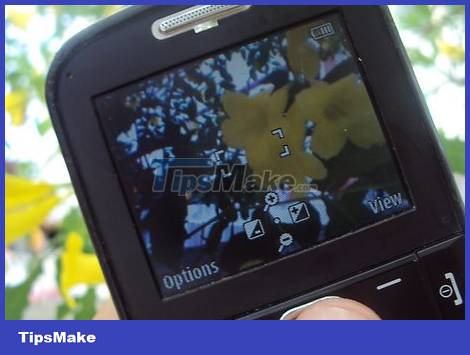
Take a photo. All beautiful photos are created by pressing the shutter button!
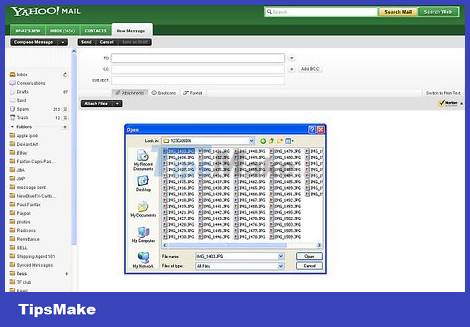
Compose a new email. Send the photo as an attachment and as Steely Dan says "email it to yourself".
Use a Cloud Storage Service
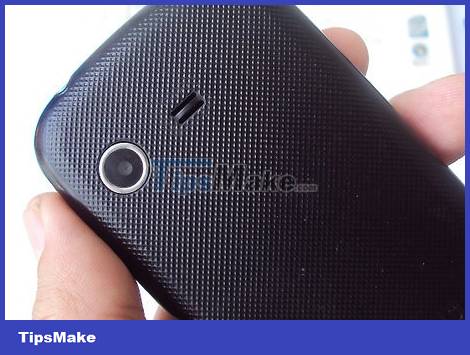
Use your phone's camera. Some apps, like Instagram, post photos to a shared feed and are always visible for you or others to download to your computer.
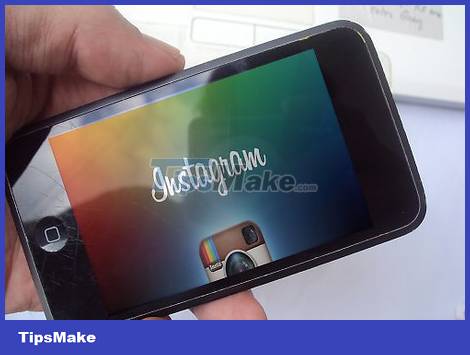
Take photos with Instagram. Add your favorite photo filters.
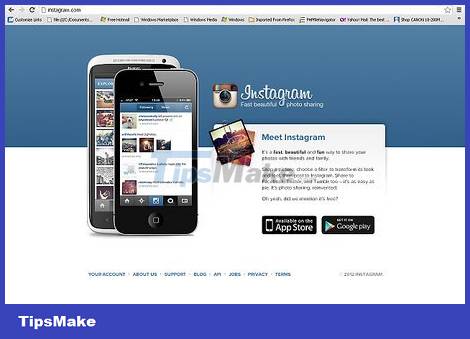
Share the photo with the Instagram community and choose to send it to your email.
Using Icloud

Sign in to iCloud. This is possibly the simplest and fastest way to transfer photos from your camera to your computer. With iCould, iOS camera photos are usually transferred to a cloud storage service and can be retrieved from devices with iCloud, Mac, or desktop computers.
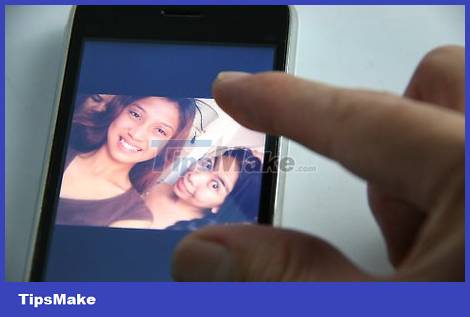
Take photos. When you get home, connect your photo library to iPhoto or Aperture or any device that can recognize the iOS photo library.
Windows XP
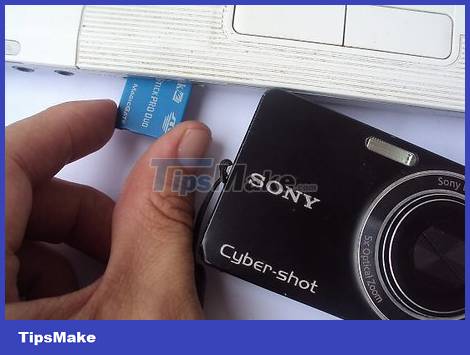
Connect the camera or memory card to the computer. This is a simple step. You can either connect the camera directly to a computer or take out a memory card and insert it into a memory card reader and plug it into a computer. The usual connection is via a USB port.
When your camera or memory card is connected to the computer, the Windows XP Camera Wizard window will appear. If the window does not appear, you can open it by clicking the command: Start -> Accessories -> Scanner and Camera Wizard.
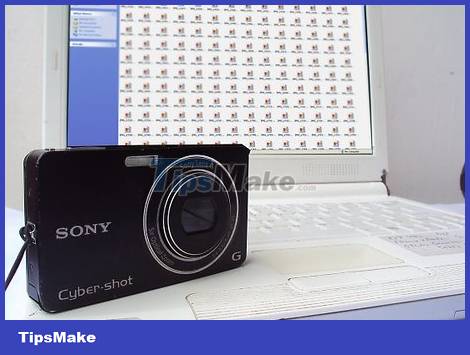
Select photo. The next step allows you to select the photos you want to transfer. Besides, the window also allows you to rotate the image and see detailed information of the photo such as the date it was taken. This way, you can specify a name to give the file. However, usually you will just transfer all the images to a file on your computer without doing anything else but if you want more information this window will help you further.
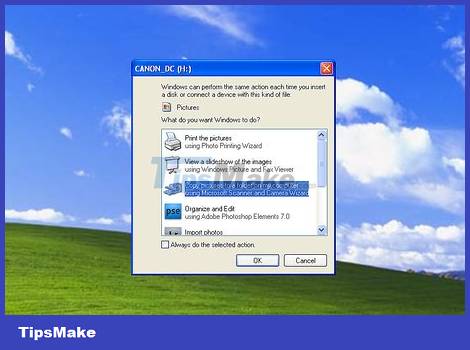
Select save image. You will need to fill out two fields.
The first field is: Type a name for this group of images. The information you type in will be the name of each photo on the computer. For example, if you know the photos in transit were taken on June 21, 2012 in Idora Park, enter the name 070612-Cong vien-Idora and then each photo has this name plus the serial number: 01, 02. In this way you can also identify the image by its name.
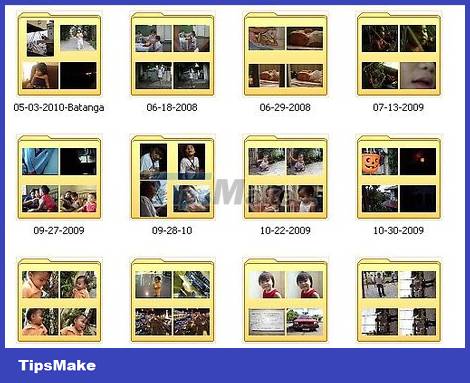
The second field is: Choose where to save that group of photos. This is the step to choose where to save your image file. Click the browse button (yellow file) and select the drive to save the image file in your computer.
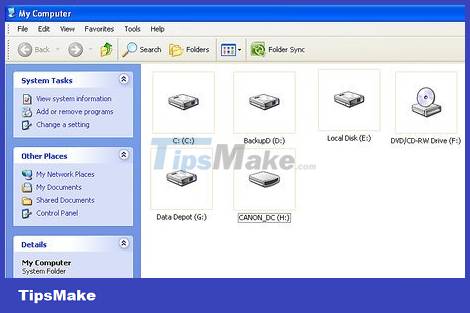
Wait until the transfer is complete. Check the image file - all the pictures you've transferred will be in there.
Conclusion
Understanding Transfer Photos from Camera to Computer makes it easier to compare options, avoid common mistakes, and apply the information in this guide more effectively. Review the relevant requirements before making changes or choosing a solution.
FAQ
How do you transfer photos from camera to computer without software?
Follow the steps in this guide in order, confirm the required settings or tools, and verify the result before making additional changes.
Is it safe to transfer photos from camera to computer without software?
It is generally safe when you follow the recommended instructions, use trusted tools, and avoid changing settings you do not understand.
What should you do if the process does not work?
Recheck the requirements, restart the device or application when appropriate, and review each step for missed settings or compatibility issues.
Related Articles
 How to Transfer Pictures from Digital Camera to Computer8 minutes read
 How to Transfer Images Directly from the Camera to iPhone7 minutes read
 No Software Needed, This Is the Fastest Way to Transfer Images Between4 minutes read
 How to Use Camera Continuity on macOS Mojave and iOS 125 minutes read
 Instructions to Transfer Photos from iPhone to Macbook Extremely Fast3 minutes read
 How to Transfer Video Onto the Computer5 minutes read
Reader Comments 0
Sign in with email or Google to join the discussion.