Table of Contents
This updated guide explains how to Secure Google Drive on iPhone with Face ID through clear steps, practical examples, and important checks that help prevent common errors.
Instructions for Using Privacy Screen on Google Drive
Step 1:
We upgrade Google Drive on iOS to the latest version. Then at the application's interface, click the 3 dashes icon and select Settings .
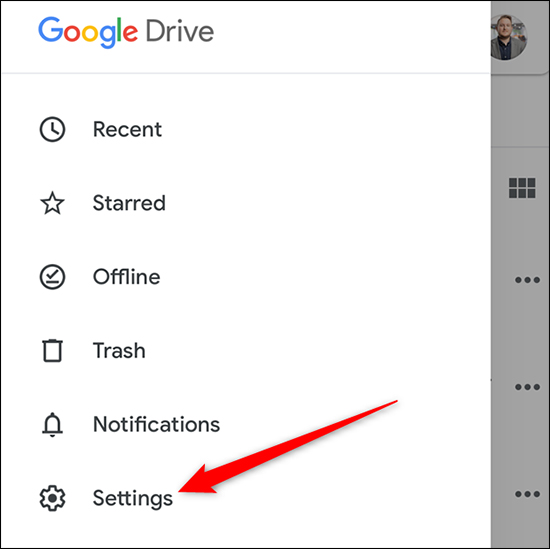
Step 2:
Switch to the new interface you will see the settings of the Drive application, click Privacy Screen in the displayed list.
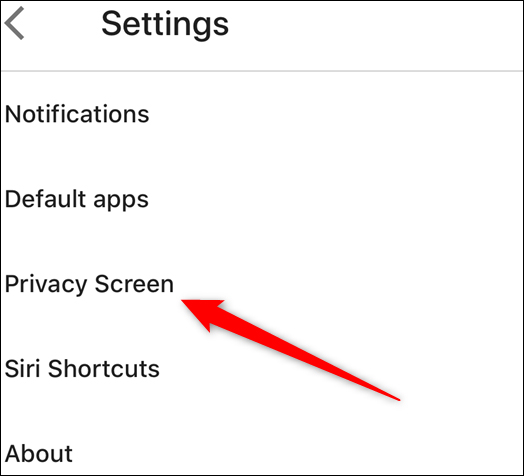
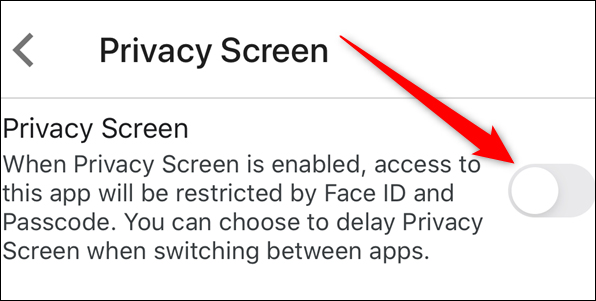
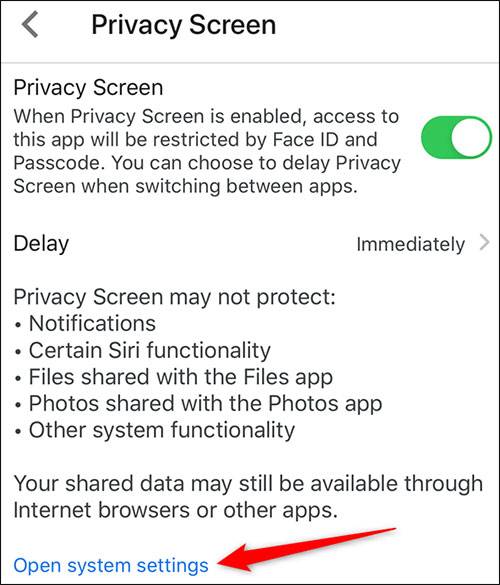
Now you need to enable the Privacy Screen feature to use on Google Drive.
Step 3:
Immediately after displaying the interface asking users to allow Google Drive to use Face ID , click OK to agree.
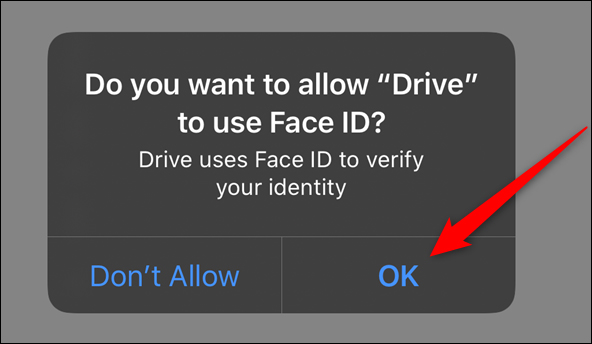
So every time you open the Google Drive app, it will display the authentication screen with Face ID that we set up earlier. Or you can authenticate with Touch ID.

Step 4:
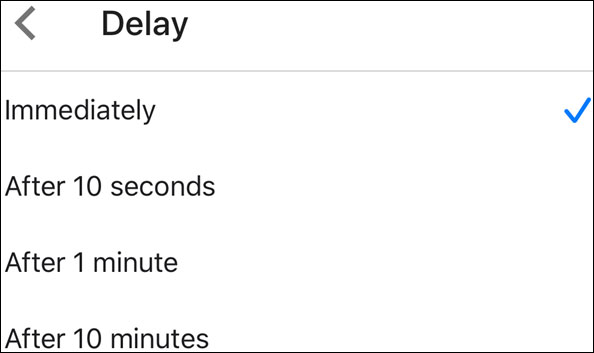
By default the Privacy Screen feature will lock the app as soon as you lock the iPhone screen or exit the application. If we want to have time to lock the application then click Delay .

In this interface you can choose the time to lock the application after how many minutes without having to lock immediately.
Step 5:
If you want to use the password to secure the application instead of Face ID, reopen the Google Drive app, access the Privacy Screen feature, then click Open System Settings .
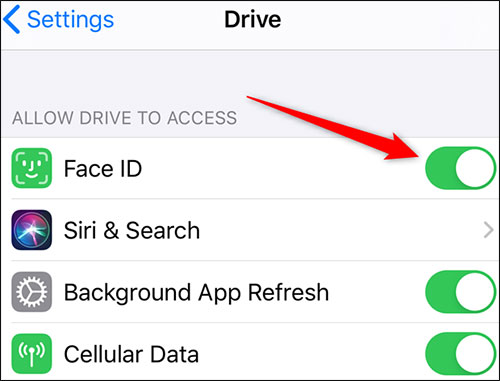
The user is then taken to the Drive app settings menu on iPhone. Now you need to turn off Face ID.
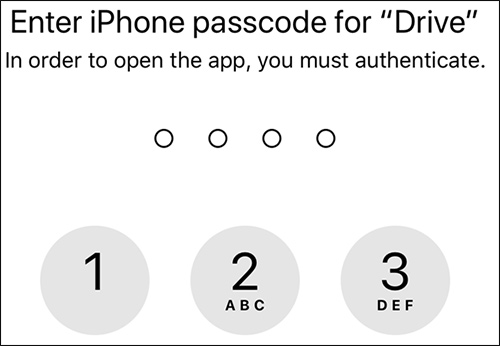
So after turning off Face ID and accessing Drive again, we need to enter the iPhone unlock password to use Google Drive.
FAQ
What is the easiest way to Secure Google Drive on iPhone with Face ID?
Start with the requirements in this guide, then follow each step in order. Check the result after every major change so problems are easier to identify.
Can beginners follow these instructions?
Yes. The process is organized into practical steps, and you can repeat any step before moving forward.
What should I check if the method does not work?
Confirm your software or device version, permissions, settings, file format, and internet connection when the task depends on online services.
Related Articles
 How to Secure Google Drive with Password, Face ID2 minutes read
 What Is Apple's Secure Enclave and How Does It Protect iPhone and2 minutes read
 How to Reset Face ID on iPhone X5 minutes read
 Google Drive 4,2021.46200, Google Drive Download and3 minutes read
 Us Police Believe Android Smartphones Are Harder to Penetrate3 minutes read
 How to Set Face ID on iPhone X4 minutes read
Reader Comments 0
Sign in with email or Google to join the discussion.