How to schedule an automatic delivery of Gmail
Timer sending email on Gmail is simple without the need for 3rd party applications.
Table of Contents
Previously, if users wanted to schedule email sending on Gmail, they needed a 3rd party installation application such as Unlimited Email Tracker or Boomerang utility. However, in the latest version of Gmail on the web browser and the Gmail application, the email scheduling feature has been provided to the entire user account.
Accordingly users are allowed to choose any time period to schedule email delivery. When it's time to set up, Gmail automatically sends the email you wrote. Users can check the email that has been scheduled to edit the content and cancel the submission if desired. This helps you a lot when limiting forgetting to send important emails, or avoiding sending emails incorrectly. The following article will guide you how to schedule email delivery on Gmail.
- How to own multiple Gmail addresses with just one account
- 14 useful tools for Gmail should not be overlooked
- Instructions for deleting, changing, adding phone numbers in Gmail
- How to retrieve Gmail password, Google login password
Instructions for scheduling sending Gmail PC
Step 1:
In the Gmail interface, click the Compose message button as usual.

Next in this interface enter the email address to send mail and the content of the mail sent. Next click on the triangle icon at the Send button and select Send by schedule .

Step 2:
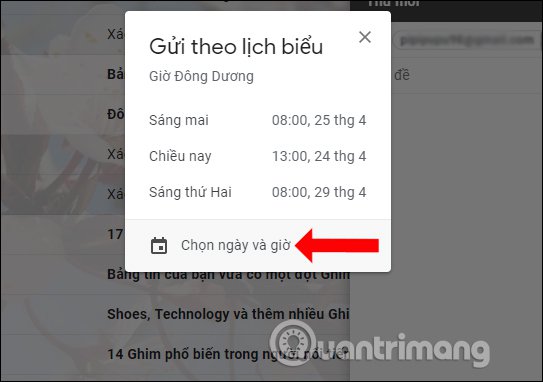
Show some suggested time frames for users to choose to schedule. To extend the time schedule, click Select date and time .
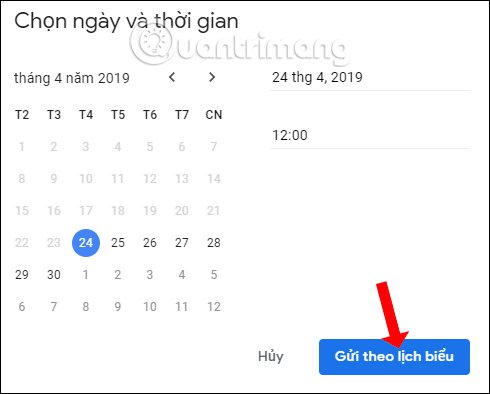
In the new pop-up display time, click on the date and time you want to schedule Gmail to be sent automatically. After selecting, click on Send by schedule .
Step 3:
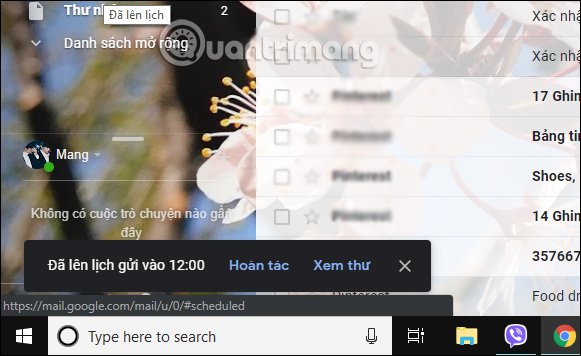
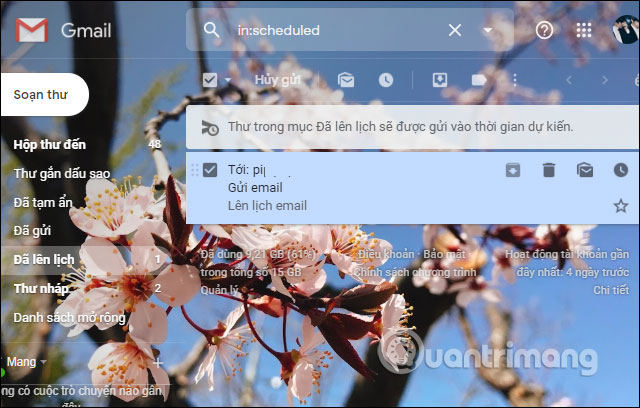
Then in the lower left corner of the screen displays a scheduled email notification with the time of sending email.
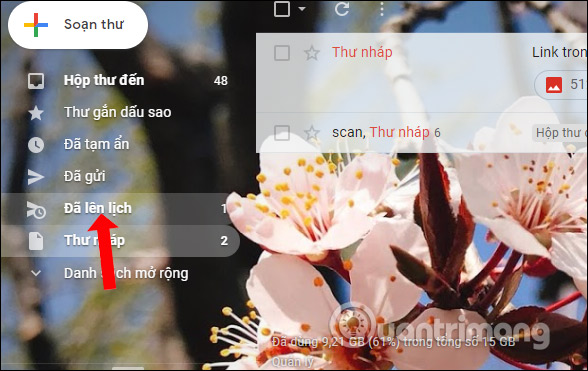
The sending timer emails are grouped together in the Scheduled item in the menu list on the left of the screen.
Here when you click on the email there are some other options like Cancel sending. When canceling the send, the email is automatically transferred to the Draft. Thus users can edit the content and choose another scheduling time to send.
2. How to schedule sending Gmail to Android and iOS
Step 1:
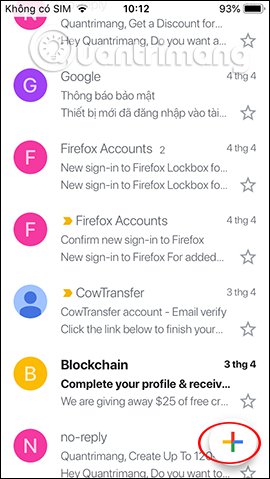
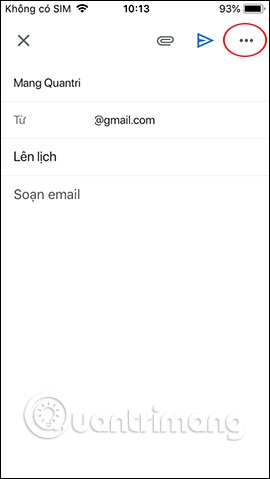
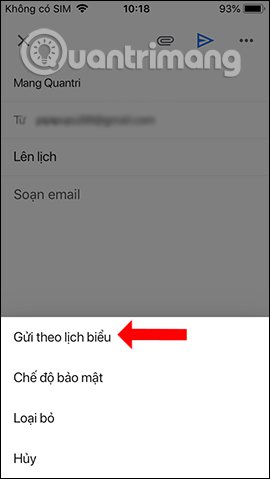
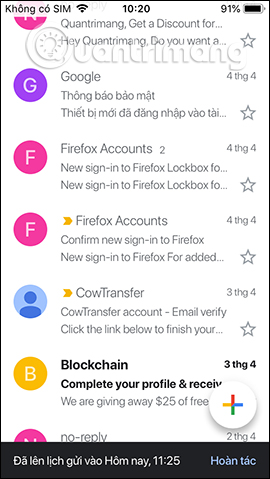
After updating the Gmail application to the latest version, click the plus icon to create a new email. Switch to the email compose interface, we need to enter the full contents as when composing a normal email , then click on the 3 dots icon . Display pop-up under the screen, select Send by schedule .
Step 2:
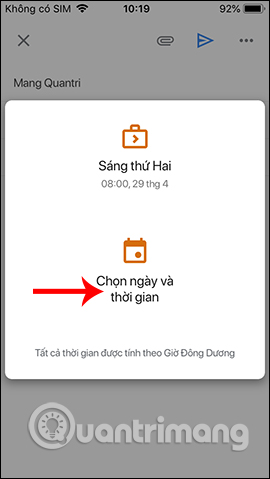
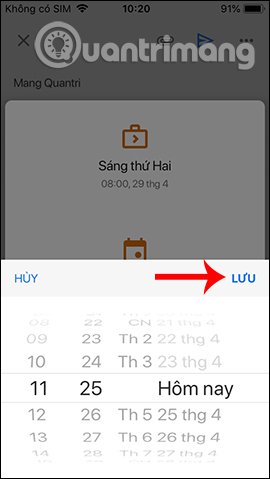
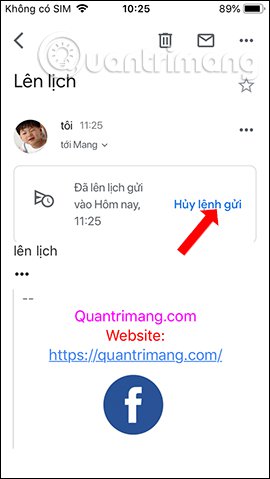
The Gmail application also offers a few time frames for you to select, click Select date and time to select a different time frame. Choose the time to automatically email and click Save . As a result, you also receive a scheduled email notification with the selected time frame. If you want to cancel sending, click Undo.
Step 3:
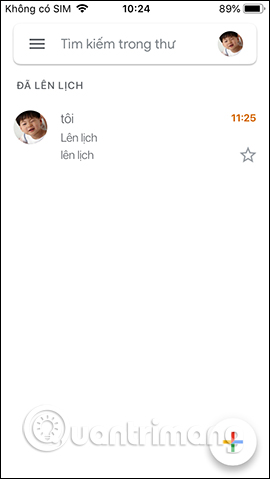
To review scheduled emails, click on the 3 dashes icon , then select Scheduled .
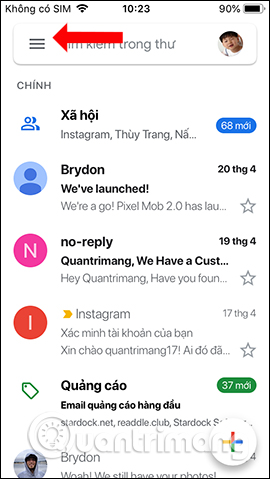

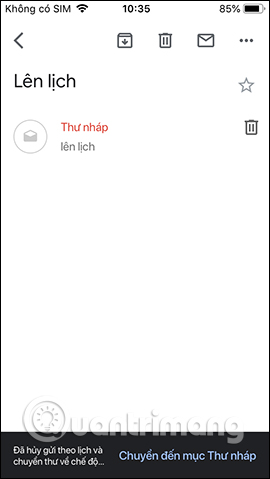
Show scheduled emails, click on the email you want to change again. Here we also have to cancel the send order . Soon the compose email is transferred to the draft folder so we can edit it.
Above is how to use the Gmail sending schedule feature on computers and phones. Along with the email feature that automatically destroys Confidential Mode, the option to schedule an email delivery has brought more convenience to users.
I wish you all success!
Was this article helpful?
Your feedback helps us improve.
Related Articles
 14 useful tools for Gmail should not be ignored - P17 minutes read
 Discover 12 interesting features about Gmail5 minutes read
 Instructions for setting up Mozilla Thunderbird to set up email scheduling and automatic mail replies8 minutes read
 Set up auto-sending, Forward email to another account in Gmail?3 minutes read
 Gmail 4.7 can answer automatically, attach all files2 minutes read
Reader Comments 0
Sign in with email or Google to join the discussion.