How to Repair an LCD Screen
Identify the problem
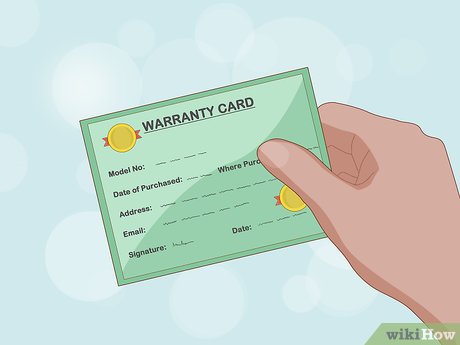
Review the warranty. Almost all new computers come with at least a one-year warranty. If the warranty period is still valid, contact the manufacturer for free repairs or price incentives. Self-repair usually voids this warranty.
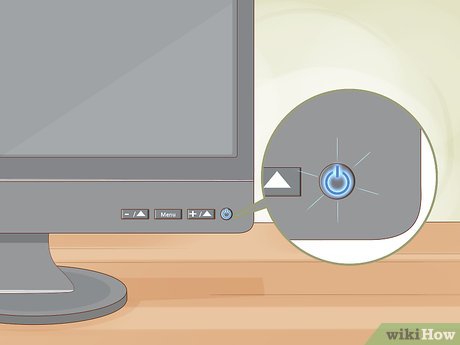
Check the power light. If the screen does not display an image, turn it on and observe the indicator light on the edge. If there is a light, go to the next step. If none of the lights come on, the power source (or one of the accessories leading to the power source) is damaged. Most likely the capacitor has burned out. You can repair the capacitor yourself, but don't forget that the power supply contains dangerous high voltage components. Unless you have a lot of experience in electrical repairs, you should seek professional service.
Other signs that the capacitor has burned out include loud whirring sounds, horizontal lines and multiple images on the screen.
The source is one of the most expensive parts of the monitor. If the problem doesn't stop at the capacitor, repairing the power source can be quite expensive. If your screen is old, you should probably consider replacing it with a new one.
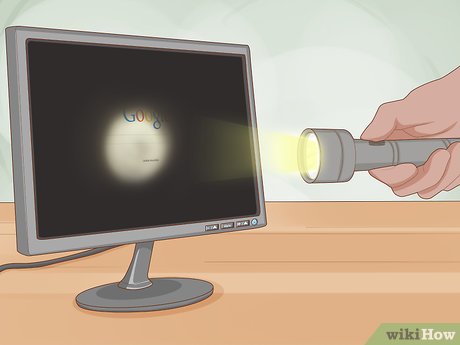
Shine a light on the screen if the screen is black but the indicator light is still on. In cases where an image appears when you shine a light on the screen, the problem lies in the backlight. Follow these instructions to replace your backlight.
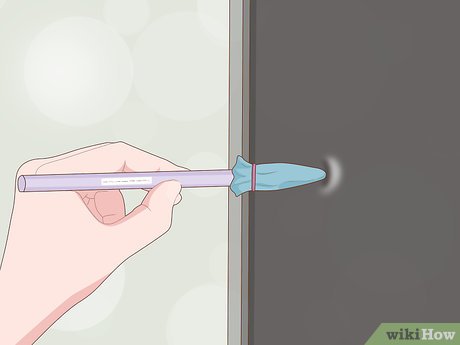
Fix stuck pixel issue . If only a few pixels are "stuck" in a certain color and the rest are still working normally, the repair will be quite simple. Let the screen run and try:
Use a smooth, damp cloth to cover the pencil tip (or any other small, blunt tip). Rub the stuck pixel very gently: applying too much force may make the problem worse.
Search online for software to fix stuck pixels. With these software, the display color will be continuously changed to shock the pixels and help them work again.
Buy hardware to plug into your monitor and fix dead pixels.
If none of these solutions work, it may be time to replace your screen.
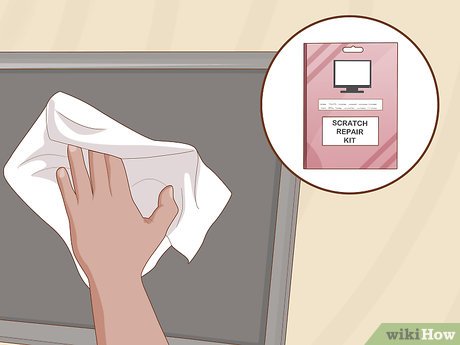
Try repairing spider web cracks and black streaks. They are signs of physical damage. Often at this point, the screen is no longer repairable and attempting to repair it will likely make things worse. However, if the screen is currently unusable, testing the screen before replacing it won't hurt anything:
Use a soft cloth or other object to go over your curtain. If you feel a crack on the glass surface, do not attempt to repair it. Please replace the screen with a new one.
Gently scrub the scratched area with a cleanser. Clean the eraser when residue forms.
Buy an LCD screen scratch repair kit.
Read more about homemade scratch solutions.

Replace the screen. If you are using a separate LCD screen, you should consider replacing it. Doing so will probably be more economical than replacing new components for the old screen with a shorter lifespan. As for a relatively new laptop or device, you should buy an LCD display panel and use a professional installation service.
The display panel product code will be written somewhere on the device, usually on the back. Use this code to purchase a new board from the manufacturer.
Although you can try to replace the LCD display panel yourself, this is not a simple process and the risk of shock is also very high. Follow instructions specific to your product line to ensure safety and maximize success.
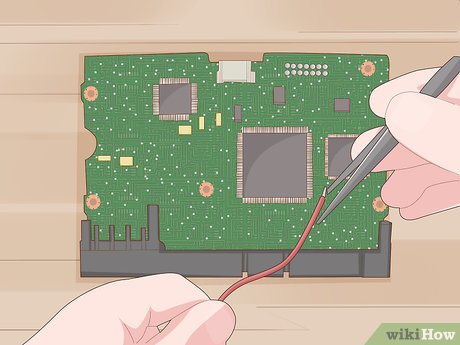
Try fixing other errors. LCD failure can be due to many reasons. The diagnoses above only consider the most common problems. Try the solution that suits your screen's current situation first. If you have other problems, or if after trying to fix it your screen still doesn't work, you may be experiencing one of the following:
If there is a response to the input signal but the displayed image is distorted, such as mixed colored squares, the AV board may be damaged. It's usually a rectangular board located near the video and audio cables. You can replace the visibly damaged part with a soldering iron or order a new AV board and carefully install it over the original ribbon cable and screws.
Maybe the error is in the main control button. Clean them with metal cleaning solution or gently rub to reattach loose connections. Identify the IC connected to these buttons and resolder the broken connection if necessary.
Check if the input cable is broken or try using another cable of the same type. Check the microcircuit connected to them and re-solder the broken connection if necessary.
Replace damaged capacitor
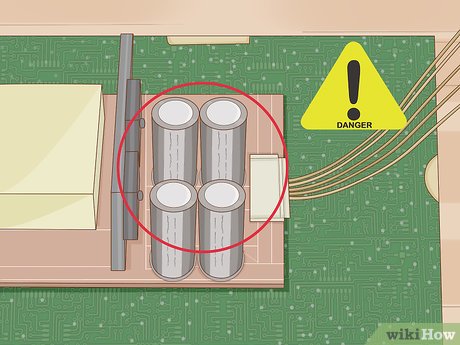
Understand potential dangers. Even if you turn off the power, the charge stored in the capacitor can be very large. If you do not do it correctly, you can get a very strong shock, even death. Follow the steps below to protect yourself and your monitor's components:
Be honest about your abilities. If you've never replaced a circuit board or worked with electrical equipment, hire a professional. This is not for beginners.
Wear anti-static clothing and work in a static-free environment. Keep wool, metal, paper, cotton, dust, children and pets out of your workplace.
Avoid handling in dry/wet locations. 35 to 50% is the ideal humidity for this operation.
Insulate yourself before starting. You can do this by touching the metal frame of the monitor while the monitor is powered off and still plugged into a grounded outlet.
Stand on a surface with little friction. Use anti-static spray on the carpet before working on it.
Wear tight rubber gloves if you can still work with related parts.
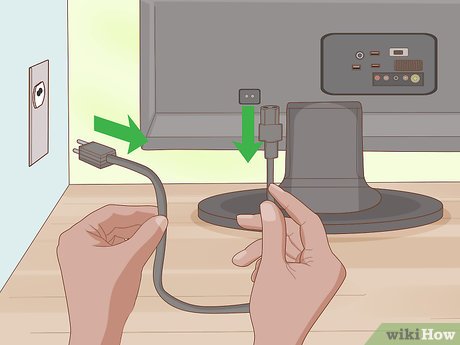
Turn off the power. Unplug the monitor power cord. In case the monitor is attached to a laptop or other device with a battery, remove the battery to reduce the risk of electric shock.
Even with laptops that use "instant" batteries, you can usually still get the battery out by removing the device. Follow the online instructions for your laptop model.
Some internal parts of the laptop are still charged. Be careful and don't touch any part until you determine what part it is.
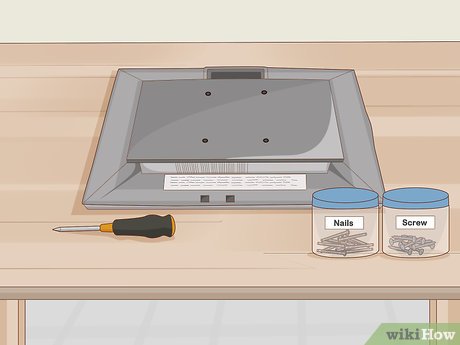
Monitor work progress carefully. Operate on a flat, large and empty surface. Use a small box for each screw and other loose components. Write the name of the part secured by the screws contained in the box or the sequential number of the steps in this instruction on each box.
Consider taking a screenshot before unplugging the connection to make reinstallation easier.
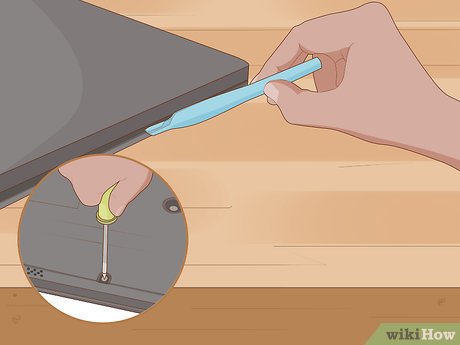
Remove the cover. Remove the plastic cover screw. It could be the screw located at the corner of the screen or any screw used to fix the front frame and back frame of the screen together. Separate the display case with a thin, flexible tool, such as a plastic trowel.
Using metal objects to separate parts of the screen may cause the screen to explode or short circuit. Although it's relatively safe for this first step, don't use metal objects for the next steps.
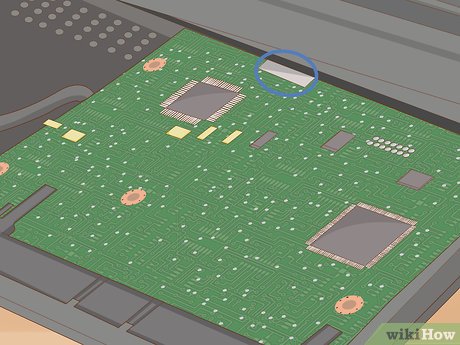
Locate the power board. The power board is usually located near the power outlet. You may have to remove a few more boards to find it. On the power board there are many cylindrical capacitors, including one large capacitor. However, these capacitors are usually located on the other side and can only be observed when you have finished removing the board.
If you're not sure which board is the power board, look up images online for your specific model.
Do not touch any metal pins on this board. Doing so may give you an electric shock.
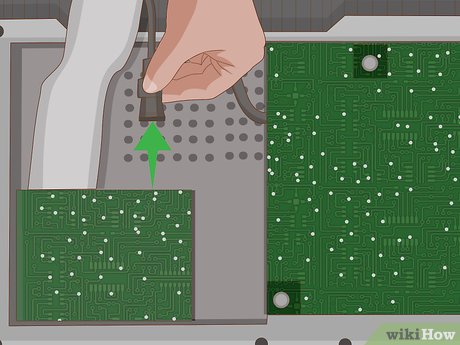
Disconnect the board. Remove any screws and ribbon cables used to secure the power board. Always disconnect by pulling the cable straight out of the outlet. Ribbon cables can easily break when pulled horizontally.
Some ribbon cables have a small flap that you can pull to disconnect.
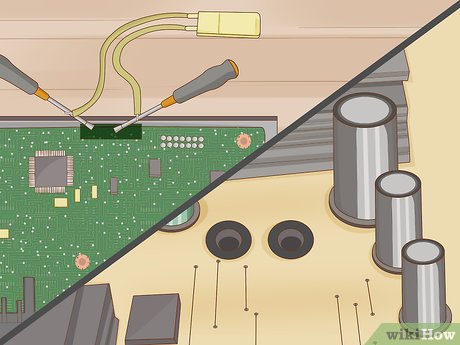
Find and discharge the largest capacitor. Carefully lift the power board by the edges without touching any metal pins or mounted components. Find the cylindrical capacitor on the other side of the board. Every capacitor is attached to the board with two pins. Discharge stored electricity in electric poles to reduce the risk of harm by:
Buy resistors between 1.8–2.2kΩ and 5–10 watts. Using it is much safer than using a screwdriver: the screwdriver can create sparks and damage the board.
Wear rubber gloves.
Find the pin connected to the largest capacitor. Touch the two resistor ends to the pin for a few seconds.
For best results, you should test the voltage between the pins with a multimeter. Use the resistor again if there is still significant voltage.
Repeat for each large capacitor. Smaller capacitors usually do not cause serious harm.
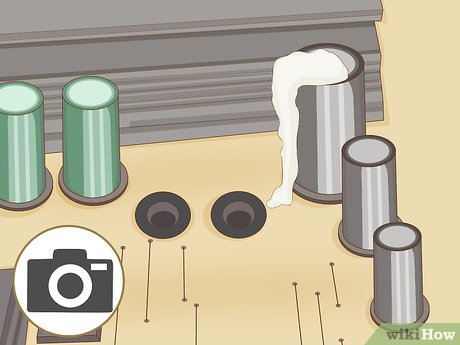
Identify and photograph damaged capacitors. Look for capacitors with domed or protruding ends instead of flat. Check each capacitor to see if there is leaking fluid or dryness and clumping. Before removing capacitors, take a photo or record the location of each capacitor and mark it on the side. It is very important to determine which pin is connected to the negative end and which pin is connected to the positive end of the capacitor. If removing more than one type of capacitor, make sure you know which capacitor is located where.
If the failed capacitor cannot be determined, use a multimeter to test each capacitor to set the resistance.
Instead of being cylindrical, some capacitors are shaped like small discs. These capacitors rarely burst, but you should still check to make sure none are currently protruding.
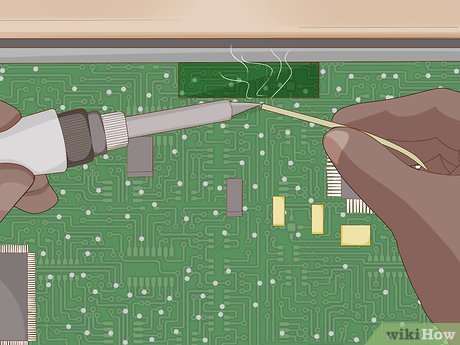
Remove damaged capacitor solder joints. Use a soldering iron and a soldering iron to remove the pin connected to the broken capacitor. Set it aside.
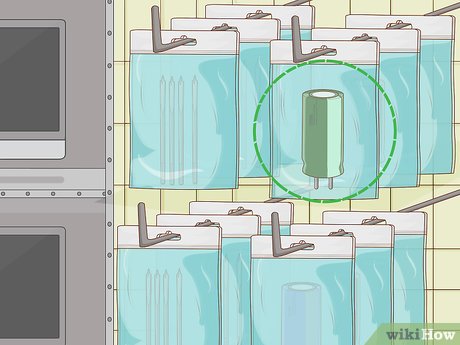
Buy a new capacitor. Every electrical store sells capacitors at very cheap prices. Look for capacitors that meet the following requirements:
Size — same size as old capacitor
Voltage (V, WV or WVDC) — equal to or slightly higher than the old capacitor
Capacitance (F or µF) — equal to old capacitor
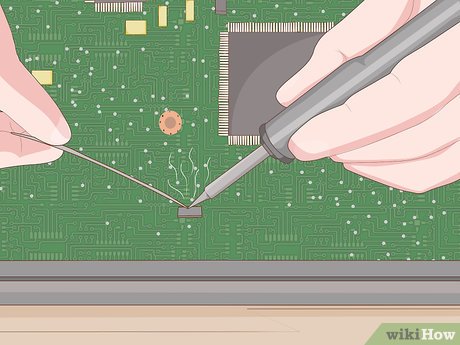
Solder new capacitors. Use a soldering iron to attach the new capacitor to the circuit board. Make sure that the negative lead of the capacitor is connected to the correct pin that was previously connected to the negative lead of the old capacitor. Check that any new connections are secure.
Use solder suitable for the electronic device.
If you can't remember the location of the capacitor, you can look up your product line's power board diagram online.
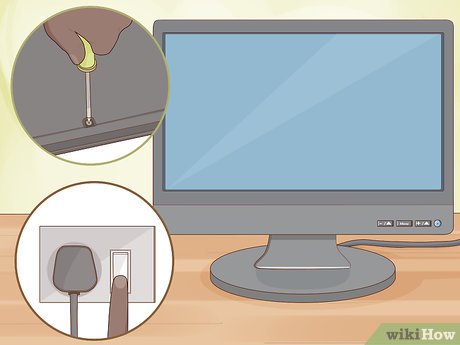
Reconnect and test run. Connect all cables, boards and components exactly as before. You can test the screen and then screw in the outermost plastic cover, as long as the other parts are connected. If the screen still doesn't work, it may be time to have it repaired or replaced.
Replace the backlight
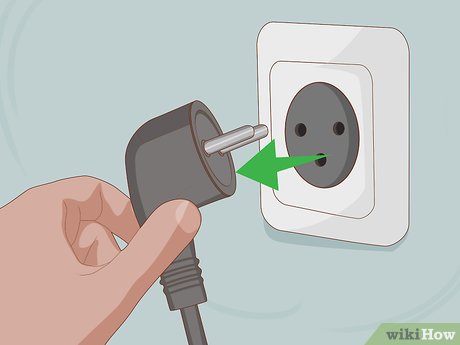
Disconnect the power source. Unplug the screen power cord/remove the laptop battery.
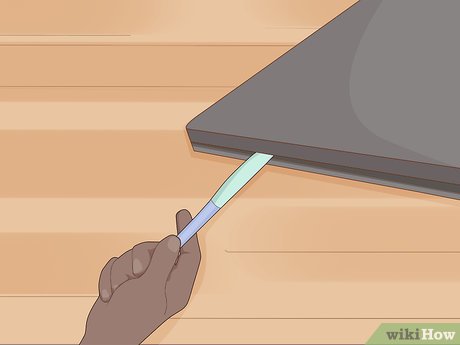
Remove the screen. Remove the screws at each corner of the plastic cover. Carefully separate the shells with a plastic trowel. Remove any components connected to the display panel and note their positions.
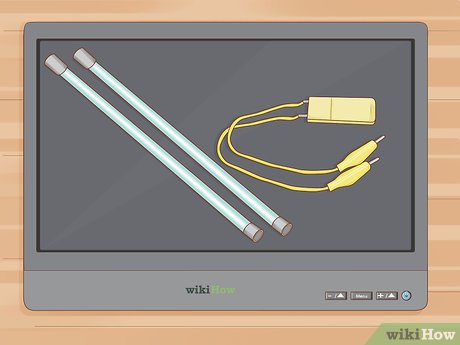
Find the backlight. Usually they are located right behind the glass screen. You may have to remove a few more panels or gently pull back the soft cover before you find them.
Some parts can cause extremely dangerous shocks. Do not touch any circuit boards during the search without wearing rubber gloves.
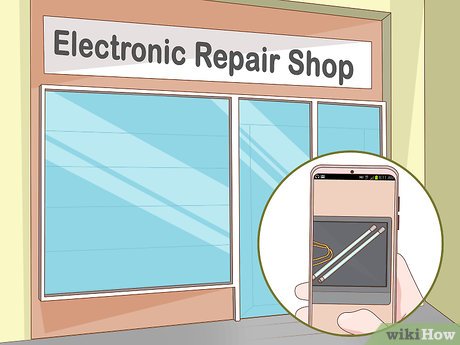
Buy the right lights at an electronics store. If you're not sure what type of lamp it is, take a photo and show it to the salesperson. Additionally, you should also measure the lamp size or note down the size and current of your screen.
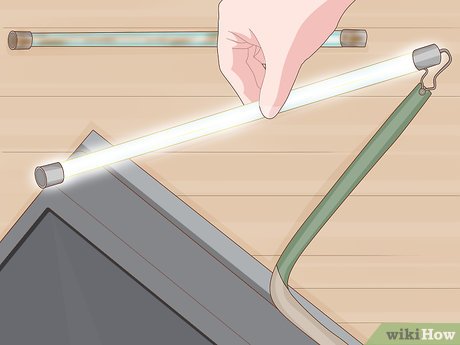
Remove the old light and install the new light. Be careful with cold fluorescent lighting (CCFL). They contain mercury and in some localities, by law, these lamps require special handling.
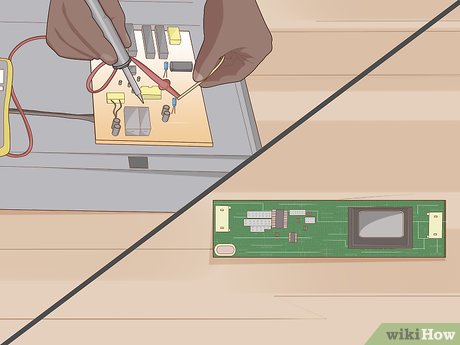
Try editing more. If the screen still doesn't work, the problem may lie with the backlight power supply board. This "inverter" board is often arranged near the backlight, each light strip has a "cap". Please order and carefully replace the new board. To minimize risk and maximize success, follow instructions specific to your device model.
Before trying this, you need to make sure that the image still appears when shining a light on the screen. If the screen doesn't display any images anymore, you probably made a wrong connection after replacing the lamp. Please check your connections again.
 How to Fix Cyclic Redundancy Check Error
 How to Fix Keyboard Input Wrong Character Error
 How to Repair USB
 How to Use USB as RAM
 How to Charge a Power Bank
 How to Reset the Keyboard