How to override default template in django-allauth
django-allauth's default templates look plain and may not suit your needs. Here's how you can override them.
Table of Contents
django-allauth is a Django package that allows you to build authentication systems for applications quickly and easily. It has many templates available for you to focus on the important parts of the app.
Although the existing templates are useful, you will want to change them when you cannot choose the best UI.
How to install and configure django-allauth
By following a few simple steps, you can instantly install django-allauth into your Django project.
1. You can install the django-allauth package using the Pip package manager:
pip install django-allauth2. In the project settings file, add these apps to the installed applications:
INSTALLED_APPS = [ """ Thêm ứng dụng khác vào đây """ # Các app cấu hình Djang-allauth 'django.contrib.sites', 'allauth', 'allauth.account', 'allauth.socialaccount', # add this if you want to enable social authentication ]
3. Add authentication backend to the installation file:
AUTHENTICATION_BACKENDS = [ 'django.contrib.auth.backends.ModelBackend', 'allauth.account.auth_backends.AuthenticationBackend', ]4. Add a site ID to the project:
SITE_ID = 15. URL configuration for django-allauth:
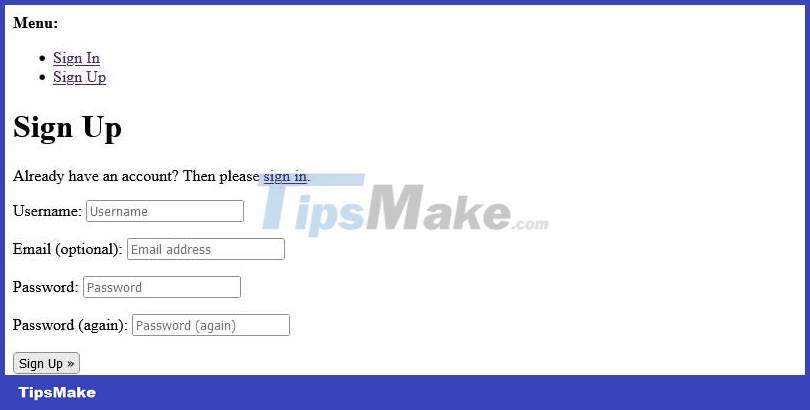
from django.urls import path, include urlpatterns = [ # Djang-allauth url pattern path('accounts/', include('allauth.urls')), ]If configured correctly, you should see a pattern like this when you navigate to http://127.0.0.1:8000/accounts/signup/ :
You can see the list of available URLs by navigating to http://127.0.0.1:8000/accounts/ with DEBUG=True in the installation file:

How to override login form in django-allauth
First, you need to configure the templates directory if you haven't done so already. Open the installation file and navigate to the TEMPLATES listing . Inside it, locate the DIRS list , and edit it as follows:
'DIRS': [BASE_DIR/'templates'],Make sure you have a templates folder in the root of your project. You can override the default login form in django-allauth by following the steps below.
Step 1: Create sample file
In the templates folder , create a new folder named account to contain templates related to django-allauth.
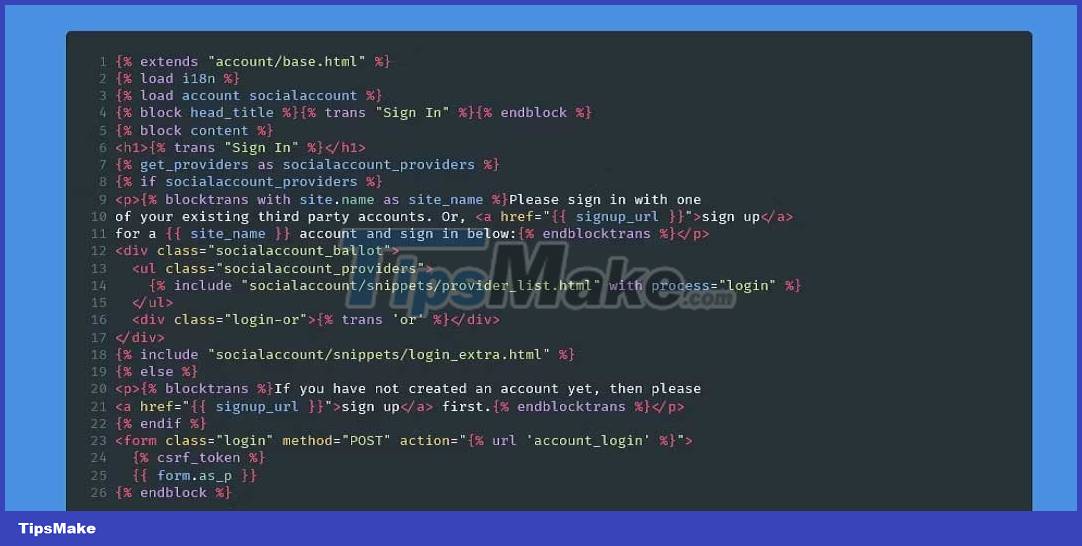
The registration and login forms will be signup.html and login.html respectively . You can determine the exact template name by opening the Python virtual environment and navigating to the Lib folder > site-packages > allauth > templates > account to find the template. Let's look at this code to understand how templates work. For example, the login form has this code inside it:
Step 2: Add HTML code to the template file
After creating the file, you will add custom HTML code to the template. For example, to override the above login form, you might want to copy everything from the {% else %} block , containing the form & submit button, and add it to the custom form. For example:
{% extends 'base.html' %} {% block content %}If you have not created an account yet, then please sign up first.
{% csrf_token %} {{ form.as_p }} {% if redirect_field_value %} {% endif %} Forgot password? {% endblock content %}The above code uses Django's template inheritance to inherit base.html template features. Make sure you remove redundant tags like {% blocktrans %}. If you've completed it, the login page will look like this:

Step 3: Add custom styles to the form
In the previous step, the login form was shown as a paragraph with the tag {{ form.as_p }}. To add style to the form, you need to know the value of the name attribute associated with each input field.
You can check the page to get the value you need.

The image above shows the name attribute combined with the form's email field.
Now you can add each form field to the project. For example, you can add an email field like this:
{{ form.login }} {{ form.login.errors|safe }}You can use Bootstrap with your Django project to easily style your forms. Here is an example:
{{ form.login }} {{ form.login.errors|safe }} The code above adds the Bootstrap form class to this form. Now you can add any other fields you need and style them as desired. The example below uses Bootstrap for styling:
Sign in
{{ form.non_field_errors | safe }} {% csrf_token %} {{ form.login }} {{ form.login.errors|safe }} {{ form.password }} {{ form.password.errors|safe }} {{ form.remember }} {% if redirect_field_value %} {% endif %} Forgot Password?
The above code block will produce results similar to the following image:

django-allauth contains many default templates that you can override. With the above instructions, you can override any template in django-allauth . You should consider using this package to handle the authentication system, so you can focus on building other important features for the application.
Was this article helpful?
Your feedback helps us improve.
Related Articles
 How to build an authentication system in Django using OAuth7 minutes read
 How to put Django app into maintenance mode8 minutes read
 How to Install and Configure PostgreSQL in Django8 minutes read
 How to use AWS S3 Bucket to store static and media files in Django9 minutes read
 How to Add Search to a Django App7 minutes read
 How to upload photos using Django app6 minutes read
Reader Comments 0
Sign in with email or Google to join the discussion.