How to manage state in React using Jotai
State management on small-scale projects is often as simple as using React hooks and properties. However, as the application grows and needs to share data access between the generating components, it often leads to prop drilling. Unfortunately, prop drilling can quickly clutter up the codebase and present scalable challenges.
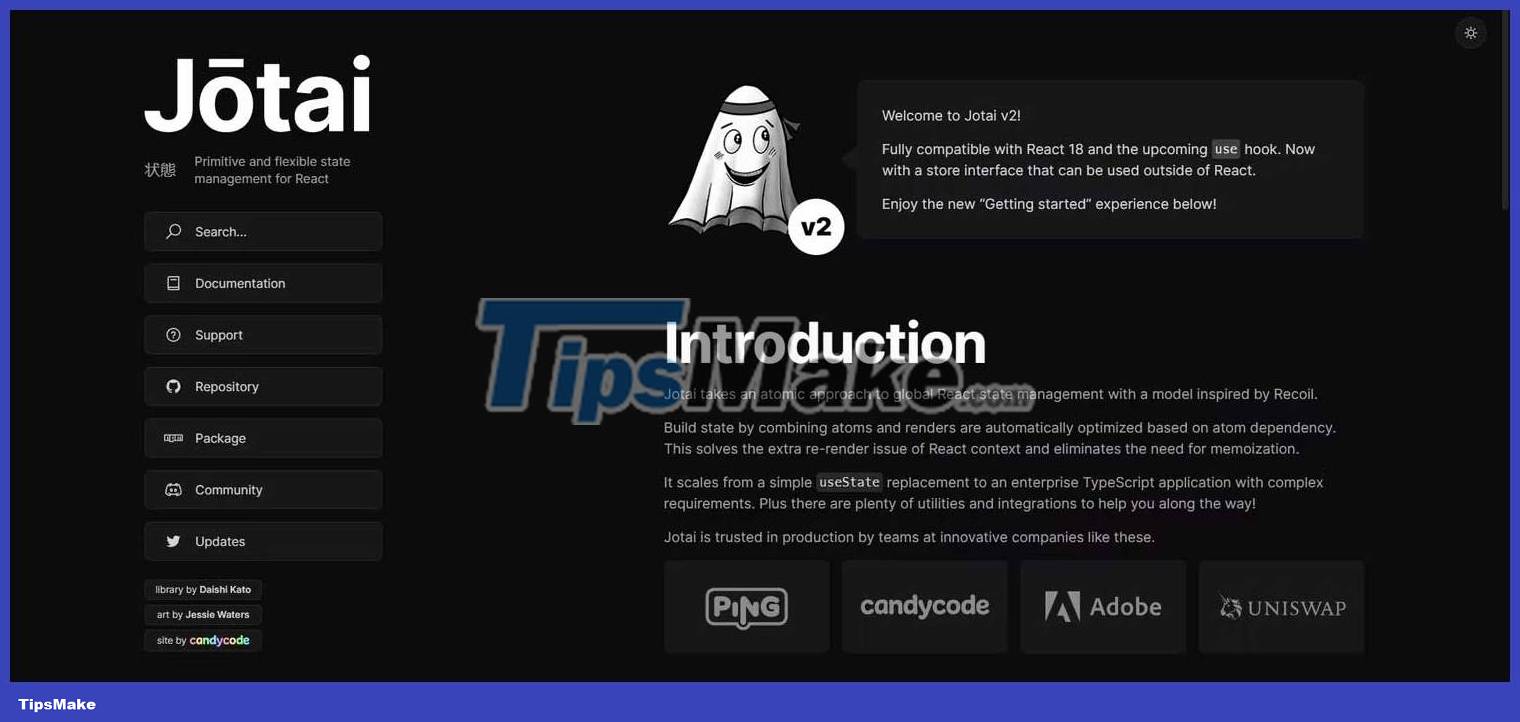
While Redux provides a state management solution, its API can be overwhelming for relatively small projects. In contrast, Jotai is a simple state management library that leverages independent state units called atoms for state management, removing challenges like prop drilling and allowing a simpler, and more extensible, state management approach.
What is Jotai and how does it work?
Jotai is a state management library that provides a simpler solution than complex alternatives like Redux. It uses independent units of state named atom to manage state in React applications.

Best of all, the various components in this application, access and update those atoms using the Jotai-provided hook called useAtom . Here is an example sample of how to create a Jotai atom:
import { atom } from 'jotai'; const countAtom = atom(1);To access and work with atoms in Jotai, you can use the useAtom hook , which, like any other React hook, allows you to access and update the value of state in the function component.
Here is an example demonstrating its usage:
import { useAtom } from 'jotai'; const countAtom = atom(1); function MyComponent() { const [count, setCount] = useAtom(countAtom); const increment = () => setCount((prevCount) => prevCount + 1); return (Count: {count}
Increment ); }In this example, the useAtom hook is used to access the atom countAtom and its associated value. The setCount function is used to update the value of the atom and any associated components will automatically re-render with the updated value.
By enabling only affected components, it reduces unnecessary re-renders on the app. This targeted approach to re-rendering enhances the overall performance of the application.
Once you've covered the basics, let's start building a To-do React app to better understand Jotai's state management capabilities.
Managing State in React Using Jotai
To get started, create a React app. Alternatively, you can use Vite to set up a React project. When scaffolding a basic React app, go ahead and install Jotai in your app.
npm install jotaiNext, to use Jotai in your app, you need to include the entire app with a Provider component . This component contains a place that acts as the central component, dedicated to providing atom values for the entire application.
In addition, it allows you to declare the initial atom state. By attaching your app to a Provider, all components in the application have access to the atom you defined, and they can then interact and update state via the useAtom hook .
import { Provider } from "jotai";Now include the app in index.js or main.jsx like below:
import React from 'react' import ReactDOM from 'react-dom/client' import App from './App.jsx' import './index.css' import { Provider } from "jotai"; ReactDOM.createRoot(document.getElementById('root')).render( , )Configure Data Store
Store acts as a central repository for the state of the application. It usually contains the definition of the atom, selector, and any other related functions needed for state management by Jotai.
In this case, it manages the atoms to manage the item list for the To-do application. In the src folder , create TodoStore.jsx and add the code below:
import { atom } from "jotai"; export const TodosAtom = atom([]);By creating and exporting TodosAtom, you can freely interact and update the todo status across different components of your application.
To-Do Application Function Deployment
Now that you have Jotai configured in your React app and have created an atom to manage the state of the application, go ahead and create a simple to-do component to perform add, remove, and edit functions for the items to be handled.
Create a new components/Todo.jsx file in the src folder . In this file, add the code below:
1. Import datastore and useAtom hook :
import React, { useState } from 'react'; import { TodosAtom } from './TodoStore'; import { useAtom } from 'jotai';2. Create functional components and add JSX elements.
const Todo = () => { return ( setValue(event.target.value)} /> Add Todo{todos.map(todo => (
- {todo.text}
))}
); }; export default Todo;
This component presents a simple user interface for managing to-do lists.
3. Finally, implement the add and remove todo function.
const [value, setValue] = useState(''); const [todos, setTodos] = useAtom(TodosAtom); const handleAdd = () => { if (value.trim() !== '') { setTodos(prevTodos => [ .prevTodos, { id: Date.now(), text: value }, ]); setValue(''); } }; const handleDelete = id => { setTodos(prevTodos => prevTodos.filter(todo => todo.id !== id)); };- The handeAdd function is responsible for adding the item to be refreshed in the list.
- setTodos is then called to update the todo list in the atom by adding that new item.
- handleDelete is responsible for removing the todo item from the list.
Above is how to use Jotai to manage state in React app. Hope the article is useful to you.