How to install Windows 10 Fall Creators Update
The Windows 10 Fall Creators Update is the biggest update released today, and it's also your chance to install Windows 10 Fall Creators Update and experience a version that's highly rated by the community..
The Windows 10 Fall Creators Update was also one of the most anticipated releases of late 2017 before the larger Windows 10 projects in 2018. For those who haven't been able to upgrade to the Windows 10 Fall Creators Update yet, you can choose to reinstall it on your computer . The process of installing Windows 10 Fall Creators Update is extremely quick and safe, no less so than the regular Windows 10 Fall Creators Update upgrade.

Of course, during the Windows 10 Fall Creators Update installation process, you can still choose to upgrade if you still have your old operating system, or delete it and reinstall Windows 10 Fall Creators Update from scratch. This is not mandatory and we will note this below.
Instructions on how to install Windows 10 Fall Creators Update
Prepare:
- A USB drive with a minimum capacity of 8 GB.
- The Windows 7 USB/DVD Download Tool to create a bootable USB drive.
- Download the newly released Windows 10 Fall Creators Update.
1. Create USB boot Windows 10 Fall Creators Update.
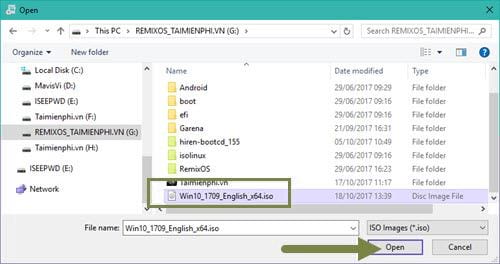
Step 1: After downloading the Windows 7 USB/DVD Download Tool to your computer, install and open it. Then, simply click Browse to select the location of your Windows 10 Fall Creators Update ISO file.

Once you find the Windows 10 Fall Creators Update file, click on it and select Open .
Step 2: Then click Next to begin the process of creating a bootable USB drive for installing Windows 10 Fall Creators Update.

Step 3: Next, since we're using a USB drive to install Windows 10 Fall Creators, please select USB device .

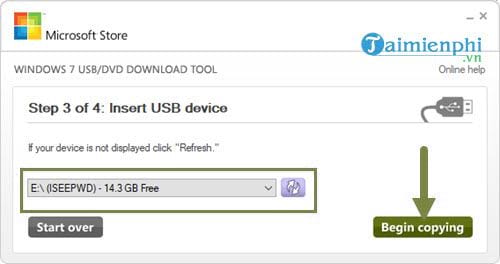
Step 4: Next, select the USB drive that is plugged into the computer and click Begin Copying .
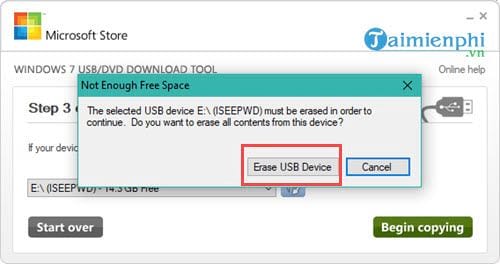
Step 5: This process will erase all data on your USB drive. Press Erase USB Device to confirm.
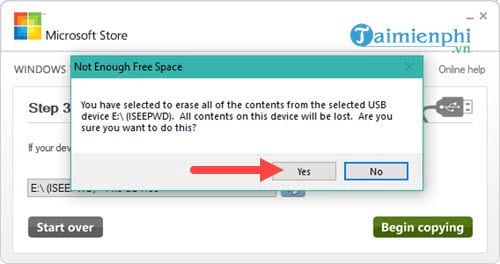
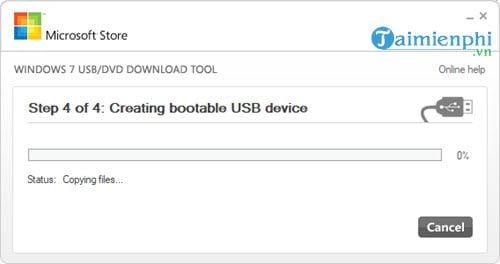
Step 6: The system will ask again to check for data on the USB drive; press yes to proceed with creating the bootable USB.
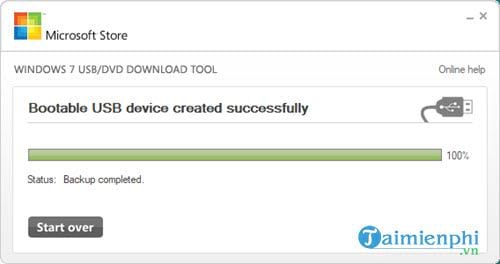
This file copying process will take approximately 10 to 15 minutes to complete.
Once complete, simply close it and restart your computer to proceed with installing Windows 10 Fall Creators.
2. Install Windows 10 Fall Creators
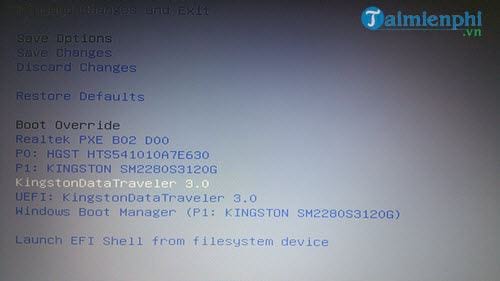
Step 1: First, access the BIOS to select the USB boot system. Refer to the instructions on how to access the BIOS here.
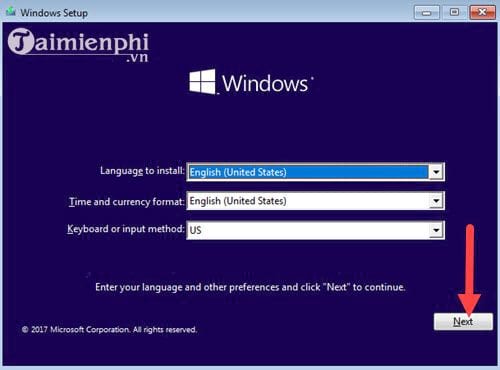
Step 2: Then wait a moment, the Windows 10 Fall Creators installer will appear, select Next .
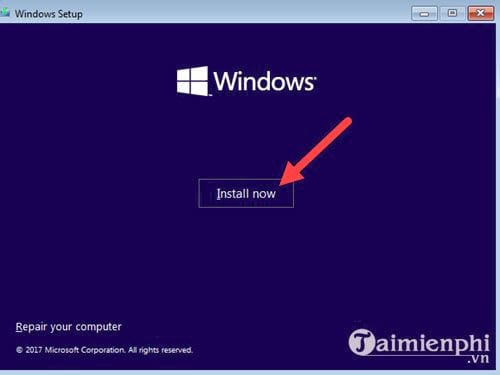
Step 3: Click Install now to begin the installation process.
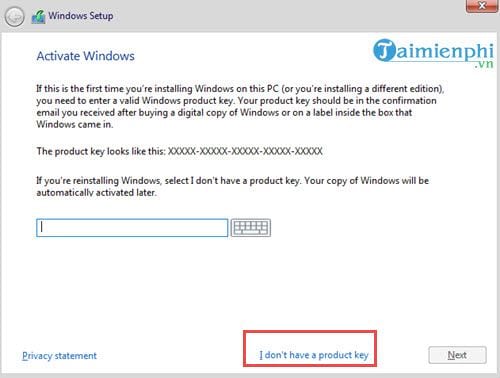
Step 4: This step requires a Windows 10 product key, but since we're allowed to use a trial version, select "I don't have a product key ".
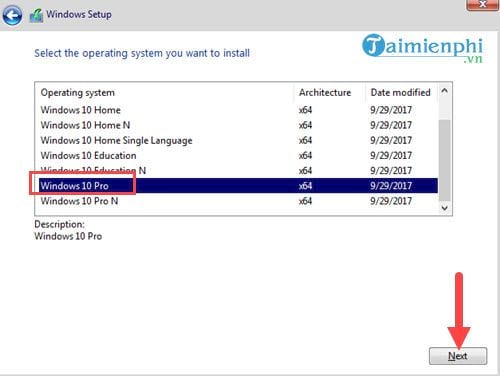
Step 5: Next, choose the version; here we choose Windows 10 Fall Creators Update PRO to experience the full range of features.
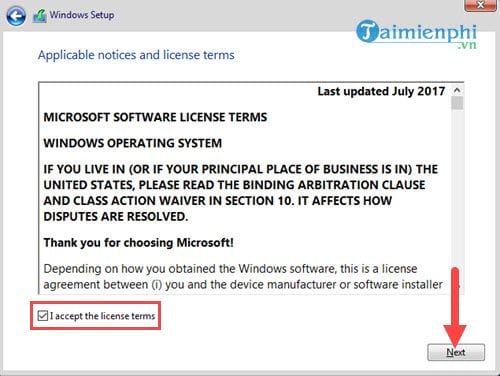
Step 6: Then agree to the terms and click Next.
Step 7: Here you have two options, and the decision is yours.
- The first option is that you can reinstall Windows 10 Fall Creators Update if you want (you'll need to format) or update directly from an older operating system like Windows 7, 8, or even Windows 10 itself.
- The second option is to simply reinstall Windows 10 Fall Creators Update on your computer.
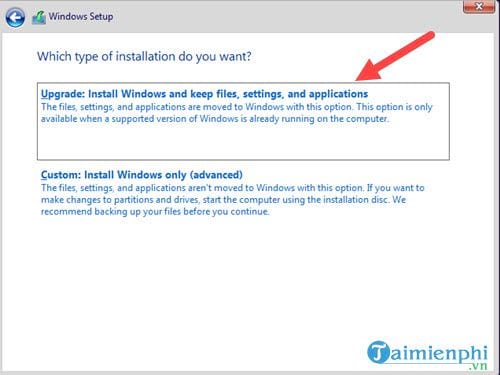
Here, just choose the first option because if you don't want to update, you can install the new Windows 10 Fall Creators Edition.
Step 8: Select your computer's hard drive and then click Next to proceed with the installation.
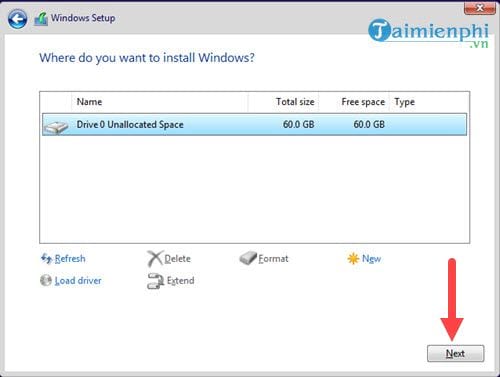
Then you will have to wait about 15 minutes for the system to load the Windows 10 Fall Creators Update and proceed with the installation.

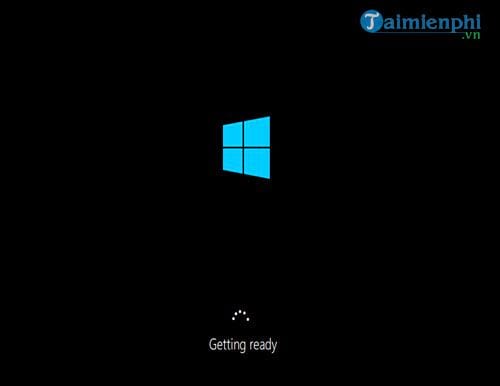
After the Windows 10 Fall Creators Update logo appears, you'll just have to wait a little longer.
Step 9: Proceed to the Windows 10 Fall Creators Update setup phase (this option will not be available if you are updating). Select Vietnam and then click Yes .

Step 10: Click on your personal account and select "Setup up for personal use" .

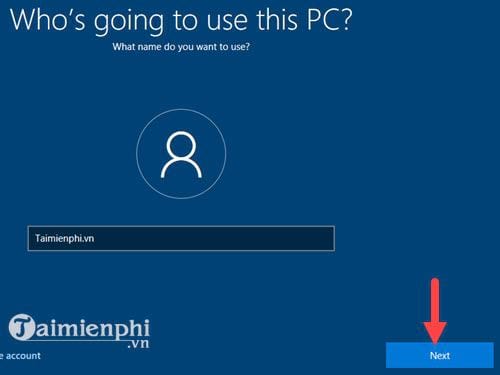
Step 11: Next, you need to create a login account for Windows 10 Fall Creators Update. Choose Offline account for faster installation.

Then enter a name for that account and select Next .
Step 12: After this step, you will have entered the Windows 10 Fall Creators Update. The Windows 10 Fall Creators Update installation process is officially complete here.

Above is the entire process of installing Windows 10 Fall Creators Update that you need to know. Although it's a bit long, it's not too difficult to follow, and TipsMake hopes that readers will soon be able to experience the amazing Windows 10 Fall Creators Update.
Alternatively, if you find the above method too lengthy, why not try upgrading to the Windows 10 Fall Creators Update? We also have an article guiding you on how to upgrade to the Windows 10 Fall Creators Update, which readers who wish to update should refer to.