How to create and add TP-Link ID to TP-Link WiFi 6 router
TP-Link ID is a cloud-based account that you can use on all TP-Link WiFi 6 routers, WiFi mesh systems and smart home devices..
TP-Link ID is a cloud-based account that you can use on all TP-Link WiFi 6 routers, WiFi mesh systems and smart home devices. The account works with TP-Link mobile apps like Tether or Kasa Smart, and it's useful for controlling your device remotely, anywhere via the Internet.
TP-Link accounts are easy to create and use, and they go a long way in making your experience simpler. If you need help creating a TP-Link ID and linking it to your TP-Link WiFi 6 router, here's how to do it, both from PC and smartphone:
How to add/create TP-Link ID from Tether mobile app
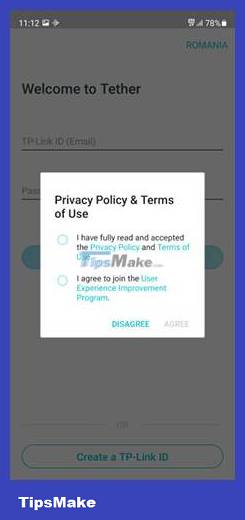
One of the easiest ways to create a TP-Link account is from the Tether app. This application is used to set up and remotely control the TP-Link WiFi 6 router. Install the application on your Android smartphone or iPhone, then run it. Make sure you are connected to the Internet when doing this. As soon as the application starts, it will ask for TP-Link ID. If you already have one, accept the privacy policy and terms of use, enter your account details and tap Log in .
If you want to create a TP-Link account, click on the 'Create a TP-Link ID' button . You are informed about the benefits of using ID. Read them and click Next.

It's time to enter the e-mail address you want to use and the password for your TP-Link ID. Also, don't forget to accept the privacy policy and terms of use, and choose whether you want to subscribe to TP-Link's newsletter. Then, click Sign Up .

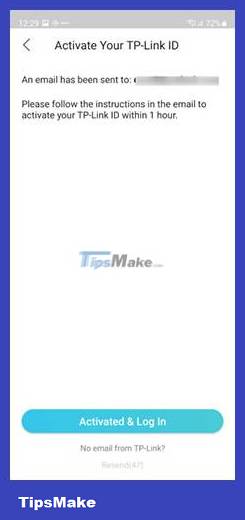
You are required to activate your account. An activation link is sent to your email address. Open the email app on your smartphone, tap the activation link, then return to the Tether app. There, tap on 'Activated & Log In' .
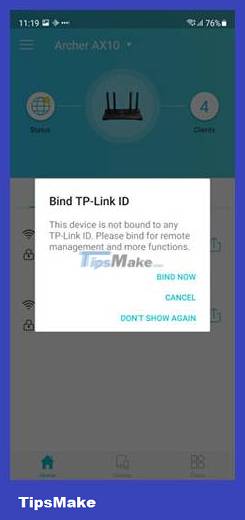
Enter login information for TP-Link ID and press Log In . Then, continue setting up the router. At the end of the setup process, the Tether app asks if you want to link a TP-Link ID. Click BIND NOW , and you're done.
Now you can use the Tether app on your smartphone to control your TP-Link WiFi 6 router remotely, anywhere in the world, as long as you have an Internet connection.
How to add/create a TP-Link account during initial router setup
If you just bought a new TP-Link WiFi 6 router and you want to set it up from your laptop or PC, open your favorite web browser and visit tplinkwifi.net or 192.168.0.1. This action will load TP-Link's setup wizard, which starts by asking you to create an admin password for the router. Read this guide for instructions on how to perform the initial setup: 2 ways to set up TP-Link WiFi 6 router.
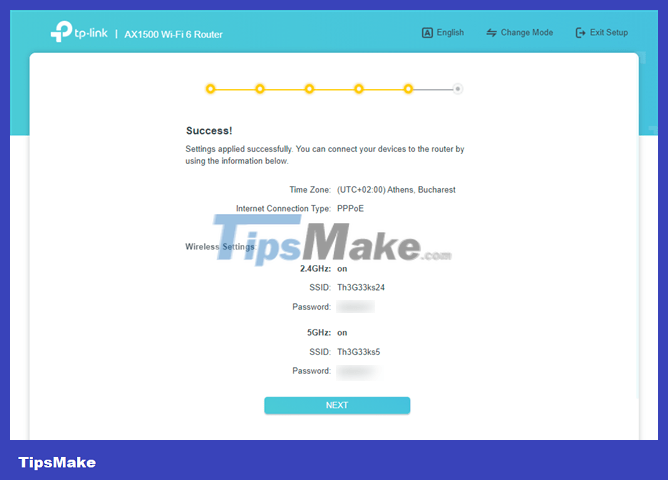
At the end of the initial setup, you will see a success message, with details on how to configure the router. Click Next.
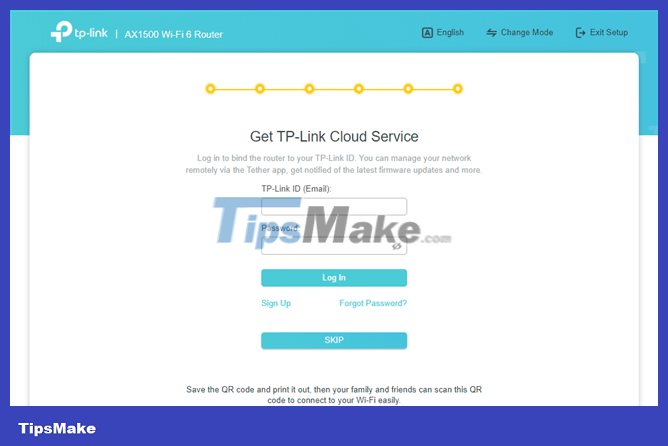
You are then asked to 'Get TP-Link Cloud Service' and enter your TP-Link account credentials. If you already have an account, enter your login information and click Log In. If you don't have an account yet, click the "Sign Up" link.
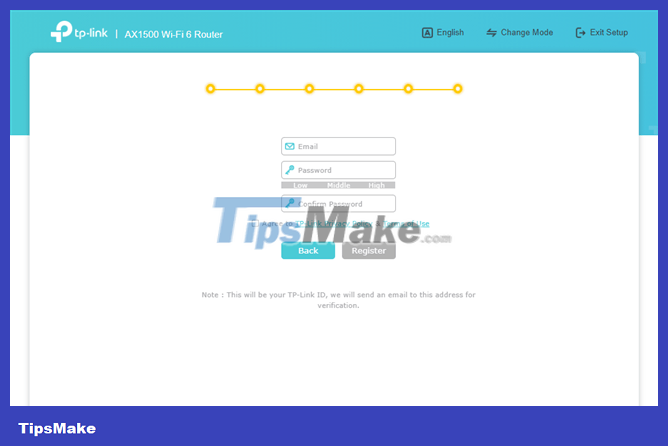
This will take you to a screen where you are prompted to enter the e-mail address you want to use for your TP-Link account and its password. Enter the necessary information, agree to the privacy policy and terms of use, then click Register.
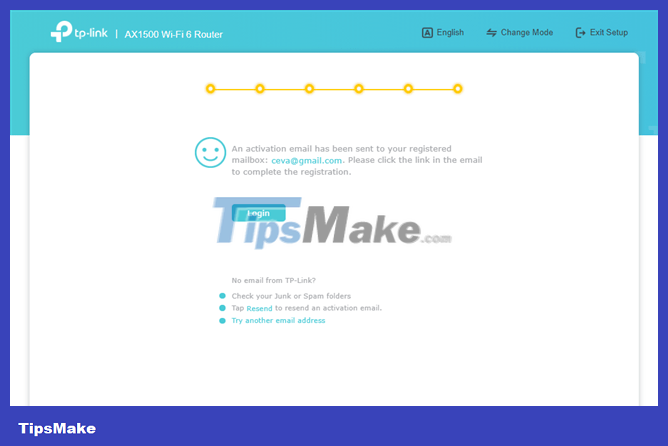
You are informed that an activation notification has been sent to your email address. Open your inbox, find this email notification and click on the necessary link. Then, back in the TP-Link setup wizard, press Login.
Now, you are logged in with your TP-Link account on your WiFi 6 router and can use it to control the router remotely via your smartphone.
How to create a TP-Link account or TP-Link ID from a web browser
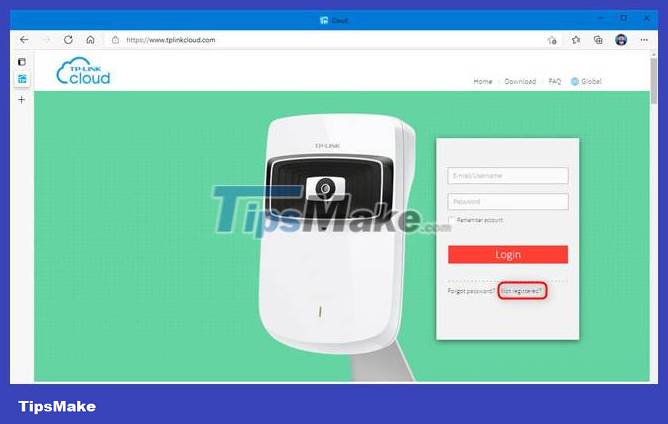
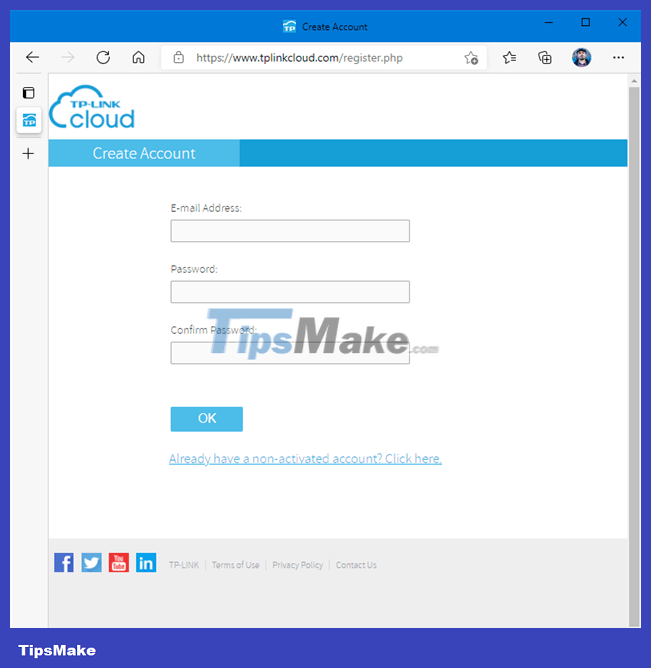
If you want to create a TP-Link cloud account or TP-Link ID before setting up the router, open the default web browser on your PC and navigate to tplinkcloud.com. There, you will see a login prompt like below. To create a new TP-Link account, click 'Not Registered'.
You will see several fields to complete: The e-mail address you want for your TP-Link ID and password. Enter the required information and click OK.
You are requested to check your email inbox for the activation link. Go to your inbox and click on the activation link sent to you. If you don't see this email notification, check your Spam folder as well. Once you have activated your TP-Link ID, you can use this ID to link your TP-Link WiFi 6 router and use it in mobile apps to remotely control all your devices. TP-Link device range, including the TP-Link Tether app, along with Kasa Smart for Android and iOS.
How to link TP-Link ID to WiFi 6 router after initial setup
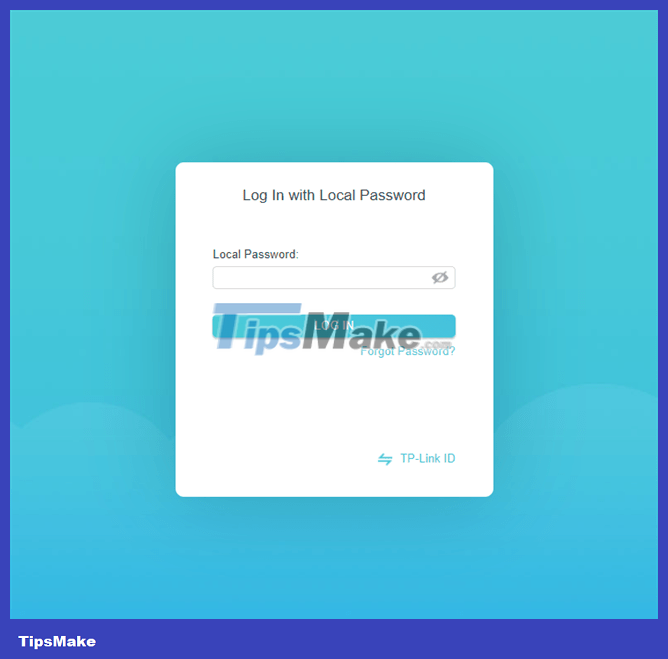
If you have installed your TP-Link WiFi 6 router and completed the initial setup without tying it to your TP-Link account, you can make this connection later. To do that, open a web browser and go to tplinkwifi.net or 192.168.0.1. Enter the local password used to manage the router and press LOG IN.
Then, in TP-Link's admin interface, go to Advanced > TP-Link ID . On the right, enter the login details for your TP-Link account and press Log In .
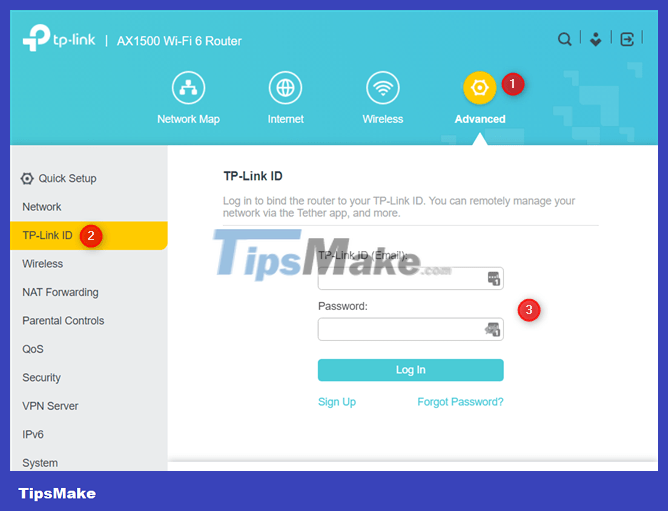
If you don't have an account, click Sign Up , then enter the email address and password you want to use. Also, don't forget to activate your account so it can be used.