Table of Contents
A year after introducing Generative Fill to the world, Adobe has once again added powerful new AI-powered image creation features to the beta version of Photoshop. One of those new features, and the one we'll be looking at in this tutorial, is Generate Image .
Generate Image uses Adobe Firefly to create entire AI images from scratch directly within Photoshop, and it carries most of the options found in the text-to-image conversion module on the Adobe Firefly website, including options to match the look and style of a reference image and apply various effects.
Because Generate Image uses the new Firefly Image 3 model for better quality and higher resolution, it can create images up to 2048 x 2048 pixels, a significant leap from the 1024 x 1024 pixel limit of Generative Fill.
Here's a step-by-step guide on how to use Generate Image in Photoshop beta to create new AI images from scratch.
Step 1: Create a new Photoshop document
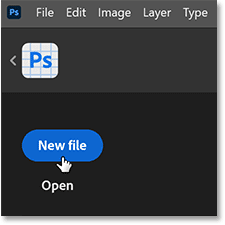
If you are on the Photoshop home screen, click the New file button to create a new Photoshop document.
Alternatively, from the main Photoshop interface, go to the File menu and select New .
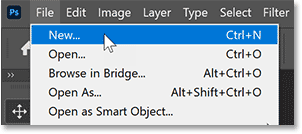
Either way, the New Document dialog box will open.
Set both the Width and Height of the document to 2048 pixels , as this is the resolution limit for the new Firefly Image 3 model that Photoshop beta is using.
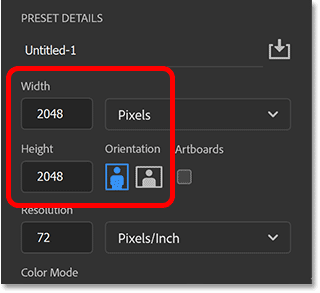
Leave all other options at their default settings and click the Create button .
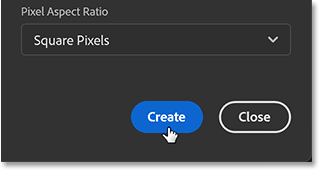
New Photoshop documentation will appear.
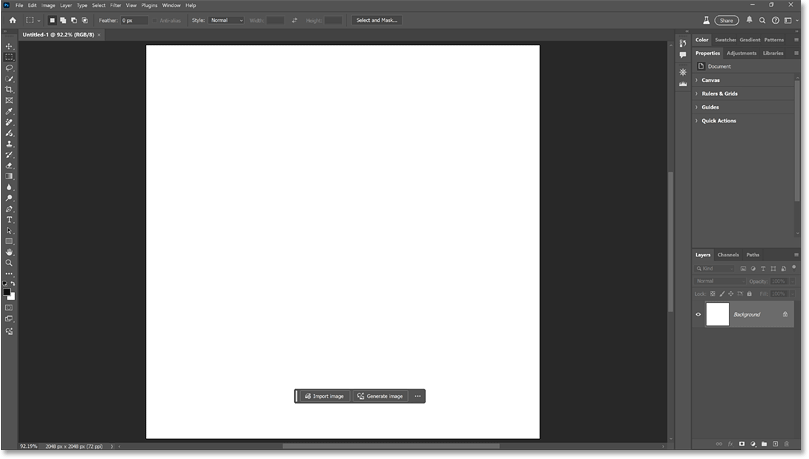
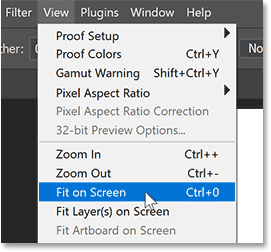
You can enlarge the canvas if needed by going to the View menu and selecting the Fit on Screen command .
Step 2: Select Generate Image
There are three places to access Generate Image in the beta version of Photoshop.
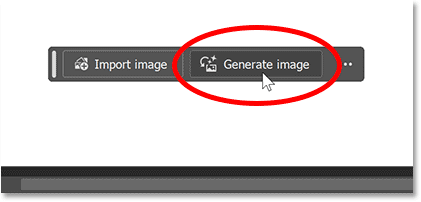
If the Background layer is selected in the Layers panel, you will see the Generate Image button in the Contextual Task Bar .
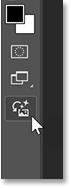
You'll also see the new Generate Image icon at the bottom of Photoshop's toolbar.
And there's a Generate Image command in the Edit menu on the menu bar.
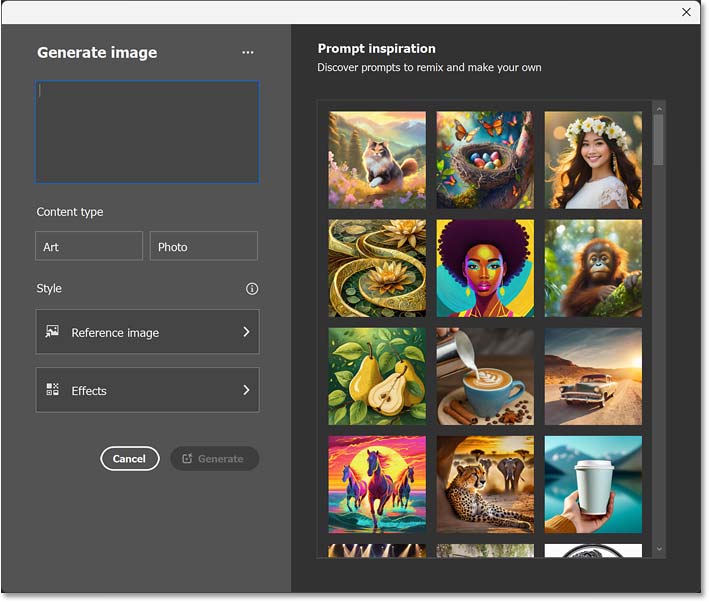
Whichever option you choose opens the Generate Image dialog box, which will bring up most of the options from the text-to-image conversion module on the Adobe Firefly website.
Step 3: Enter a message to describe the image.
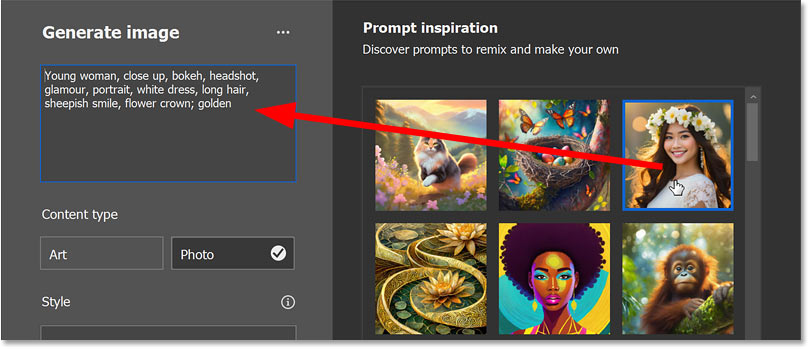
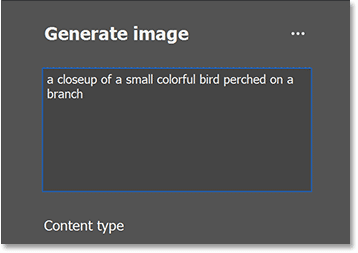
Start by entering a prompt to describe the image you want to create.
If you need inspiration, click on any of the sample images on the right to display the prompts used to create that image (along with other options used such as content type, reference image, and any effects, all of which will be discussed later).
Selecting a sample image on the right side of the Generate Image dialog box will display a prompt for that image on the left.
Keep things simple.
Step 4: Choose the content type
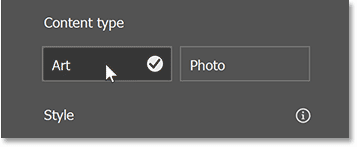
Below the prompt box is the Content Type option , where you can choose Art (for more creative results) or Photo (for more realistic images). Or you can leave it blank, and Photoshop will choose an option for you based on its prompt.
For example, we will choose Art.
Step 5: Click Generate
Below Content Type is the Style section . Here, you can select a reference image for Photoshop to match the colors and overall look of the image. And you can add one or more effects to the image.
But you can always try different styling options after the image is created. For now, all we really need is the prompt. So, click Generate to see what Photoshop offers.
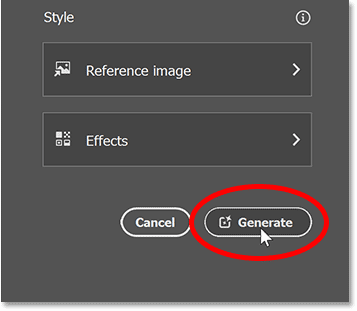
Photoshop sends images over the internet to the Adobe Firefly server, similar to using Generative Fill. It may take 10-15 seconds for the results to appear, and you'll see a progress bar while you wait.
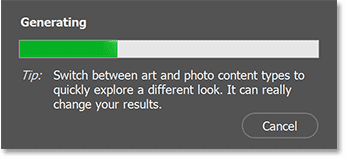
Step 6: Select the result or click Generate again.
With the Generate Image feature in Photoshop's beta version, you'll have 3 results to choose from (the Adobe Firefly website generates 4 results).
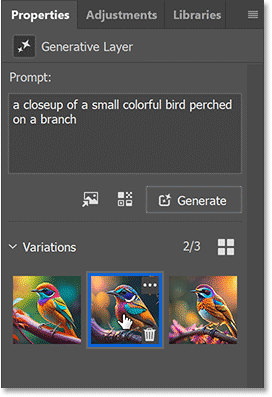
This is the first of three example results.
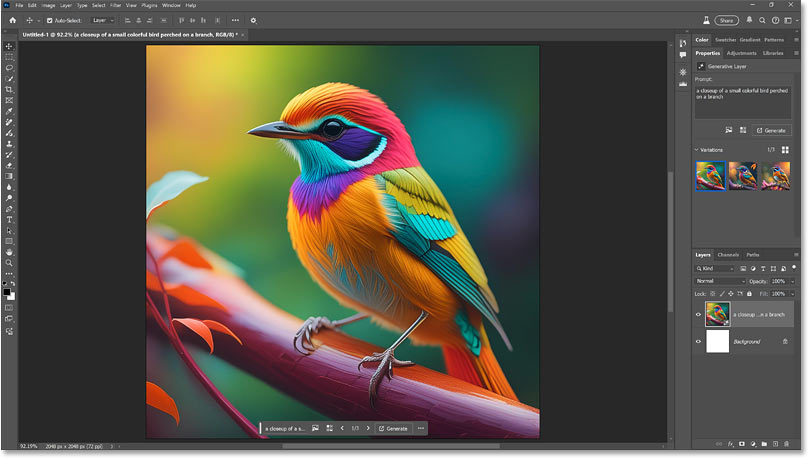
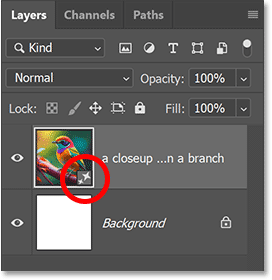
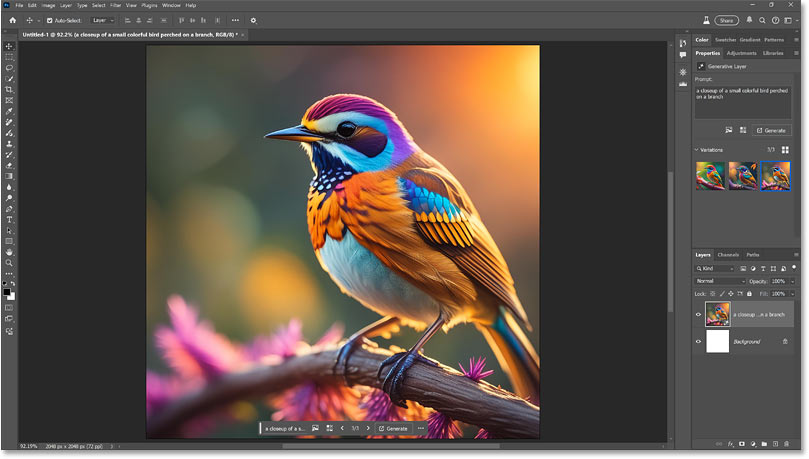
Note in the Layers panel that we now have a Generative layer containing the results, just like you would get with Generative Fill. You can tell it's a Generative layer by the icon in the bottom right corner of the thumbnail.
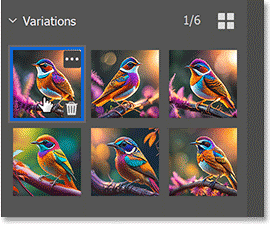
To view and compare two different images, click on their thumbnails in Photoshop's Properties panel.
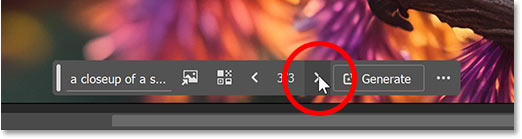
Alternatively, click the left and right arrows in the Contextual Task Bar to switch between them.
This third result was the most highly rated.
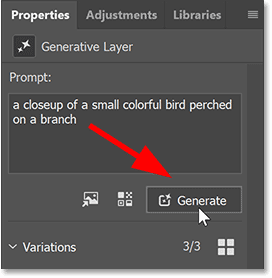
But if you don't like any of the images, you can continue generating results by clicking the Generate button in the Properties panel or the Contextual Task Bar.
Use Generate Similar
If you really like one of the results, you can use the Generate Similar feature to tell Photoshop to use that result as a base image and create new results that are similar to it.
In the Properties panel, hover your cursor over the image thumbnail and click the menu icon that appears in the upper right corner.
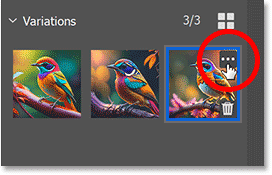
Then click Generate Similar .
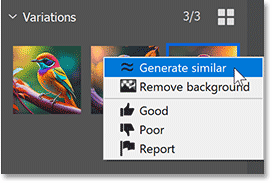
Photoshop will generate three new results that are similar to the base image. Click on the thumbnails to view and compare them.
Step 7: Edit the prompt and try again (optional)
If you don't get the expected results, you can edit your reminder in the Properties panel and then click Generate again. In general, the more detailed your reminder, the better the results will be.
Step 8: Select a style reference image.
Similar to the Adobe Firefly website, the Generate Image feature in Photoshop's beta allows you to completely change the look and style of the result using a reference image. Photoshop will create new results that match the colors, lighting, and overall look of the reference image.
If you are still in the Generate Image dialog box (before generating the initial result), you can click the Reference image option within that dialog box itself.
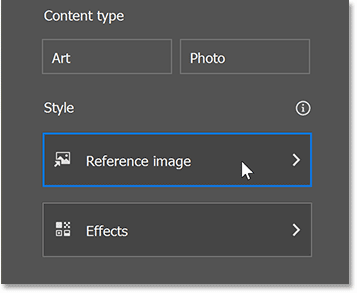
Alternatively, if you have already created the image as shown here, you can still select a reference image by clicking the Edit Reference Image icon in the Properties panel.
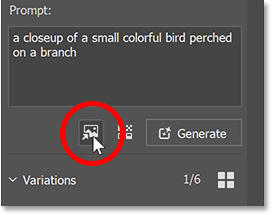
Next, select an image from the library or click the Choose image button to upload your own reference image.
For example, we would choose one of the watercolor-style images from the library.
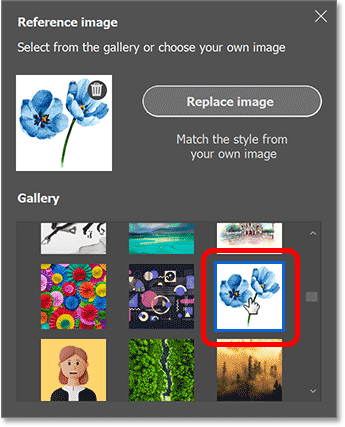
After selecting the reference image, click the X icon in the upper right corner of the dialog box to close it.
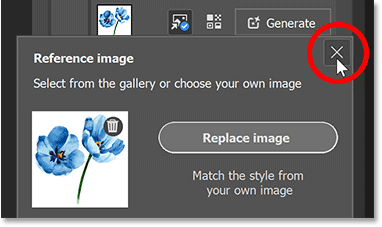
Then, click the Generate button again.
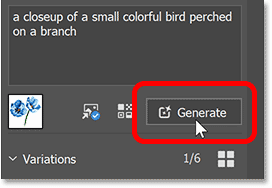
And here, you'll get three new results that match that watercolor style. The same prompt, but a completely different look thanks to the reference images.
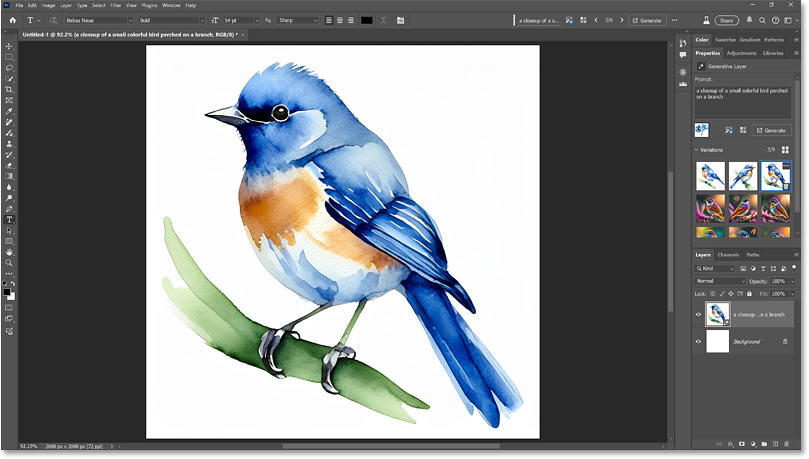
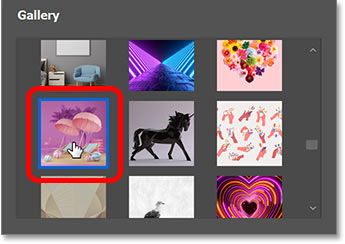
You can try as many reference images as you like. Simply click the Edit Reference Image icon in the Properties panel to reopen the library, then select a different image (or select Replace image to upload your own image).
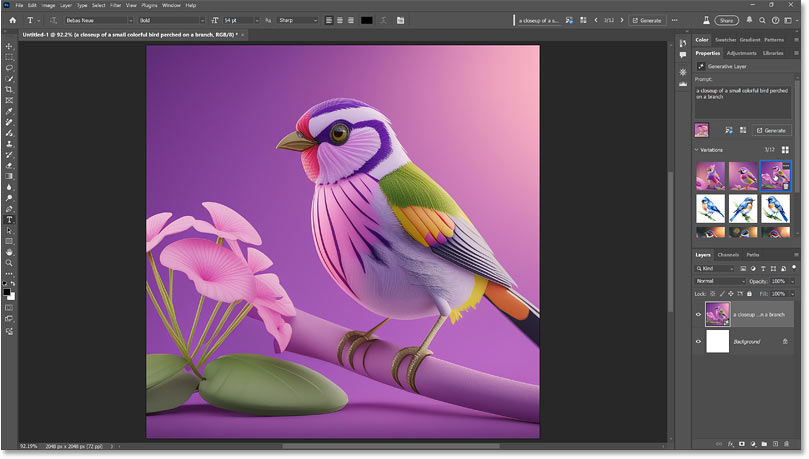
For example, let's try this 3D rendered beach scene image from the library.
And here are three results after clicking Generate. Again, the same prompt, but a completely different style.
Let's try adding another reference image. This neon image looks interesting.
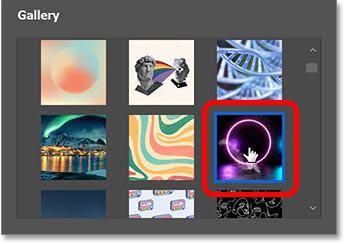
And here's the result, once again very different from the previous two times, even though the prompt was the same.
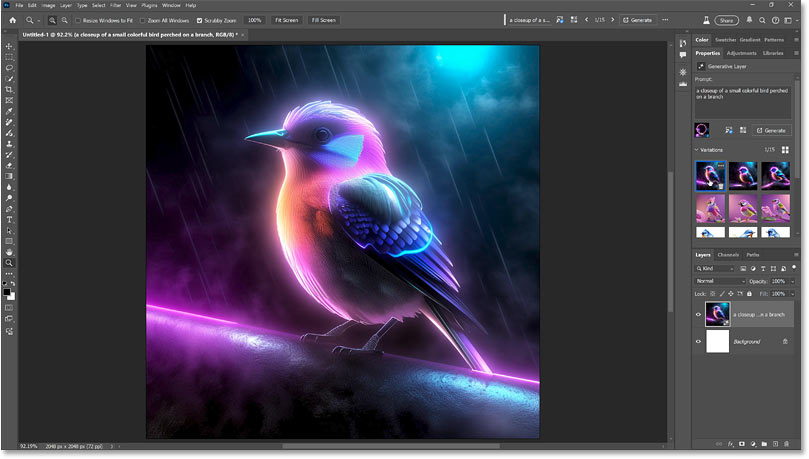
Step 9: Add effects
The reference image isn't the only way to significantly change the style of the result. Generate Image also includes many effects that you can apply.
In the Properties panel , click the Edit Effects icon .
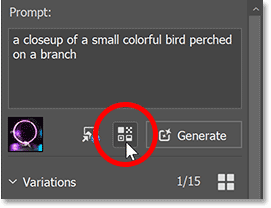
The effects are divided into categories (Movements, Themes, Techniques, etc.) and you can combine as many effects as you like. Select the Popular category to see the most popular effects currently.
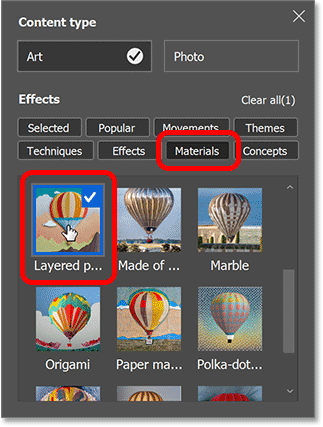
For example, you would open the Materials menu and select Layered Paper .
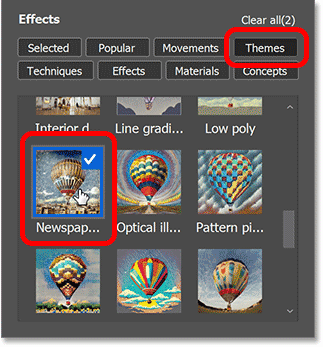
Next, open the Themes category and select Newspaper . This example will create a paper-like effect.
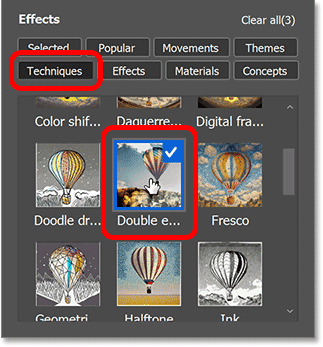
Finally, open Techniques and select Double Exposure just to see if it helps blend everything together.
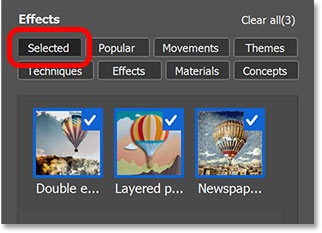
The Selected list displays all the effects that will be applied. You can remove an effect by deselecting it.
Click Generate one last time.
With the prompt, the style reference image, and the three effects working together, the result looks fantastic.
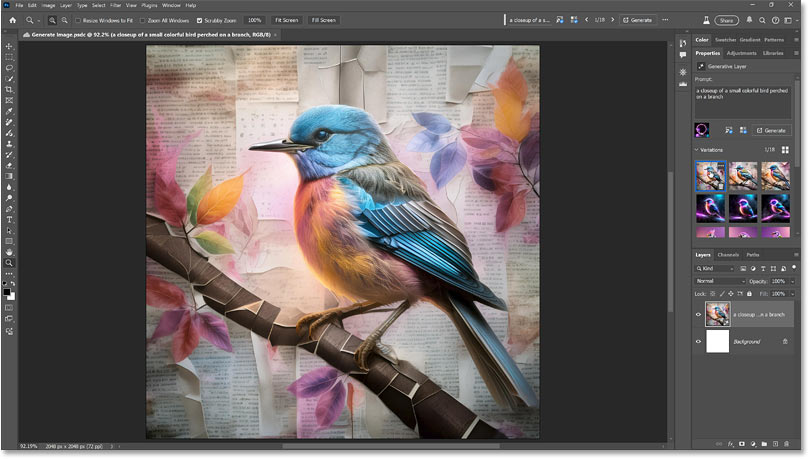
That's how to create an entire image from scratch using Generate Image, a new AI image creation feature in the latest beta version of Photoshop.
Related Articles
 Use Visual Intensity in Adobe Firefly for More Detailed Images: Step-by-Step Guide7 minutes read
 Use Structure Reference and Style Reference in Adobe Firefly: Step-by-Step Guide9 minutes read
 Adobe Launches AI Assistant for Photoshop5 minutes read
 Adobe Launches Tool to Edit 10,000 Photos With Just One Click5 minutes read
 How to Use Adobe Firefly's Vector Recoloring AI Tool8 minutes read
 Meet Firefly Boards: Free AI That Generates Pinterest-Like Images7 minutes read
Reader Comments 0
Sign in with email or Google to join the discussion.