How to Create a Simple Calculator in Visual Basic 6.0
Part 1 of 5:
Creating a New Project
-
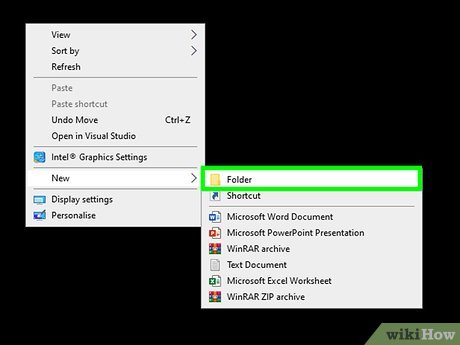
 Create a new folder for your calculator. To house all of your calculator's necessary files, do the following:
- Go to the location in which you want to save your VB6 calculator.
- Right-click a blank space.
- Select New in the drop-down menu.
- Click Folder.
- Type in Calculator and press ↵ Enter.
-
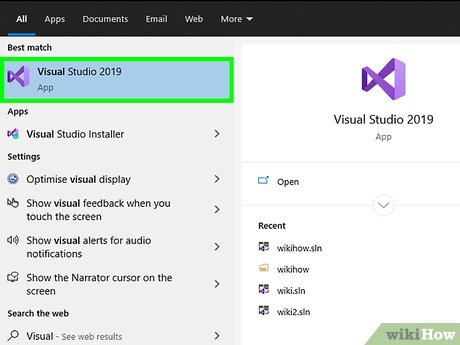
 Open Visual Basic 6. This will bring up the project selection page.
 -
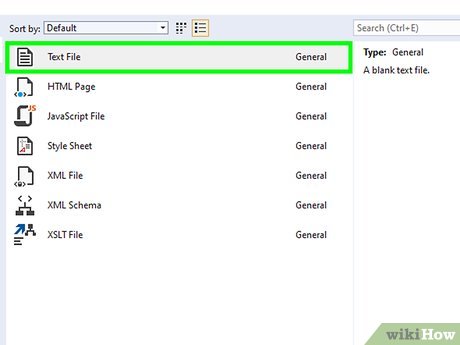
 Click Standard EXE. It's in the project selection field.
 -
 Click Open. This is in the bottom-right corner of the window. Doing so creates a new project.
Part 2 of 5:
Creating the Calculator's Input Fields
-
 Open the "Text Box" tool. Click the ab button on the left-hand side of the window.
 -
 Create a text box. Click and drag your mouse down and right to draw an outline of the text box, then release the mouse button when the text box is the proper size.
- Ideally, your text box will be significantly longer than it is tall.
-
 Copy the text box. Click once the text box to select it, then press Ctrl+C to copy it.
 -
 Paste in the text box twice. Press Ctrl+V twice to do so. You should see your pasted text boxes appear in the upper-right side of the page.
- If prompted to create a new control array after pasting in a text box, click No.
-
 Arrange the text boxes in a stack. Click and drag the text box in the top-left side of the page down to the bottom slot, then move the second text box from the top-left side of the page into the middle slot. You should now have a stack of three text boxes.[1]
- The order in which you do this is important; if you place the text box you pasted second in the middle, it will cause your coding later to malfunction.
-
 Remove the text boxes' default text. To do so:
- Click a text box.
- Click the text field to the right of the "Text" heading in the "Properties" pane on the right side of the window.
- Press Delete.
- Repeat with the other two text boxes.
-
 Create three label boxes. Click the A button in the left-hand toolbar, then do the following:
- Resize the label box to your preferred size.
- Select the label box, then copy it.
- Paste twice the label box.
-
 Place the label boxes to the left of the text boxes. Click and drag each label box to sit to the left of each text box.
 -
 Edit the top label box's caption. To do so:
- Click the top label box.
- Click the text box to the right of the "Caption" heading in the "Properties" pane on the right side of the window.
- Type in Number 1.
-
 Edit the other two label boxes' captions. You'll label them like so:
- Click the middle label box, then change its caption to Number 2.
- Click the bottom label box, then change its caption to Result.
-
 Make the label boxes transparent. This isn't necessary, but it will make your calculator more visually appealing:
- Select a label box.
- Click the "BackStyle" drop-down box in the "Properties" pane.
- Click Transparent in the drop-down menu.
-
 Title your calculator. To change the text that appears at the top of the calculator's window when you run it, do the following:
- Click a blank space on the form.
- Click the "Caption" header's text box in the "Properties" pane.
- Type in Simple Calculator (or whatever you want to name the calculator).
Part 3 of 5:
Creating the Calculator's Buttons
-
 Click the "Button" tool icon. It's a grey box icon below the ab option in the left-hand toolbar.
 -
 Create a square button. Click and drag in a diagonal direction until you see a small square outline appear, then release the mouse button. You should see a grey button display on the form.
 -
 Copy the button. Select the button you just created, then press Ctrl+C.
 -
 Paste the button three times. Press Ctrl+V three times to do so. This will create a total of four buttons on your project.
- You may have to click No when prompted each time after pressing Ctrl+V.
-
 Arrange the buttons below the calculator's input fields. Click and drag each button so that you have a row of them below the "Result" text box.
 -
 Edit the buttons' captions. You'll do this by changing the text for each button's "Caption" heading in the "Properties" pane on the right side of the window:
- Click the left-most button, then change its "Caption" text to +.
- Click the next button to the right, then change its "Caption" text to -.
- Click the next button to the right, then change its "Caption" text to x (or *).
- Click the right-most button, then change its "Caption" text to /.
Part 4 of 5:
Adding the Calculator's Code
-
 Double-click the + button. Doing so opens a code console.
 -
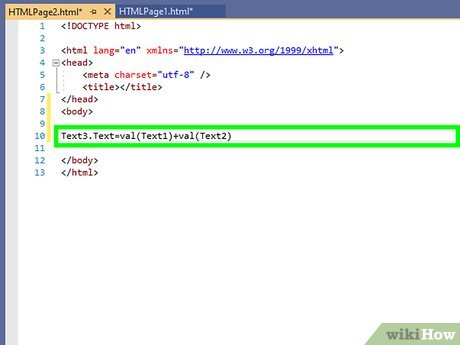
 Enter the addition code. Type the following code into the console, directly below the "Private Sub" text and directly above the "End Sub" text.
Text3.Text=val(Text1)+val(Text2)
-
 Return to the calculator form. Double-click the Form1 option under the "Project1" heading on the right side of the page to do so.
 -
 Double-click the - button. This will re-open the console.
 -
 Enter the subtraction code. Type the following into the console:
Text3.Text=val(Text1)-val(Text2)
-
 Double-click the x or * button. This will re-open the console.
 -
 Enter the multiplication code. Type the following into the console:
Text3.Text=val(Text1)*val(Text2)
-
 Double-click the / button. This will re-open the console.
 -
 Enter the division code. Type the following into the console:
Text3.Text=val(Text1)/val(Text2)
Part 5 of 5:
Saving Your Calculator
-
 Save your project. Do the following:
- Press Ctrl+S.
- Select your "Calculator" folder as the save location.
- Click Save.
-
 Click File. It's in the upper-left side of the window. A drop-down menu will appear.
 -
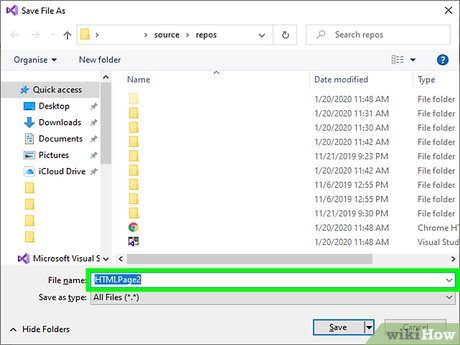
 Click Make [name] exe…. This option is in the drop-down menu. Doing so re-opens the "Save As" window.
 -
 Enter a file name. Type "calculator" or something similar into the "File name" text box.
 -
 Select your "Calculator" folder. Go to the folder in which you saved your "Calculator" folder, then click the "Calculator" folder to select it.
 -
 Click OK. It's in the bottom-right corner of the window. This will save your calculator as an executable (EXE) file in the "Calculator" folder.
 -
 Create a shortcut to your calculator's EXE file. You can create a desktop shortcut to your calculator's EXE file by doing the following:
- Open the "Calculator" folder.
- Right-click the EXE file.
- Select Send to in the drop-down menu.
- Click Desktop (create shortcut).
Share by
Marvin Fry
Update 05 March 2020
You should read it
- ★ Advanced Subnet Calculator - Download Advanced Subnet Calculator here.
- ★ How to troubleshoot Calculator loss in Windows 10
- ★ How to keep Calculator floating above Windows 10 apps
- ★ How to use the split and tip function in Calculator on Apple Watch
- ★ Already have Windows 10 Caculator version on Android and iOS, download and experience
