Table of Contents
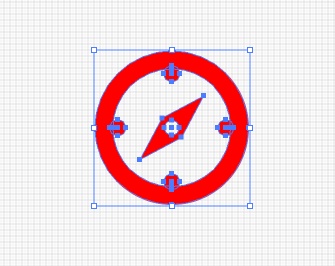
To recolor a true vector icon in Illustrator, select its editable paths and either change the Fill and Stroke directly or use Recolor Artwork to remap an entire palette. Invert Colors is useful for a simple light/dark reversal, but it is not the right command when you want to choose specific brand colors.
1. Confirm that the icon is editable vector artwork
Open an AI, EPS or SVG file from a legitimate source and review its license before using the icon in a commercial project. Keep the original download and license record. If the selected item is a single placed PNG or JPEG, Fill and Stroke will not recolor its individual parts; obtain a vector version or use an appropriate image-editing method.

2. Open the file and find the icon
Choose File > Open and select the vector file. If it contains an icon sheet, zoom in with Ctrl++ on Windows or Command++ on macOS, or use the Zoom tool.
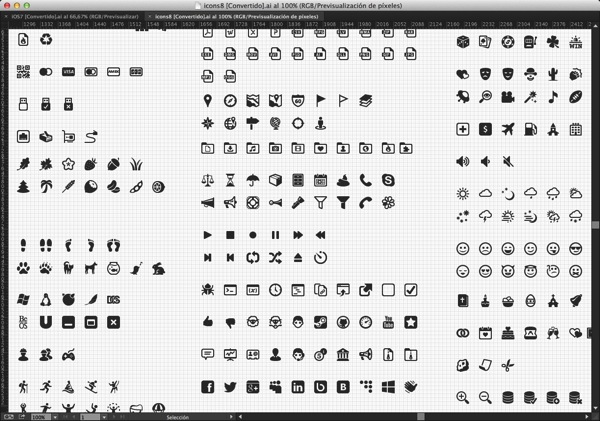

3. Select every part of the icon
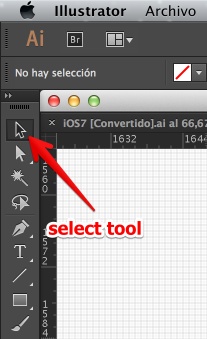
Activate the Selection tool (V). Drag a marquee around the icon or Shift-click its parts. Check the Layers panel if the icon contains nested groups, clipping masks or hidden objects.
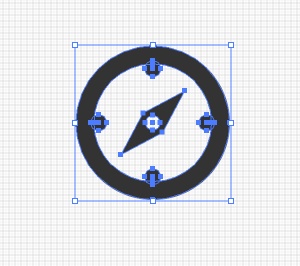
If only one piece changes later, undo and inspect the group structure. You may need to enter isolation mode, ungroup a copy, or select the parent group in the Layers panel. Preserve a grouped master before destructive restructuring.
Method 1: Change one fill or stroke
- Select the object or use Direct Selection (A) for one path inside a group.
- Press X to switch focus between Fill and Stroke.
- Choose a swatch or use the Color panel. Use Shift+X only when you intend to swap the current fill and stroke.
- Repeat for other objects, or use Select > Same > Fill Color to target matching colors.
This method is best for a one-color icon or a small number of parts that need exact named swatches.
Method 2: Invert a black-and-white icon
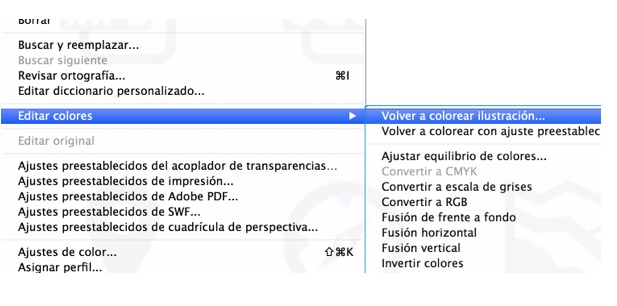
Select the complete icon, then choose Edit > Edit Colors > Invert Colors. This mathematically reverses the selected colors; it does not let you pick a brand palette and can produce unexpected colors in multi-color artwork.
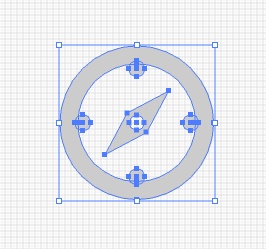
Method 3: Remap the full palette with Recolor Artwork
Select the icon and choose Edit > Edit Colors > Recolor Artwork, or use the Recolor control in the Properties panel.
Open Advanced Options when you need explicit source-to-destination mapping. The original colors appear on the left and their replacements on the right.
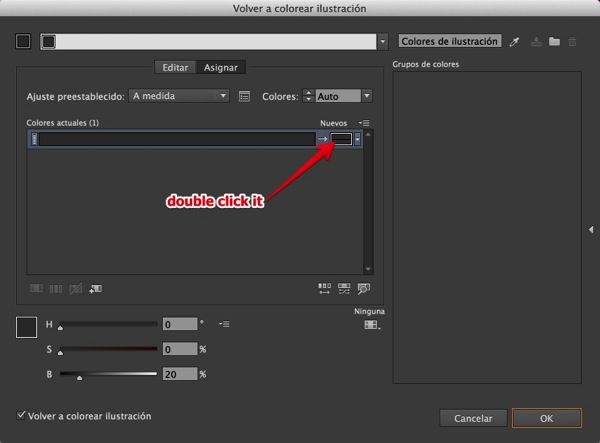
Double-click a replacement color, choose the required value or swatch, and confirm. Repeat for each source color that needs a new destination. Preserve black, white or registration colors only when the output requires it.
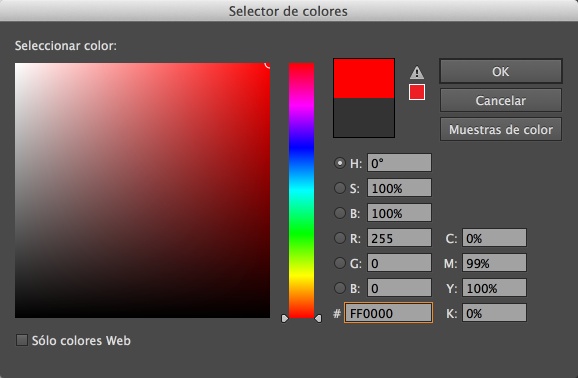
Preview the result on the artwork, then click OK when the mapping is correct.
Use a controlled color system
- Create document swatches for approved brand values before recoloring.
- Use global swatches when later updates should propagate to every object using that color.
- Check whether the document is RGB or CMYK and whether the destination has color restrictions.
- Test contrast at the smallest intended icon size and against both light and dark backgrounds.
- Do not rely on color alone to distinguish states in interface icons.
Save and export the icon
- Save an editable AI copy with the grouped icon and named layers.
- Use File > Export > Export for Screens or another appropriate export command.
- Choose SVG for scalable web or interface use when the destination accepts it.
- Choose PNG for a transparent raster copy and export every required pixel size from the vector master.
- Inspect the exported asset for clipping, unexpected strokes, transparency and color changes.
If the icon sheet contains many assets, put each icon on a named artboard instead of copying them into unrelated documents one at a time.
Adobe documents Recolor Artwork and Fill and Stroke behavior. On TipsMake, review Illustrator color basics, learn how SVG files work, or use the Illustrator shortcut reference.
Related Articles
 Adobe Illustrator: Complete Guide: Download Adobe Illustrator 2021.26.04 minutes read
 How to Change the Default Background Color in Illustrator4 minutes read
 How to Convert an Image to Vector in Adobe Illustrator9 minutes read
 How to Turn an Image into Vector for Editing in Adobe Illustrator3 minutes read
 How to Color and Change Colors in Adobe Illustrator15 minutes read
 How to Cut Images in AI (Adobe Illustrator)2 minutes read
Reader Comments 0
Sign in with email or Google to join the discussion.