How to Clean Epson Printer Nozzles
If your Epson printer produces prints that are blurry, broken, or blurred, you may need to clean the nozzle (or nozzle). Luckily, Epson printers come with a handy utility that lets you clean the nozzles. Start by printing a test form from the utility menu so you can be sure that the problem is with the nozzle. If the nozzle needs to be cleaned, run a cleaning cycle and print another test sample to ensure that the printer is operating properly. If the cleaning cycle is not enough to correct the problem, you may need to flush the nozzle to remove clogged ink or dirt buildup.
Table of Contents
Print the test form
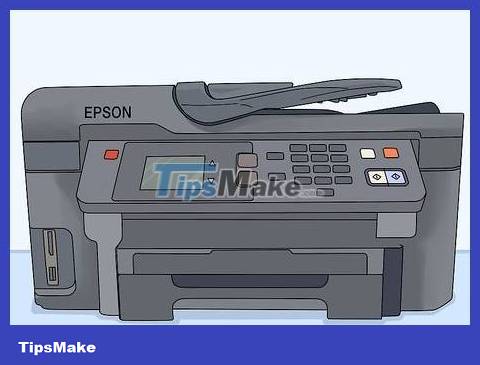
Check to make sure the printer is on and that the low ink light is off. The printer must be connected to a power source and the lights and screen must be on. Observe the error message on the screen and check that the ink indicator light that displays when the printer is low on ink is turned off.
If the ink indicator light is flashing or showing, you need to replace the ink cartridge before cleaning the nozzle.
You must resolve any error messages displayed on the screen before you can proceed with cleaning the printer's nozzles.
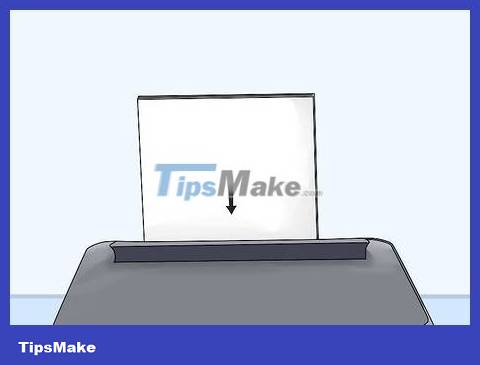
Insert at least 10 blank pages of paper into the printer. Put enough paper in the printer's paper tray to test print and run the cleaning cycle. Check to make sure the paper is clean, fresh, and loaded correctly in the tray.
Wax paper or stencils will affect the quality of the proof.
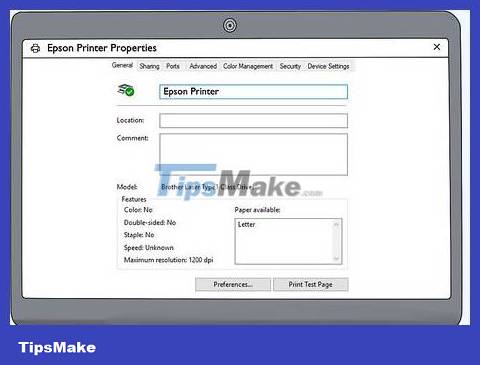
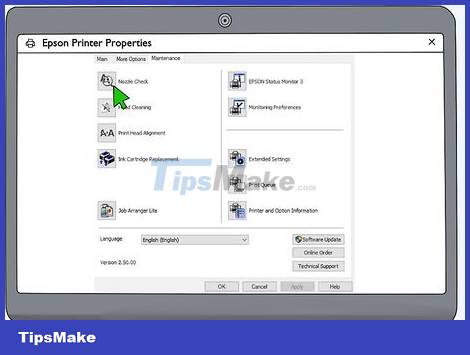
Open the printer properties menu from within the control panel. Select the Start menu or find Control Panel on your computer. Open the control panel and select the printer menu. Click the properties option to open the printer properties dialog box.
Depending on your version of Windows or Macintosh (or Mac), the printer properties menu may also display 'Printer', 'Setup' or 'Options'.
You may need to select the 'Maintenance', 'Utility' or 'Options' tab to find the printer properties.
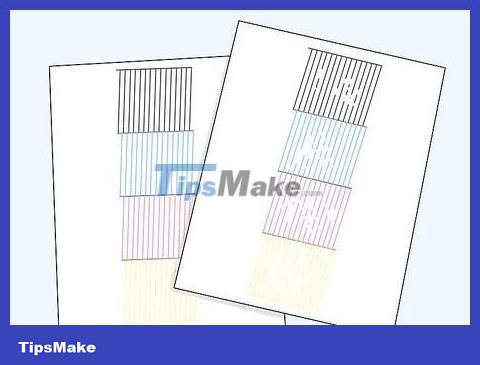
Print the nozzle check pattern and look for gaps or blurred spots. Click on the print test form option. Once the sample is printed, compare it with the sample displayed on the screen. Observe for gaps, streaks, fractures, or blurred lines in the sample. We will look at the test pattern to determine whether the printer nozzle needs to be cleaned or not.
On Mac, you'll need to click the 'Confirmation' button to print the test form.
Print a test sample before running the cleaning cycle to ensure that the problem is indeed with the printer nozzle.
Note: If the test pattern matches the pattern displayed on the screen and does not have any gaps or errors, you do not need to clean the printer nozzle.
Run the cleaning cycle
Open the printer properties menu and select the Utility tab. Find and click the printer icon in Control Panel to open the printer menu. Click the 'Utility' or 'Maintenance' tab to open the printer's maintenance menu.
Depending on your Windows or Mac version, the utilities tab is also called 'Printer Preferences', 'Maintenance' or 'Utility'.
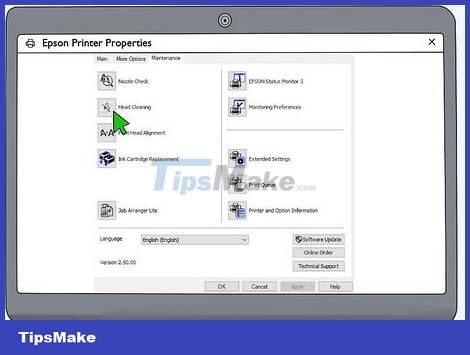
Click the Head Cleaning option to run the cleaning cycle. Find and click the 'Head Cleaning' or 'Print Head Cleaning' option. A confirmation dialog box will appear. Click 'OK' or 'Start' to begin the printer's cleaning cycle.
The printer's power button will begin flashing to signal that the cleaning cycle has begun.
Warning: Do not turn off or unplug the printer during cleaning as this may cause permanent damage to the device.
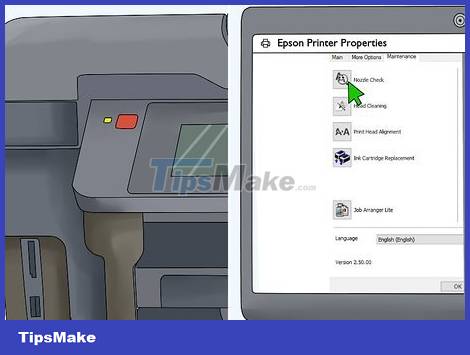
Print the nozzle check pattern when the power light stops flashing. When the power light stops flashing, the printer has completed the cleaning cycle. Look for the print nozzle test form option and click to print another test form.
It is possible that a dialog box including the option to print a test sample will appear when the printer completes the cleaning cycle. If it isn't there, click the print test form option from the add-on menu.

Review the test sample and run additional cleaning cycles if necessary. Compare the newly printed sample with the test sample displayed on the screen. Observe for gaps, smudges or errors (if any) on the sample page. If the printed pattern does not match the image on the screen, you need to run the cleaning cycle again and check again.
You can clean the nozzle up to 6 times.
Drain the nozzle
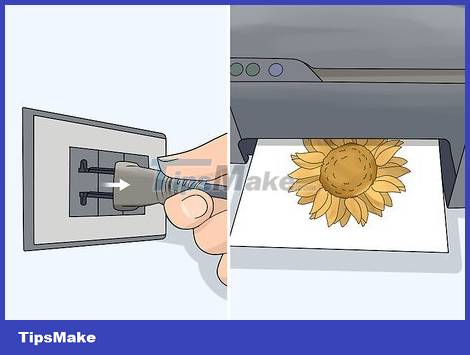
Unplug the power cable while the machine is printing. Print any page so the print head starts moving. While the paper is printing, unplug the printer so the print head is not bound. Then, pull the paper out of the printer so you can clean the nozzle.
Unplug the cable from the printer so you can operate it more easily.
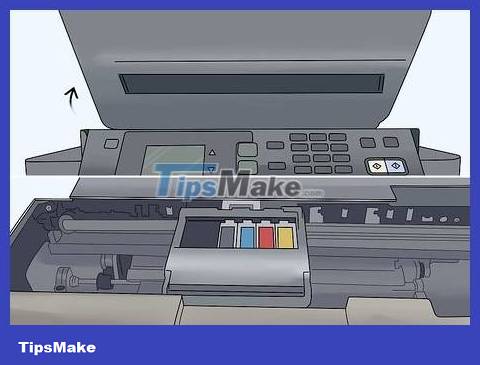
Open the printer cover and pull the print head to the middle. Open the printer cover to find the print head containing the ink cartridge inside. You may need to pull the print head out into the middle of the printer to easily clean the nozzle.
Because you have disconnected the printer power while the printer is running, the print head will be able to move freely on the rails.
If you cannot move the print head, you should not force it. Plug the printer back in, print another page and disconnect the power source again to free the print head.
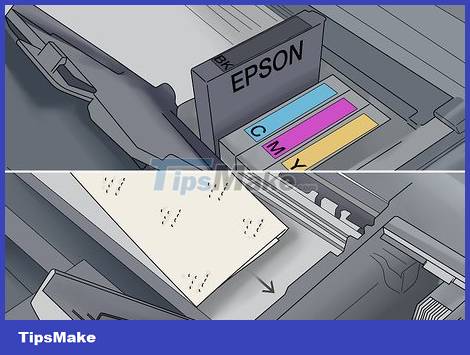
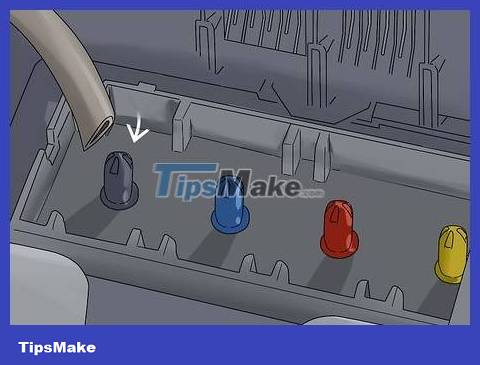
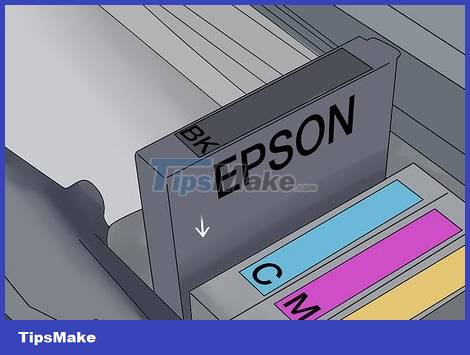
Remove the ink cartridge and place blotting paper underneath the print head. Grab the ink cartridge from the top of the print head and pull it out of the printer. Set the cartridges aside so you can reinstall them later. Cut 2 strips of absorbent paper 2.5 cm wide and stack them underneath the print head to absorb moisture during the cleaning process.
You can use scissors to cut the blotting paper.
Blotting paper is available at department stores, craft stores, stationery stores, and online.
As soon as the printer reports running out of ink, you should replace the ink cartridge as soon as possible to avoid clogging.

Attach the 2.5 cm silicone tubing to the 10 cc syringe. Prepare a 10 cc syringe (no needle). Cut a small piece of 1.3 cm long silicone tube designed for model airplanes and plug it into the tip of the syringe pump. Check to make sure the silicone tubing is securely attached and has not fallen out of the syringe tip.
2.5 cm silicone tubing is available at hobby stores, drone stores, and online.
You can buy clean syringes from pharmacies, department stores, and online.
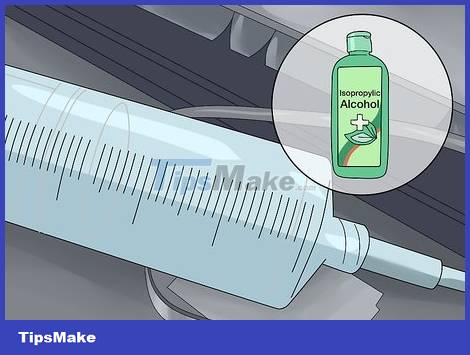
Fill the syringe with rubbing alcohol and attach the silicone tube to the print head. Dip the tip of the silicone tube into the rubbing alcohol solution and then slowly pull the plunger to draw the alcohol into the syringe shell. Then, attach the tip of the silicone tube to the nozzle that goes into the cartridge on the print head.
There are multiple nozzles per cartridge, so you need to clean each nozzle one at a time.
The silicone tube will fit snugly into the nozzle on the print head.
Do not use rubbing alcohol or other aqueous cleaning solutions as this will damage the print head.
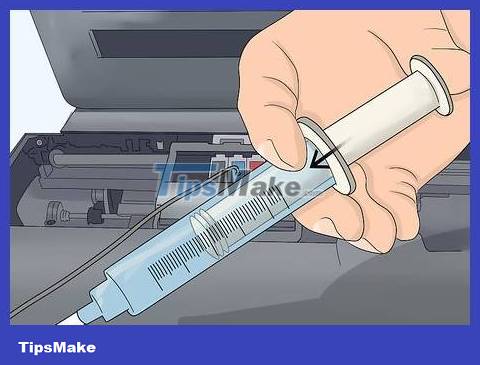
Push the syringe plunger to clean the printer nozzle. With the silicone tube attached to the print head, gently and slowly push the plunger on the syringe pump to let the alcohol pass through the printer nozzle. If you feel resistance, you need to wait a while for the alcohol to dissolve some of the clogged ink, then continue to push the plunger to pump all the alcohol in the syringe through the nozzle.
Do not try to push the plunger too hard to force the alcohol through the blockage as this could damage the nozzle.
Remove the silicone tube, fill the syringe, then attach the tip of the tube to another nozzle to wash. After using all the alcohol, gently remove the silicone tube from the print head. Fill the syringe with alcohol again and attach the silicone tube to the other cartridge nozzle located on the print head. You need to release the alcohol through the nozzle gently and slowly. Continue flushing the remaining nozzles on the print head until all are clean.
You do not need to flush the nozzles repeatedly to remove build-up.
Warning: Be sure to check that the alcohol in the syringe has been completely drained through the nozzle before removing the tube to avoid splashing liquid into the printer.

Pull the print head to the right and remove the blotting paper. After the nozzles have been discharged, pull the print head towards the right. Remove the alcohol-soaked paper and throw it away. Use a clean, dry rag or paper towel to wipe the area completely dry.
Reinstall the ink cartridge and turn on the printer to check. Install each cartridge into the corresponding compartment on the print head. Be sure to check that each cartridge is securely in place before closing the printer lid. Plug in the power and turn the machine back on. Print a test page or image to see if the print quality improves after performing the cleaning process.
If the print still has gaps or blurry streaks, the nozzle may be broken and you need to replace the entire print head.
Was this article helpful?
Your feedback helps us improve.
Related Articles
 Is the Epson L805 printer good review? Should I buy it?11 minutes read
 How to fix Epson L805 printer error flashing 5 lights continuously7 minutes read
 Epson printer with paper deviation - how to fix Epson Printer with paper deviation3 minutes read
 Epson L310 color inkjet printer review: Should I buy it?10 minutes read
 Epson launches ultra-economical monochrome printer2 minutes read
 The printer has ink smudges - Causes and ways to fix the printer ink smudge error8 minutes read
Reader Comments 0
Sign in with email or Google to join the discussion.