How to Add Custom Textures to SketchUp
If you work with 3D Communication Software Google SketchUp, you could find yourself wanting to add more textures than what it comes with. Read this article to learn how. Click on the Paint Bucket icon to bring up the Materials dialog..
Method 1 of 2:
Temporary
-
 Click on the Paint Bucket icon to bring up the Materials dialog.
 -
 Click on the Create Materials icon in the dialog box.
 -
 Click on Browse and browse to where the texture is on your hard drive.
 -
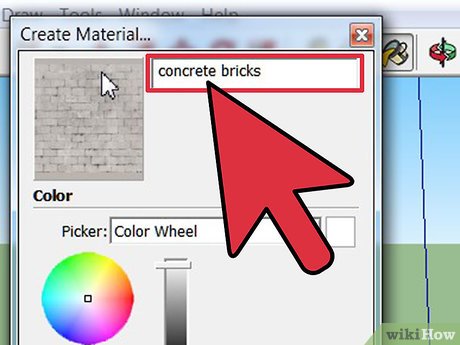 Once you have added it, name it.
 -
 Check that the size is appropriate, if you know the size of it. Here, SketchUp added the size itself.
 -
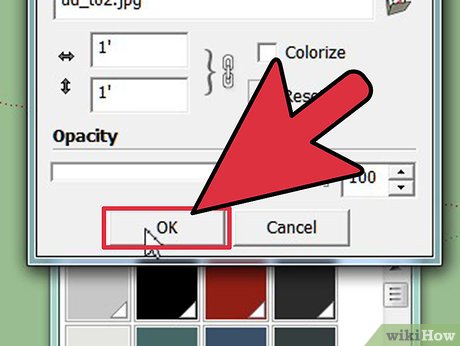 Click OK.
- It will be added to the In Model collection of textures.
Method 2 of 2:
Permanent
-
 Do the above process to add it to SketchUp.
 -
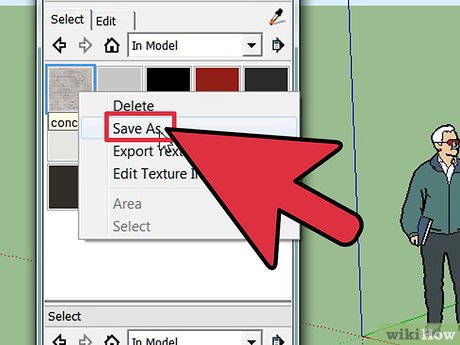 Right click on the new texture and select Save As.
 -
 Navigate to where you want it. This is a wood texture, so it will be put under wood. Be sure that it has a name other than Material X (whatever that number is).
- It will be added to the Wood textures.